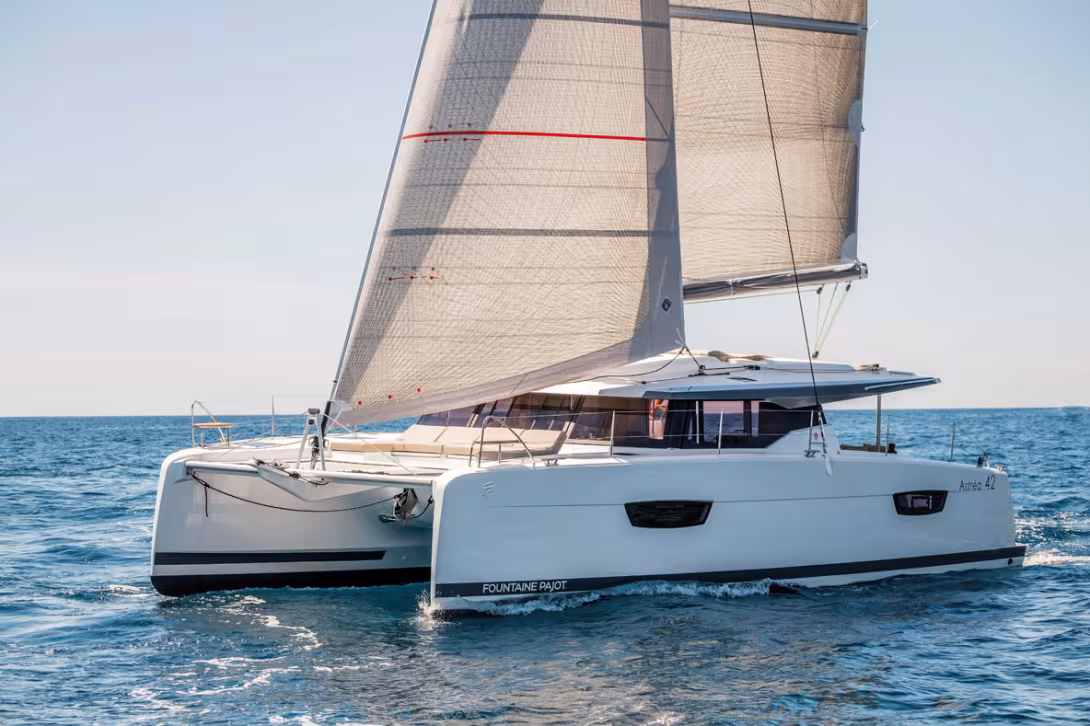

The sails are the “main engines” of our multihulls, which is why it is essential to maintain them properly. To do this, there is nothing like removing the sails when the boat is immobilized for a long period. This is the time to wash them and get them off to the sailmaker for a service. This is the minimum that can be done because UV rays, humidity, flogging, chafe and salt can all quickly damage the seams. To avoid the risk of damage or tearing, the best thing is to check your sails annually. A typical revision will cost from € 100 to € 150 per sail. Tack and clew points, UV strip, gussets and batten pockets etc. are all checked. This is not a luxury, but the most elementary safety. And then you get your sails back in good condition before putting to sea again. The step we’re interested in today is to re-rigging, or bending the sails back on. You’ll also need to make a check of the running rigging, which you remembered to coil properly and secure off the deck to avoid exposing it to mildew. Halyards, sheets and other control lines can be put in a large bucket or tub with a fabric softener to desalinate them, and they can then be visually checked for any cuts or chafe. Checking all the relevant blocks and shackles is also necessary before refitting the sails. Too much wear and tear can lead to breakage of the part and cause major damage. The same goes for the lazy-bag, which should be sent to the sailmaker if you have spotted any premature wear. As there are mechanical parts involved (furlers, batten cars, sheet cars, etc.) a tool kit is a must, as well as a rigging kit if you have to do any splicing for example. Ideally you will have an extra pair of hands – all the operations are much easier when carried out by two people.
For our guide, we followed the refitting of the genoa, the mainsail and the lazy-bag aboard an Astrea 42. We would like to thank the technicians of Tendance Voile, Fountaine Pajot’s agent at Cogolin, in the South of France, who sequenced the steps for us, allow us to produce this article in picture form.
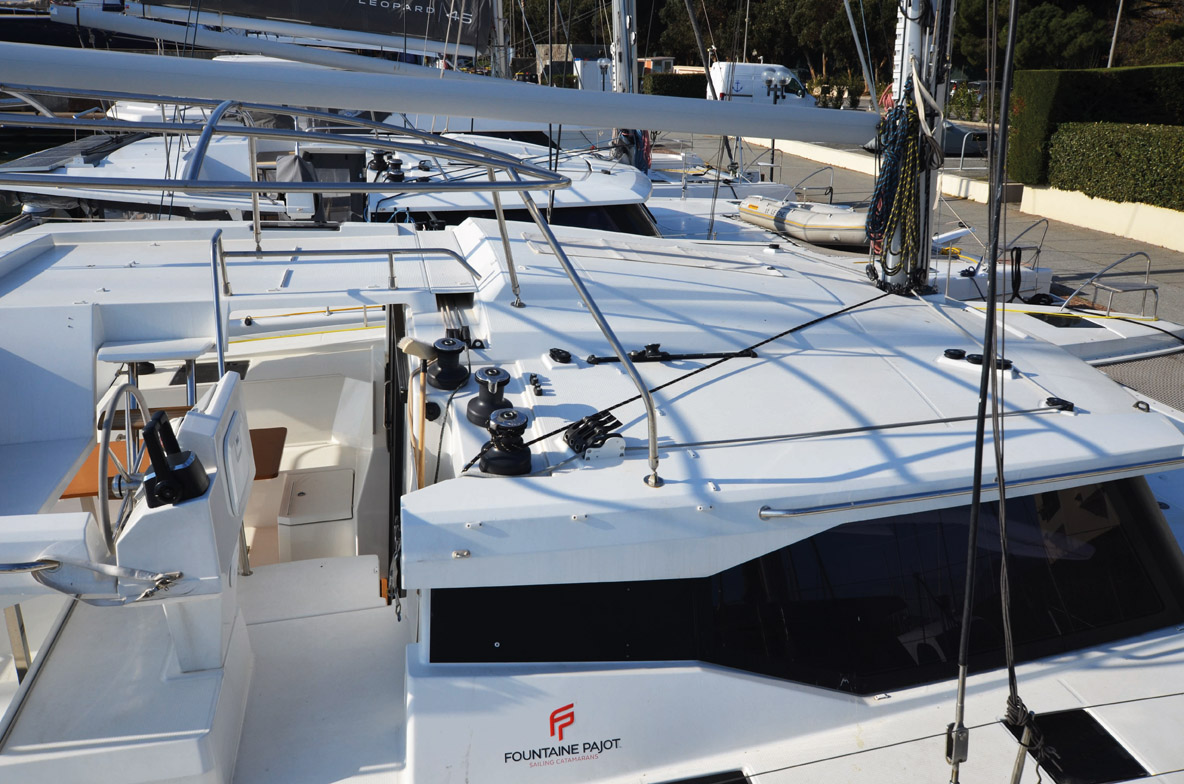
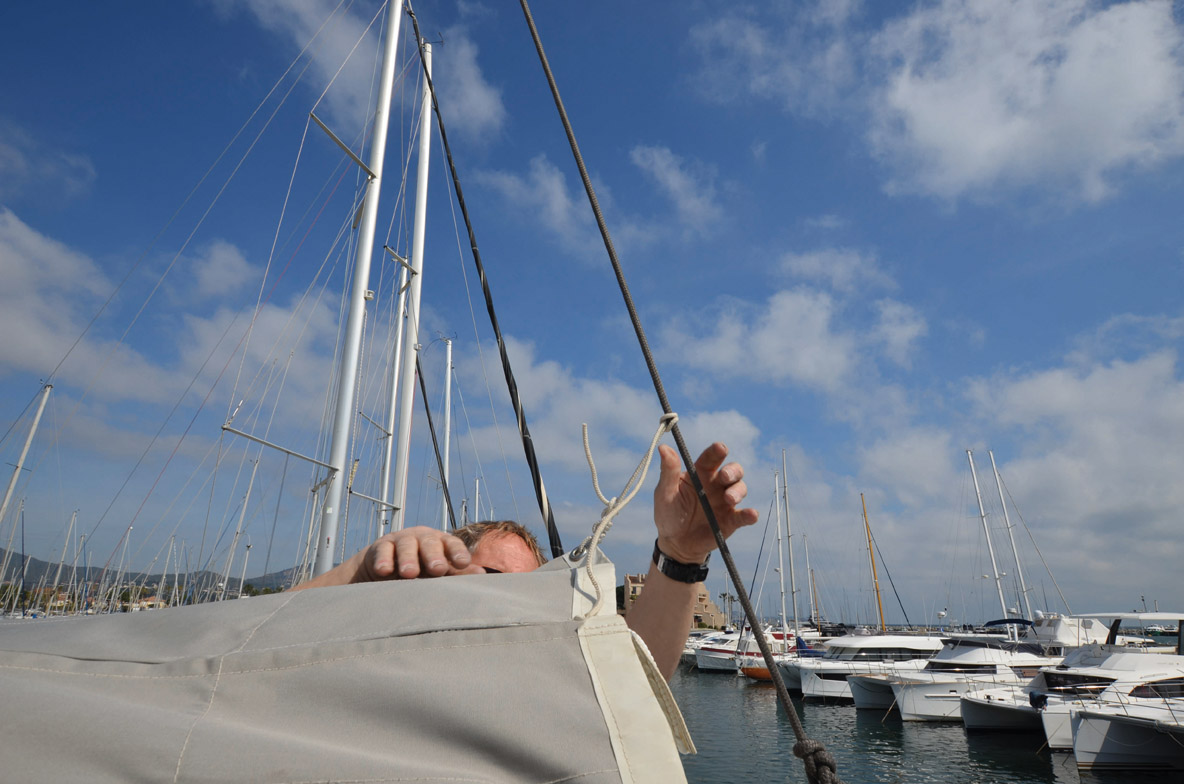
1 It’s time to go sailing, so we’re going to need to bend the sails back on. If your multihull was properly winterized, sheets and control lines will have been stored under cover and the halyards well coiled at the mast foot. The more orderly things are, the easier it will be to re-rig.
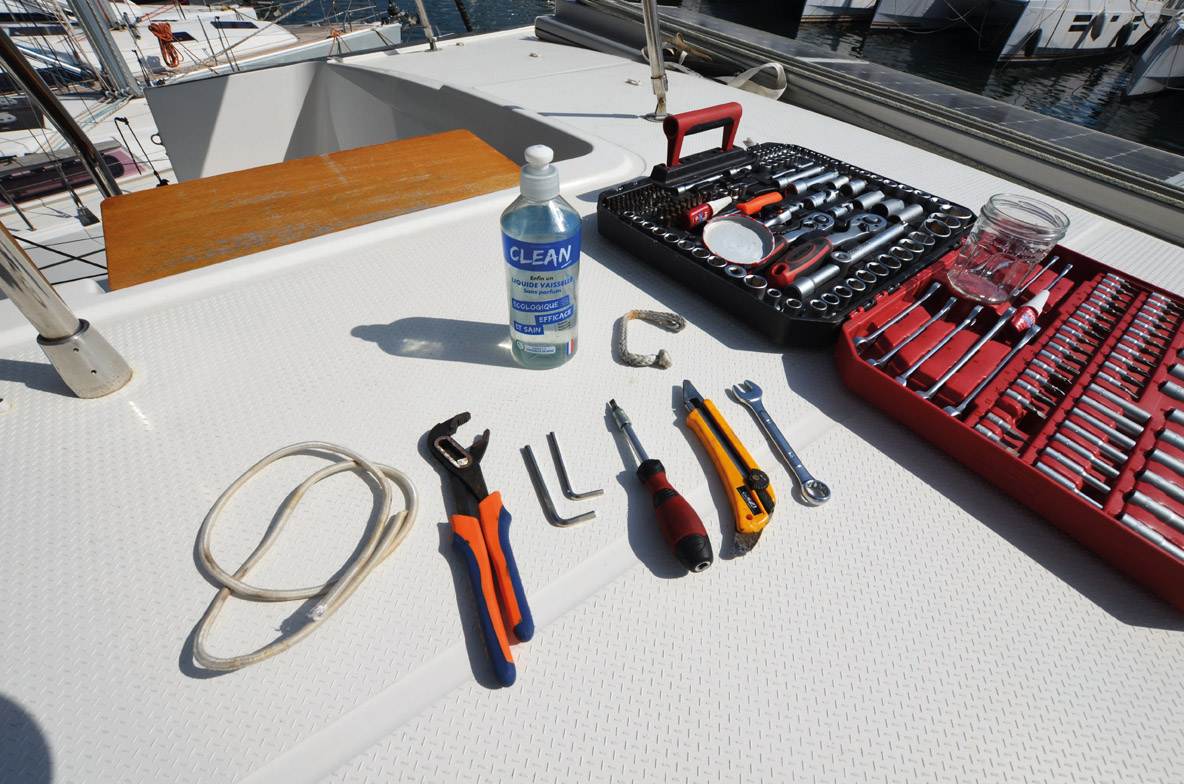
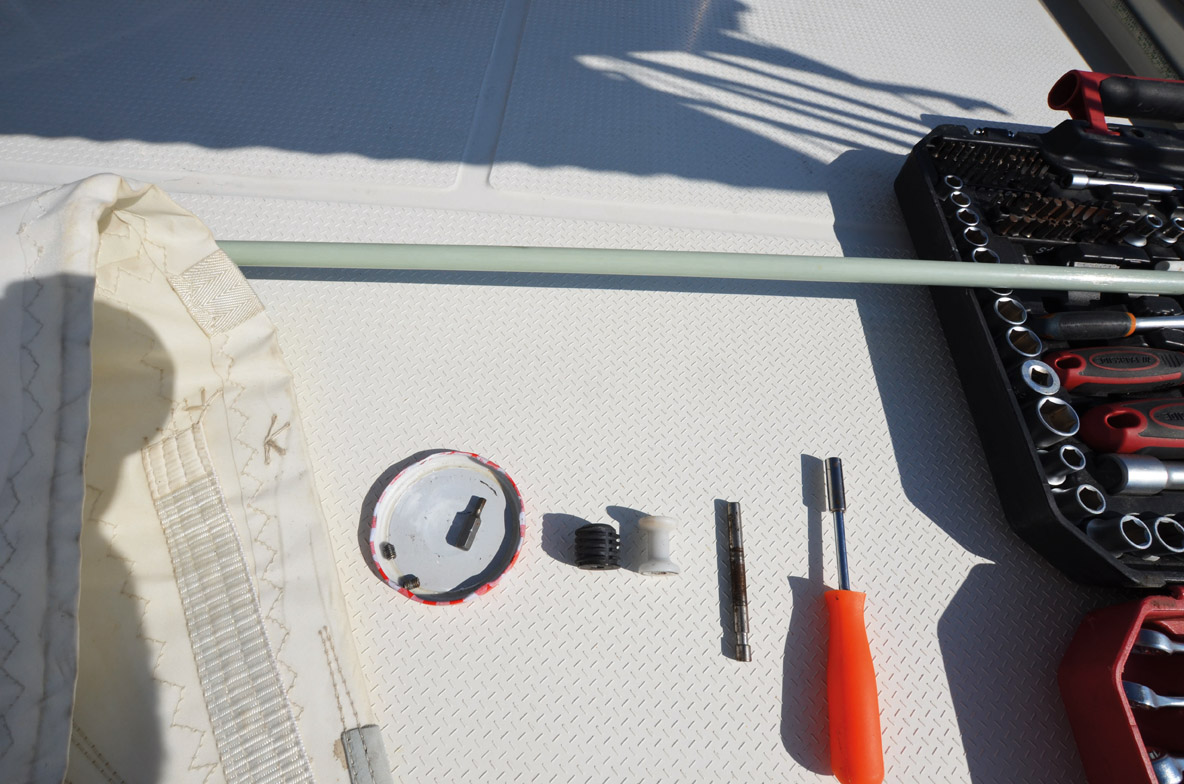
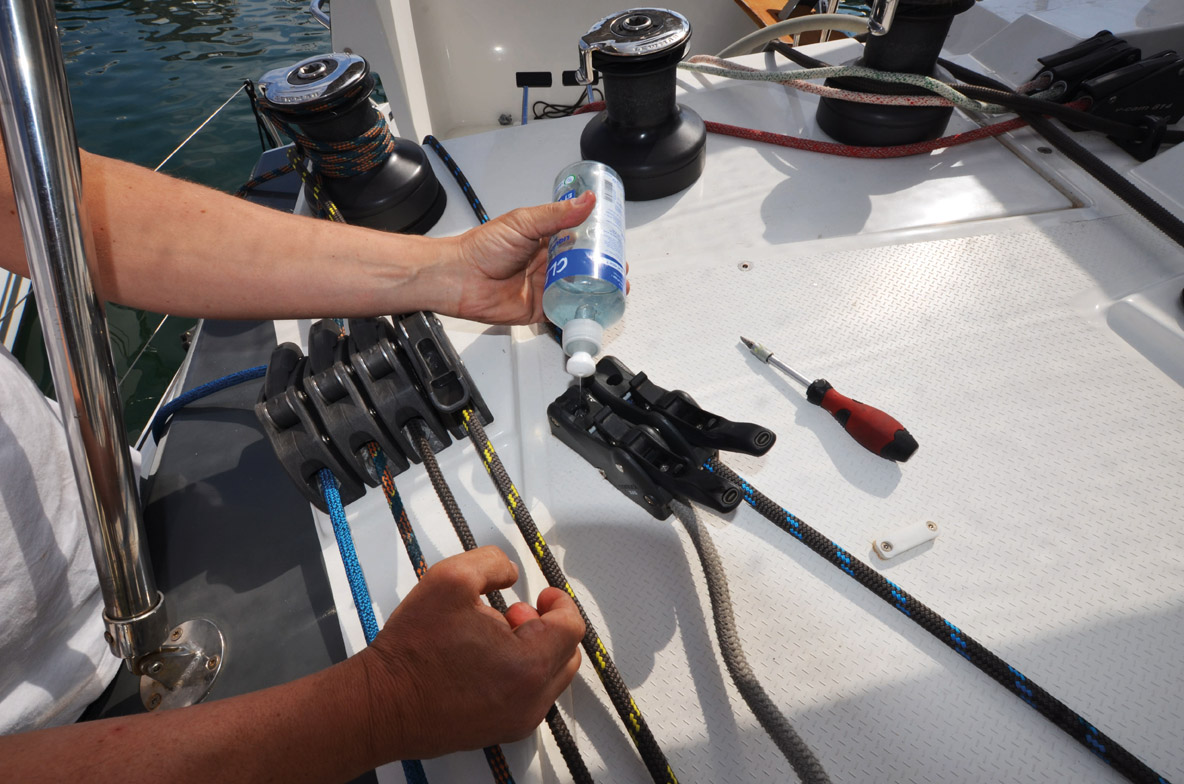
2 Sailing is still (somewhat) a mechanical sport - so you’ll need a few tools: pliers, Allen keys, bungee cords etc.
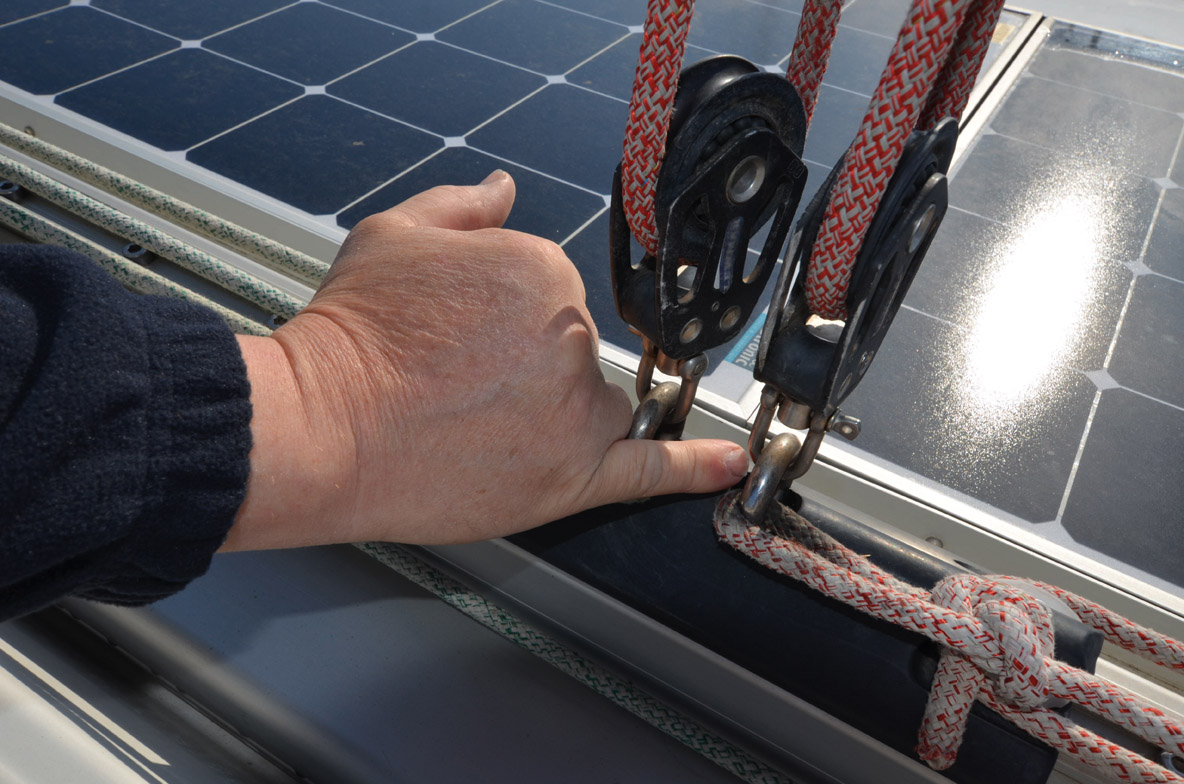
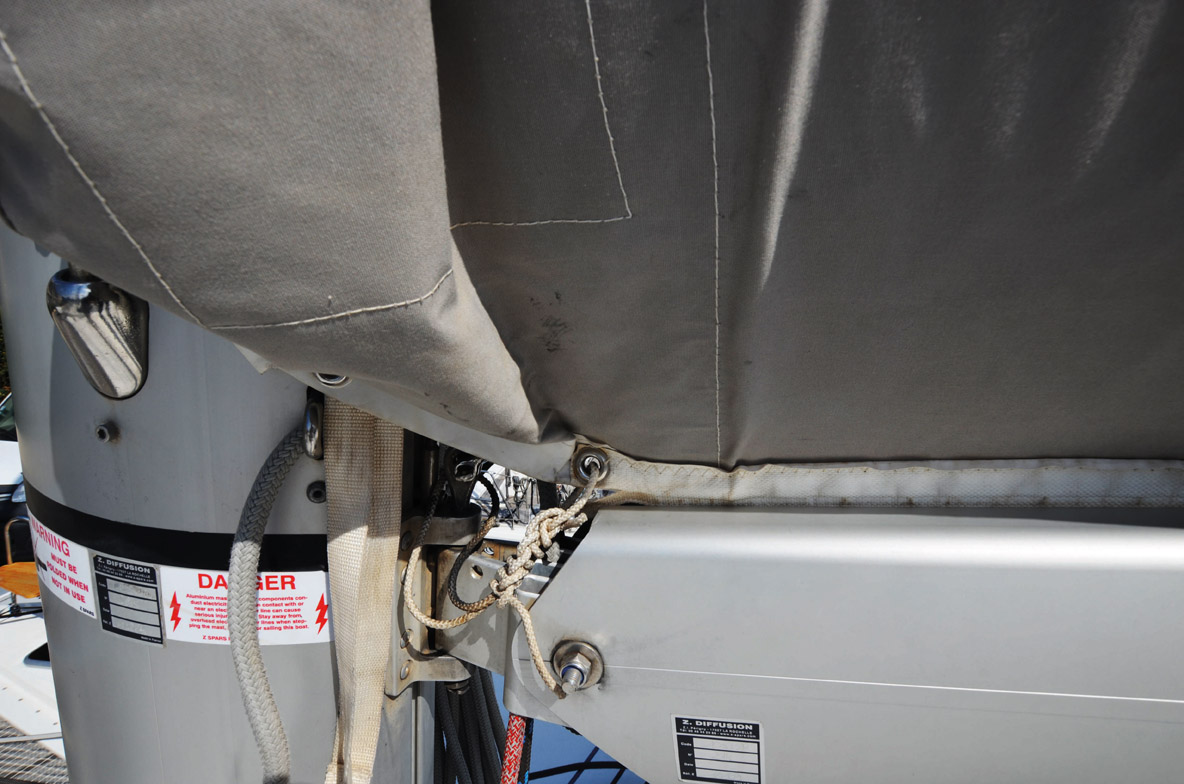
3 An initial visual check will reveal any problems. The level of wear on blocks and the parts of the furler should be carefully monitored. If a block is slightly seized, put it in some soapy water. But if any such part or shackle proves to be defective or too worn, it should be replaced.
 |
 |

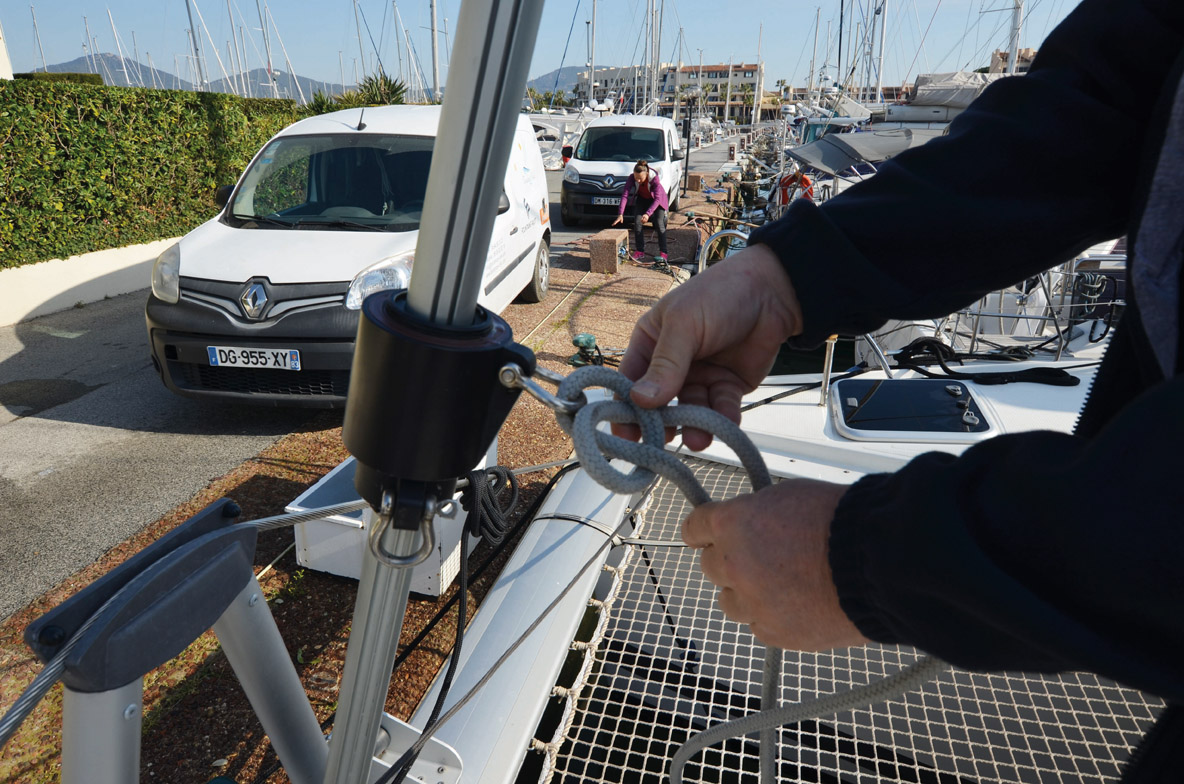
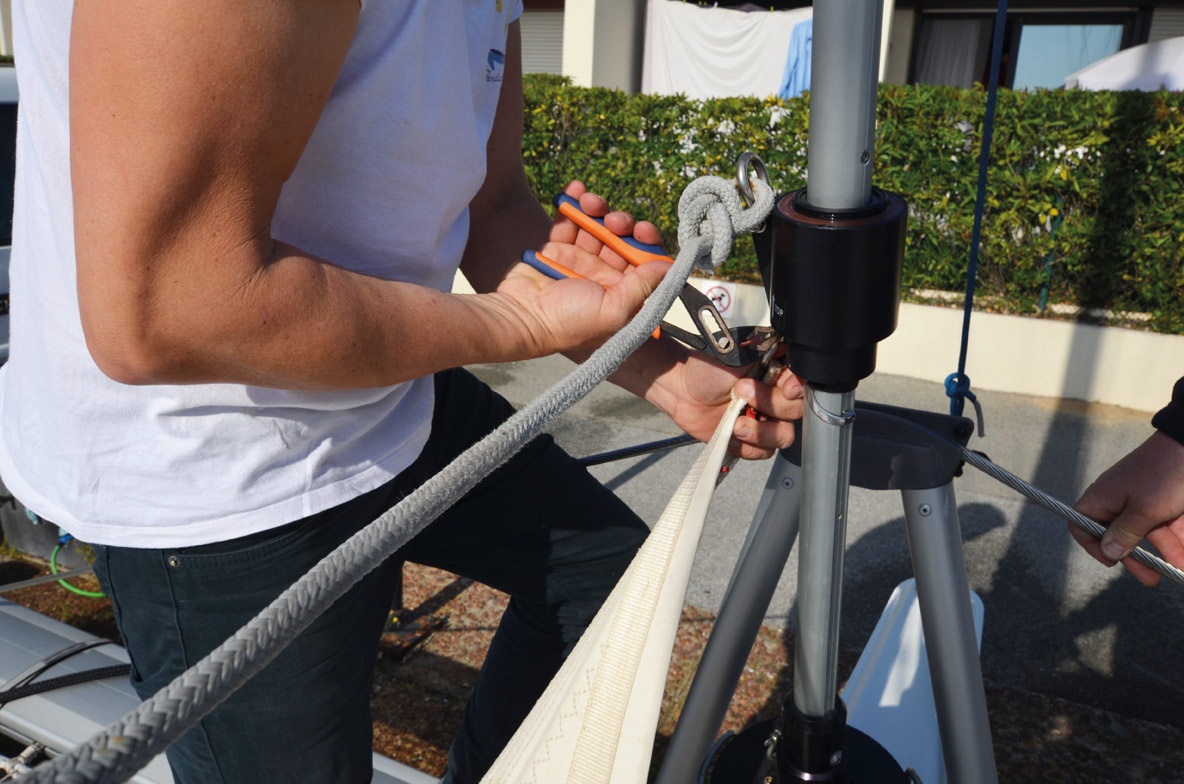
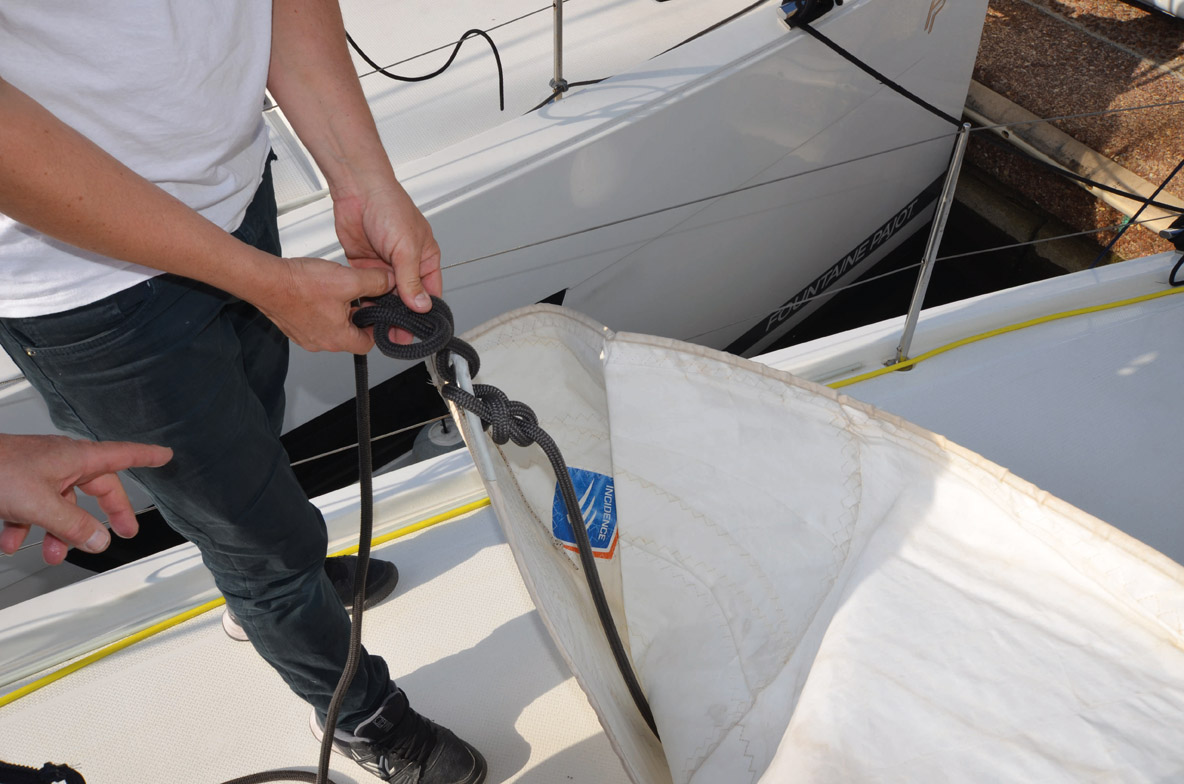
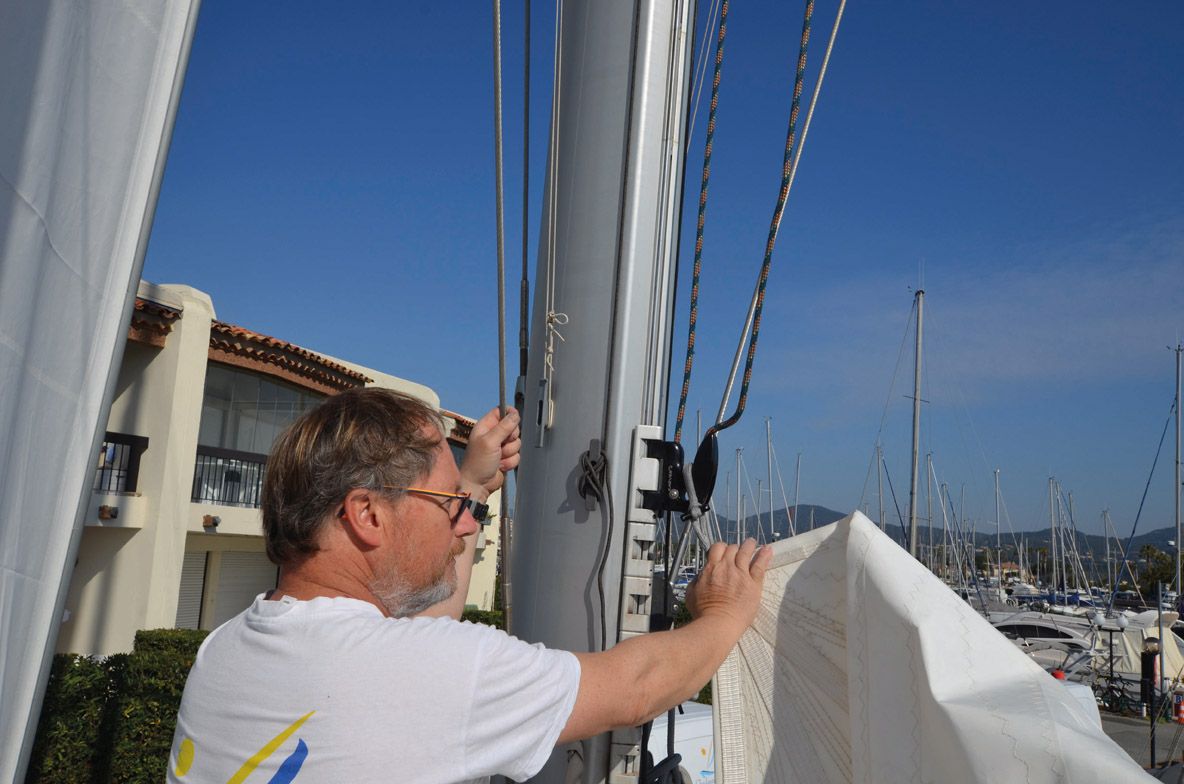
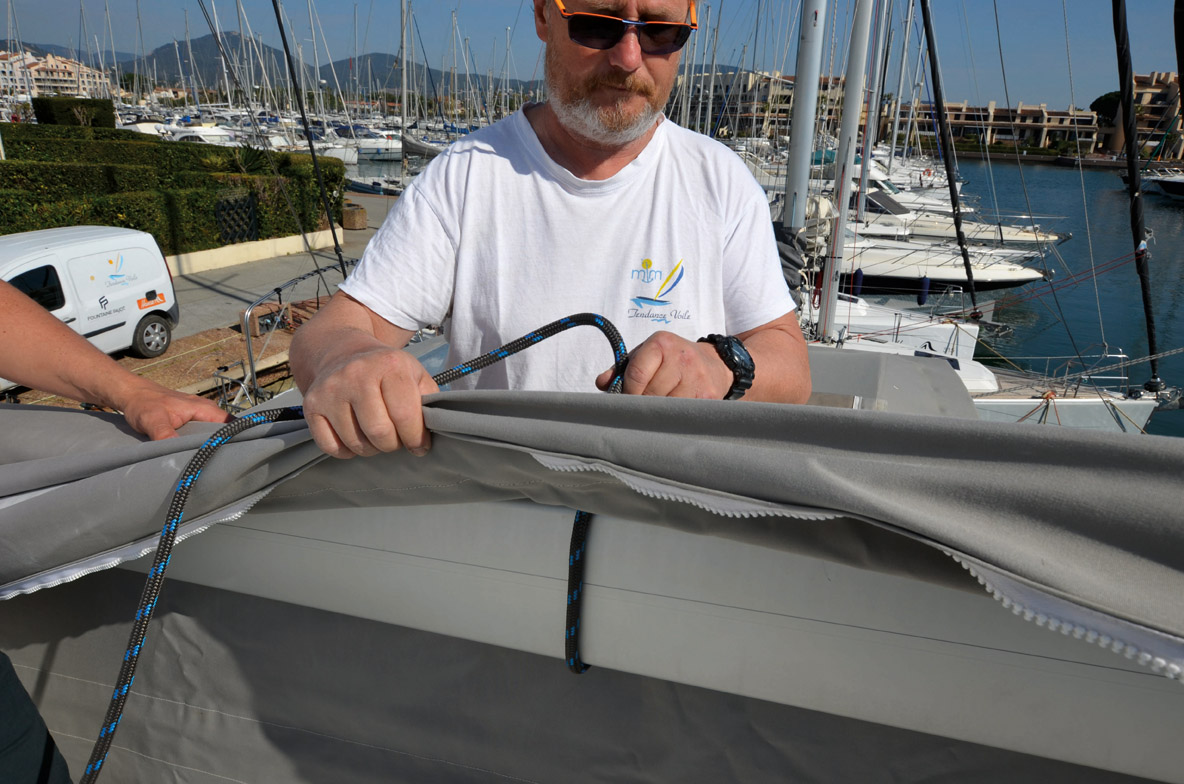
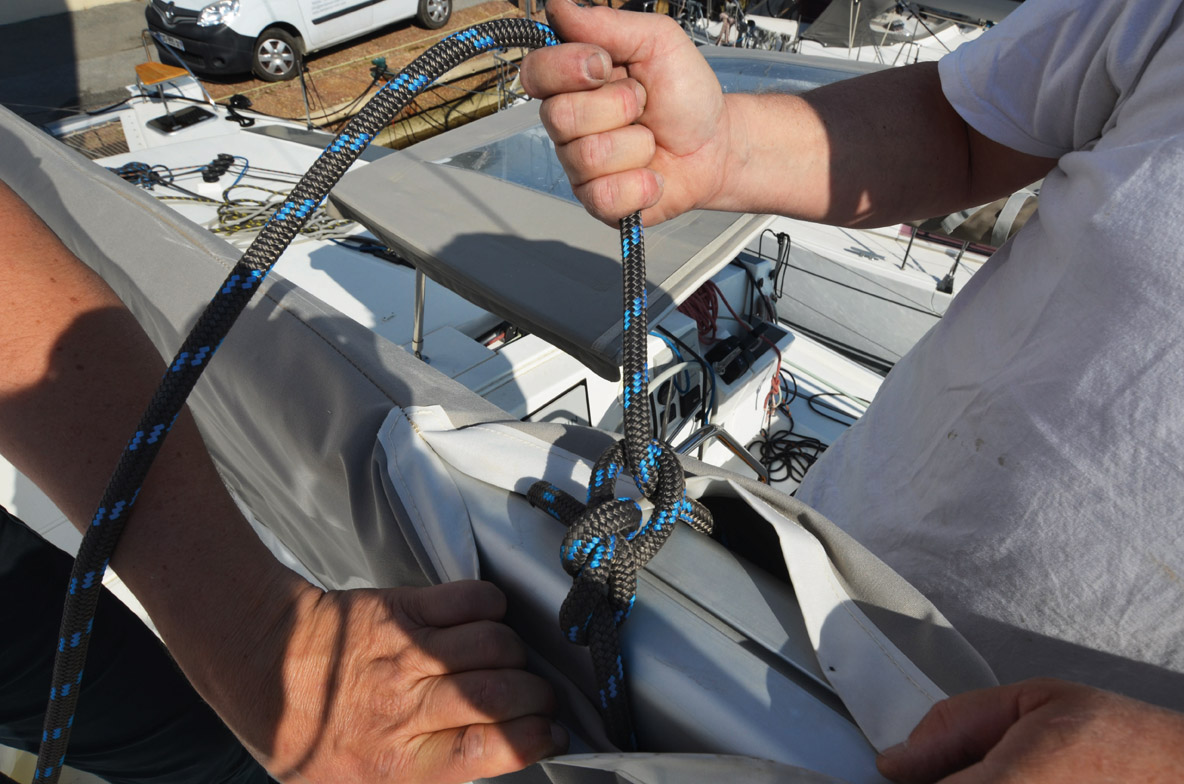
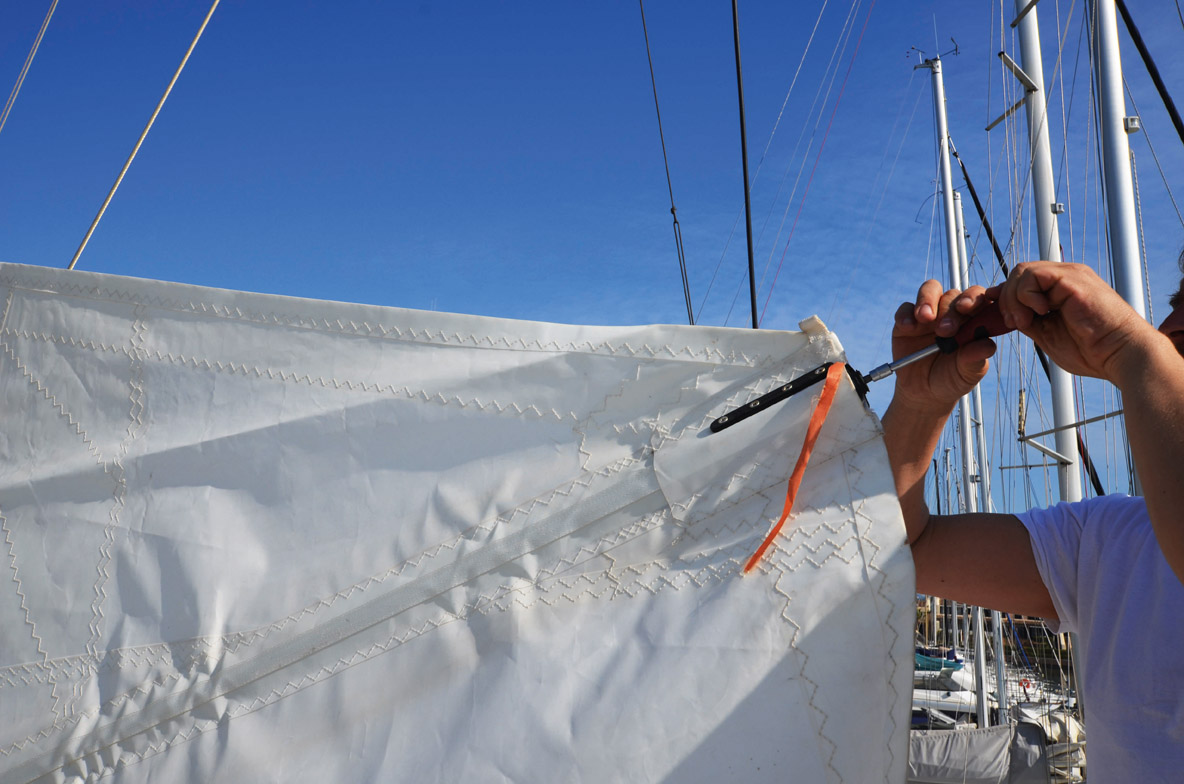
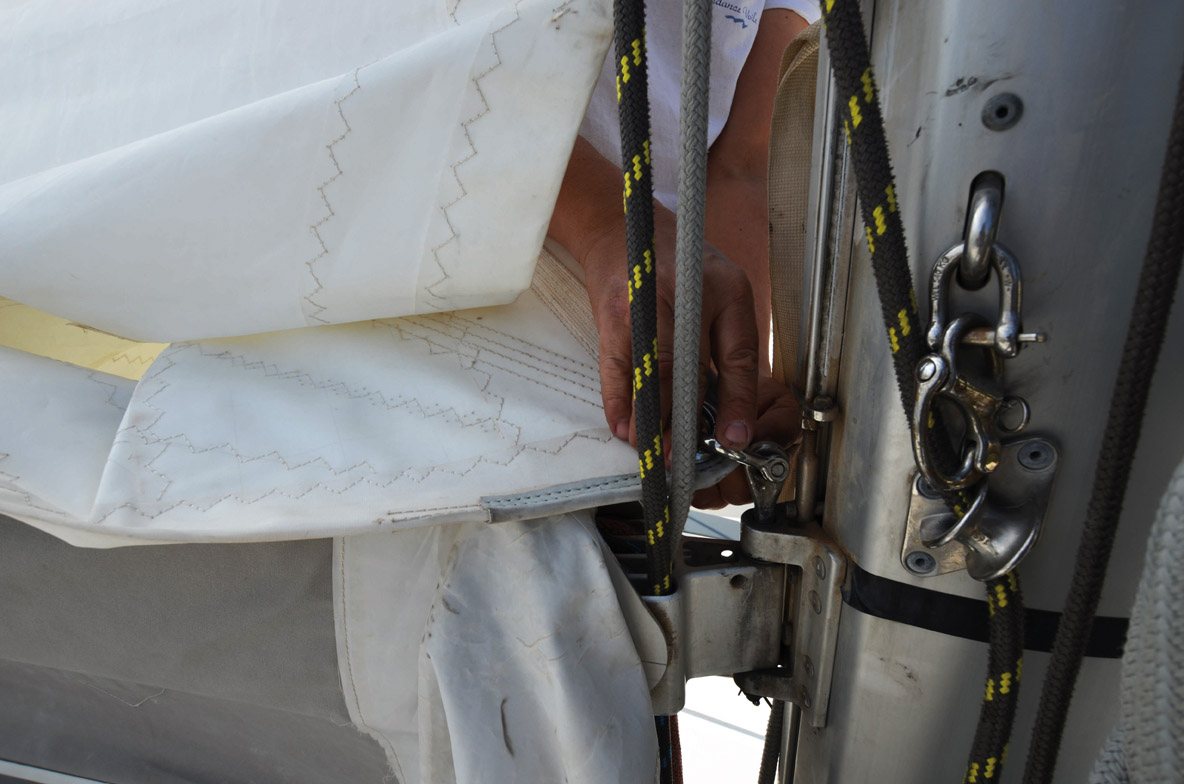
4 Start by securing the genoa halyard to the top swivel with a bowline. Next, fix the head of the genoa to the lower shackle of the swivel. Nipping it up with a wrench will lock it in place.
 |
 |
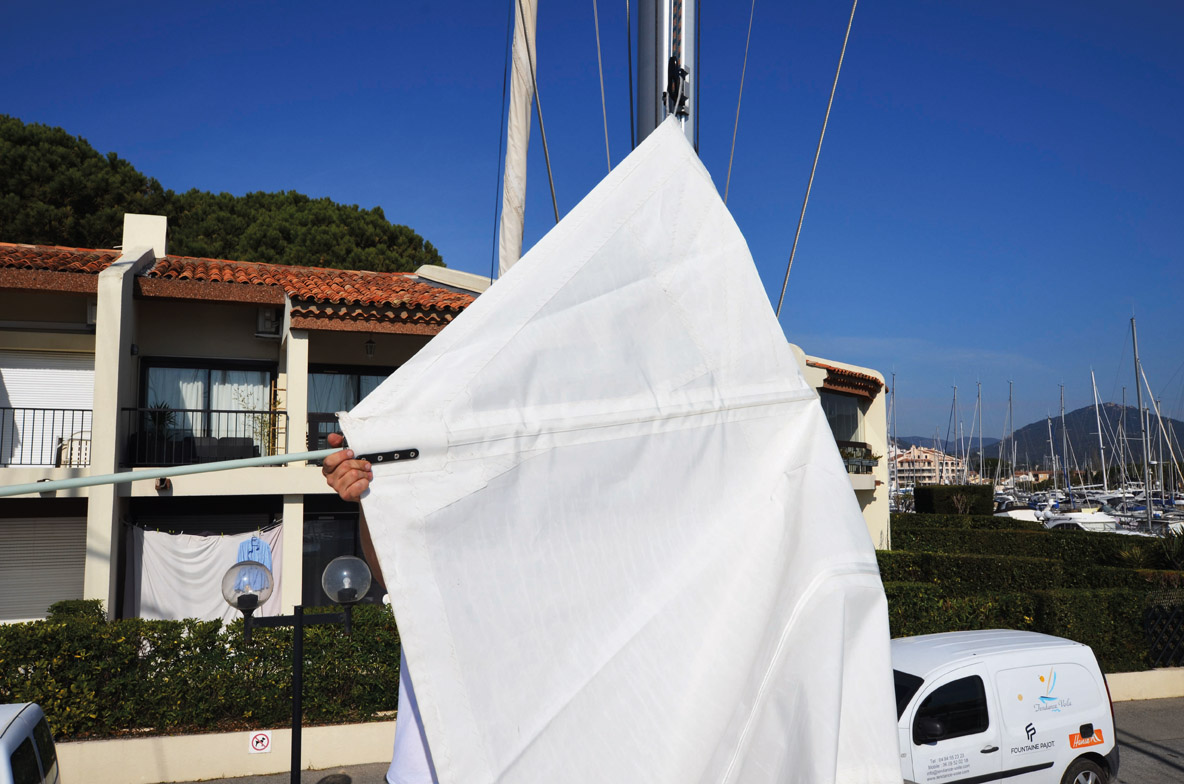
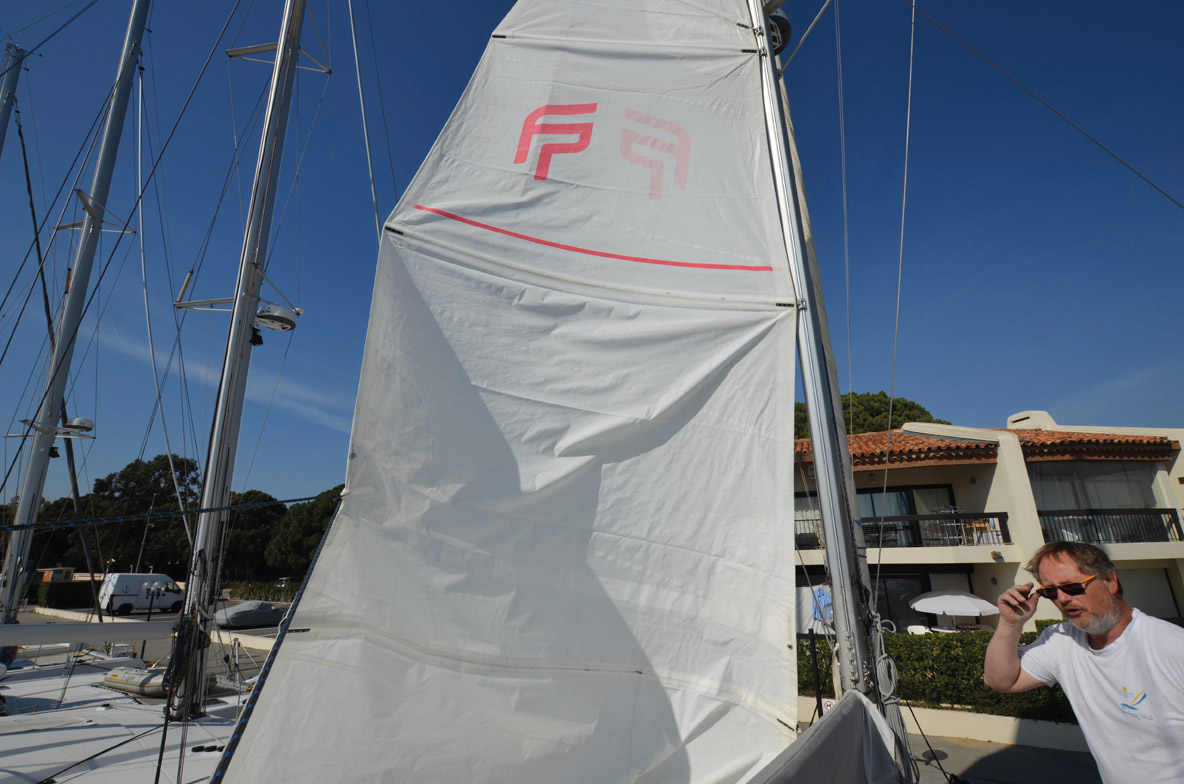
5 While one person hoists the sail from the maneuvering console or the winch, the other feeds the boltrope of the luff into the foil. Good synchronization is required! The sheets are then tied on at the clew using a bowline.
 |
 |
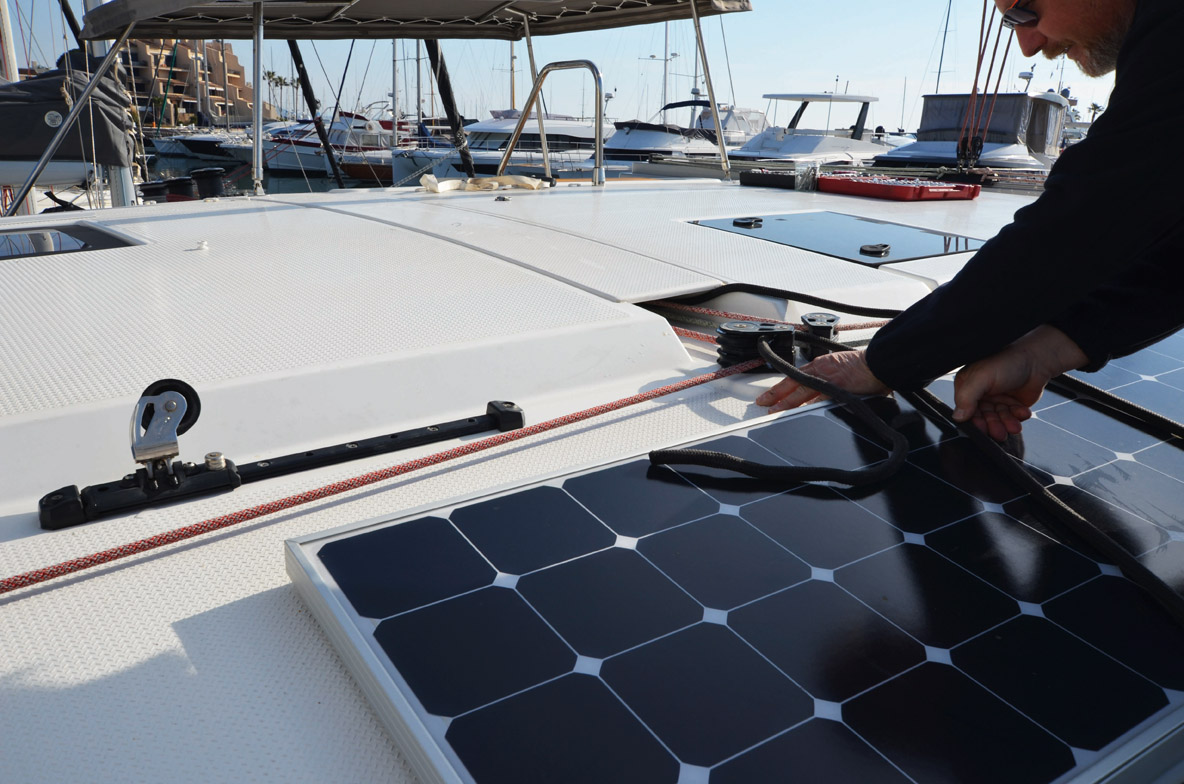
6 The sheets are led back through the cars and the deck organizer - this gives you the opportunity to check that they are working properly.
7 When the sail reaches the top, check that the halyard remains free and can’t get caught in the mast sheave.
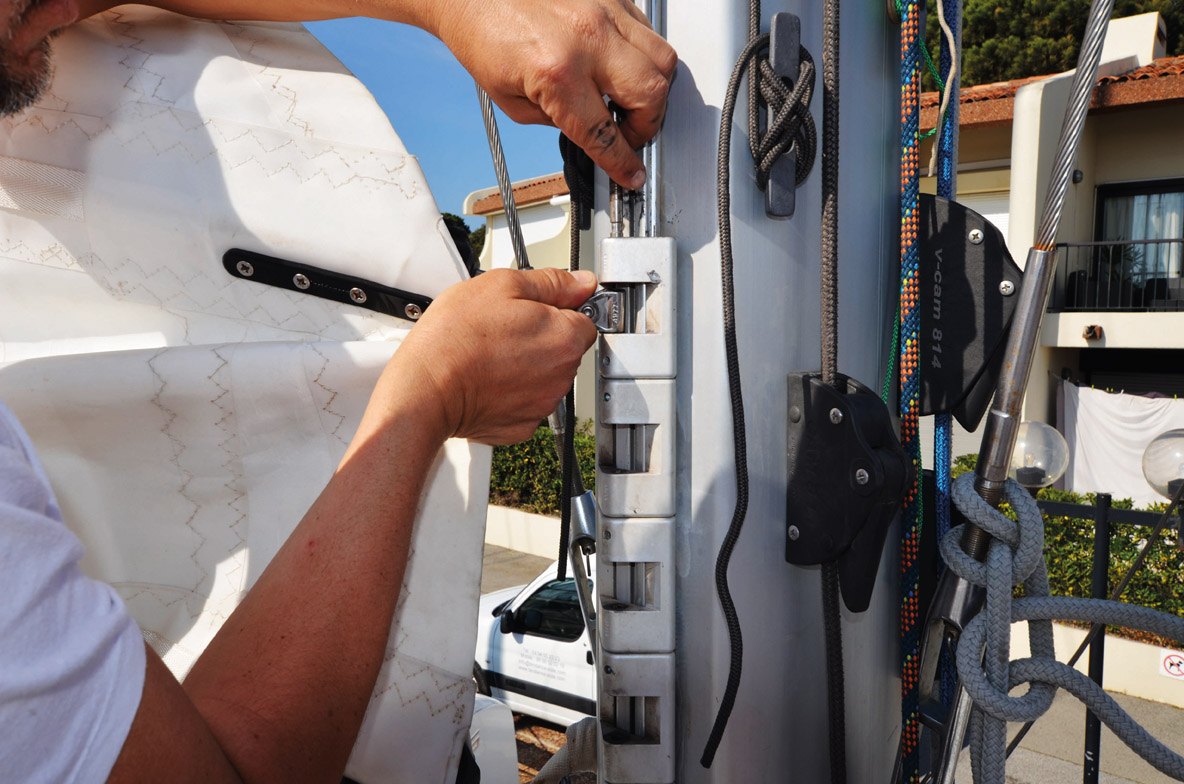
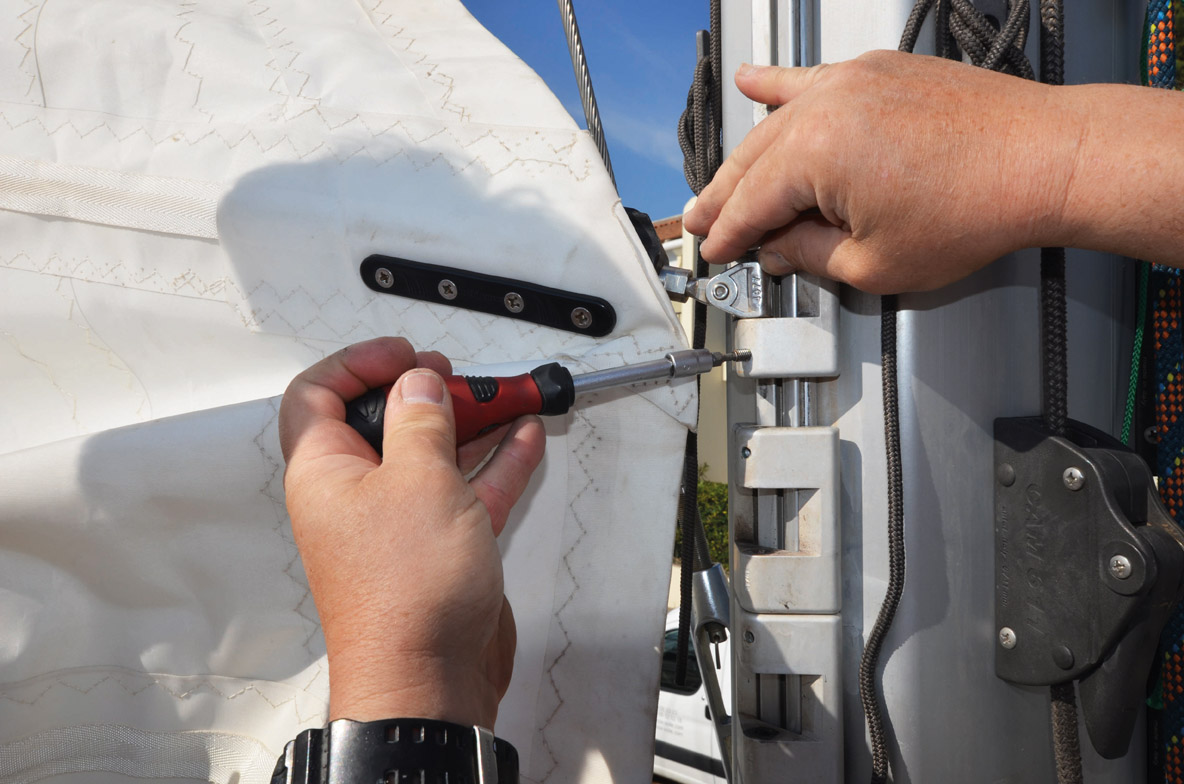
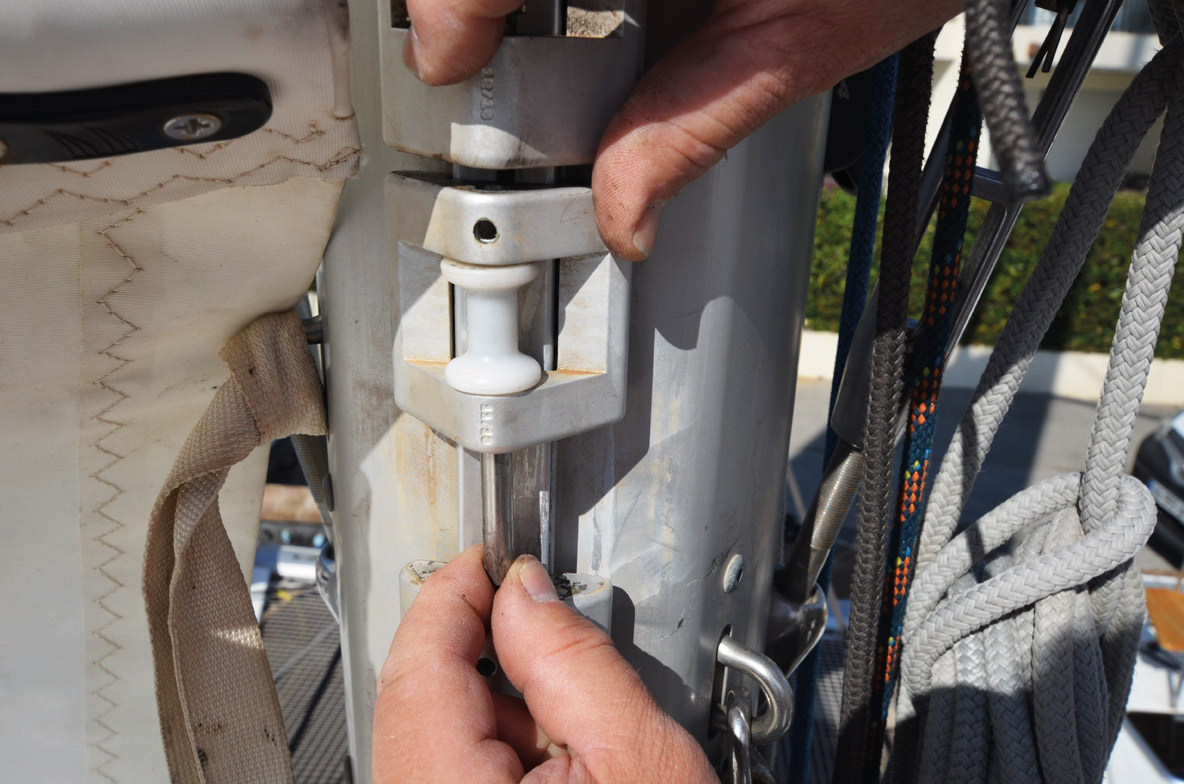
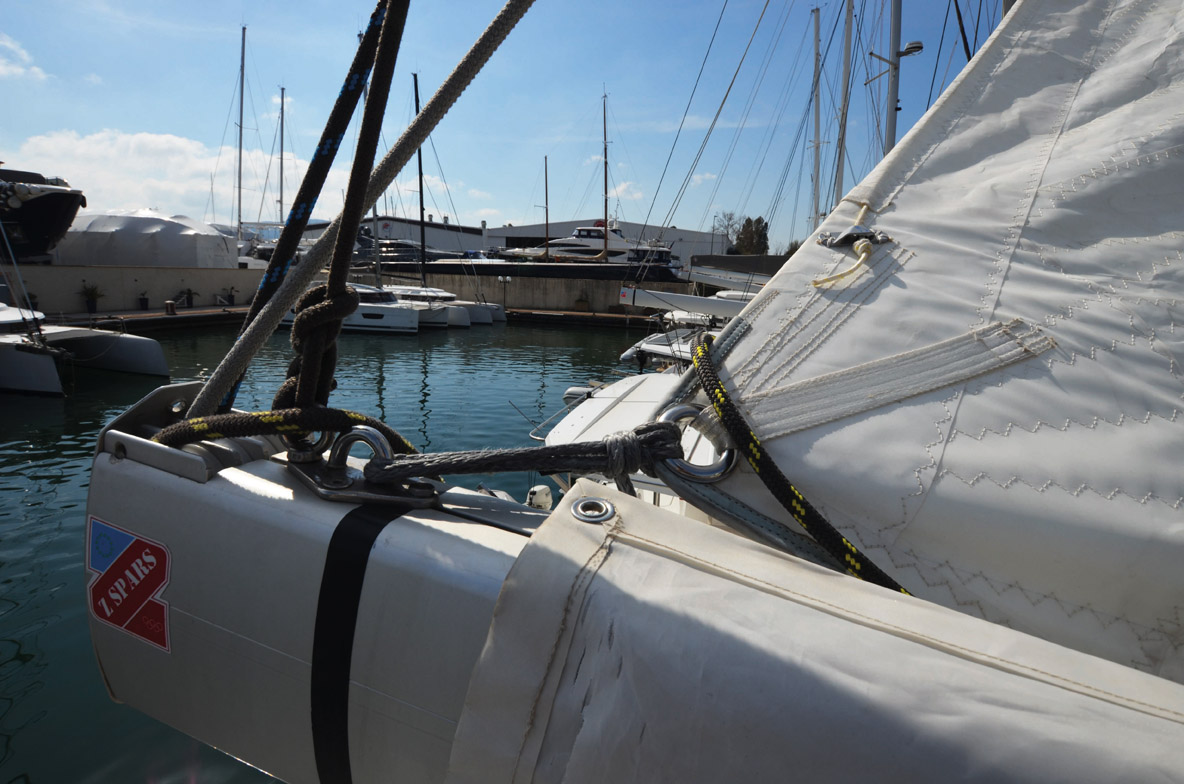
8 Once the genoa is hoisted, the tack can be attached with the shackle on the furling drum.
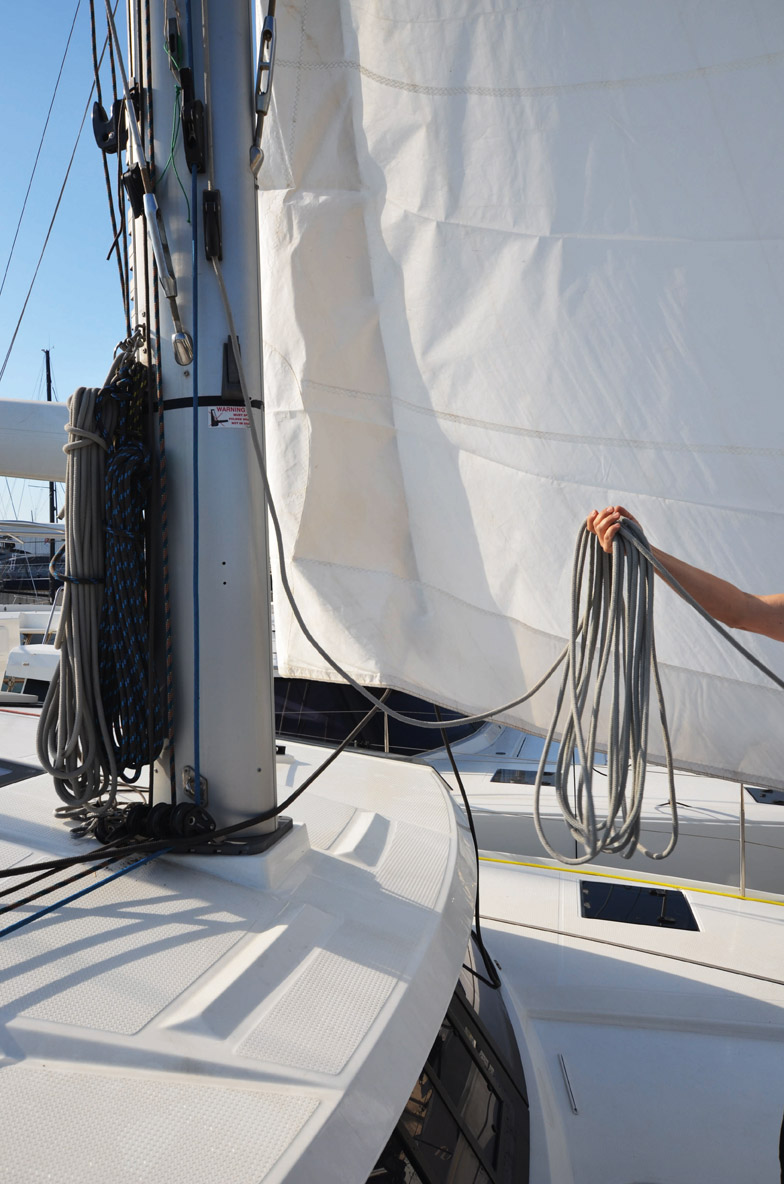
9 The halyard tension should not be too tight, otherwise you won’t be able to furl the genoa properly. When furling the genoa after sailing, it is advisable to slacken off the halyard an inch or two to release a bit of tension on the luff. Then coil the halyard neatly and tie it off at the mast foot.
 |
 |
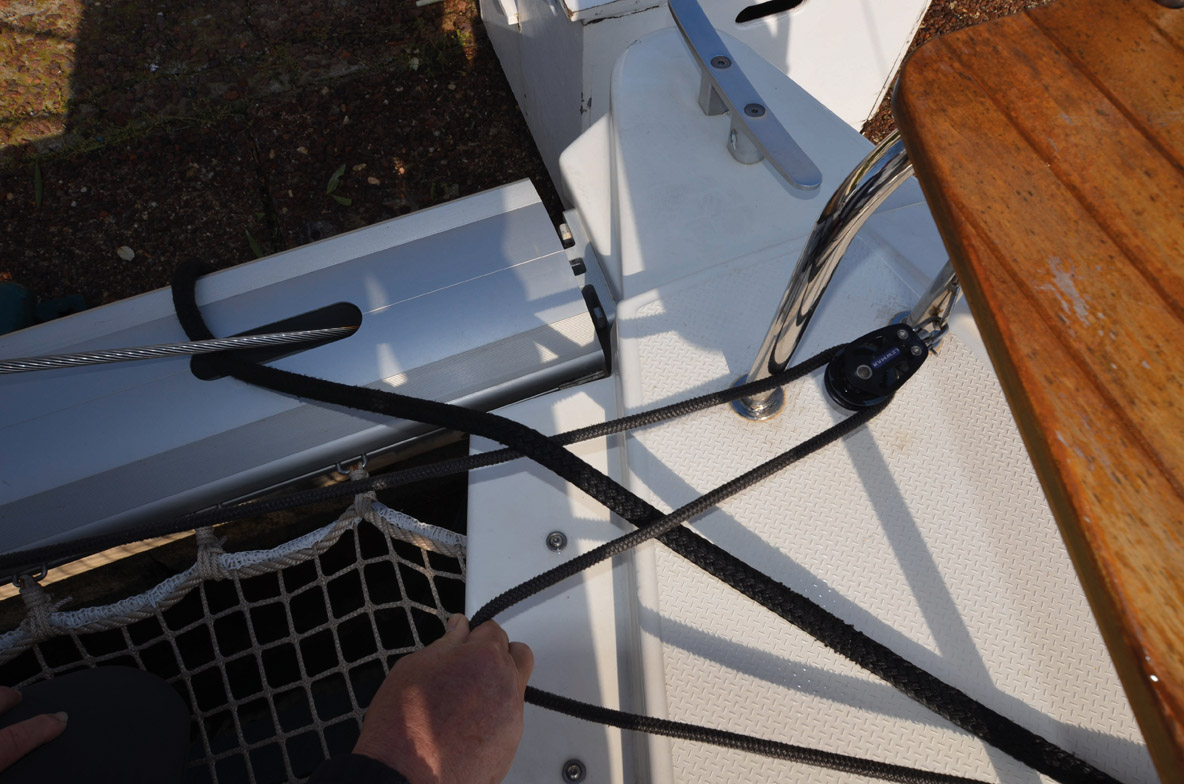
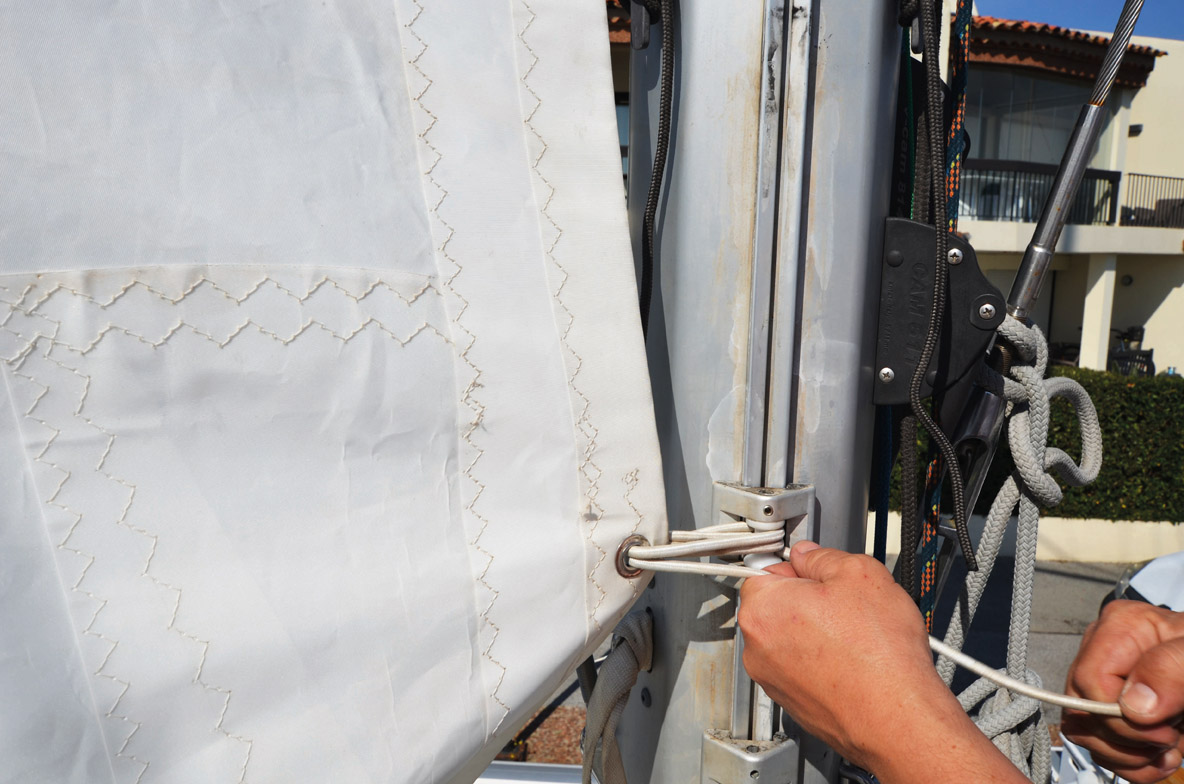
10 You can also check the leads of the furling line. Here, it chafes on the pulpit foot when it is under tension. To remedy this, a second shackle or a small lashing will allow you to space it out and not to drag it, which will preserve the furling line... and reduce the effort required to use it.
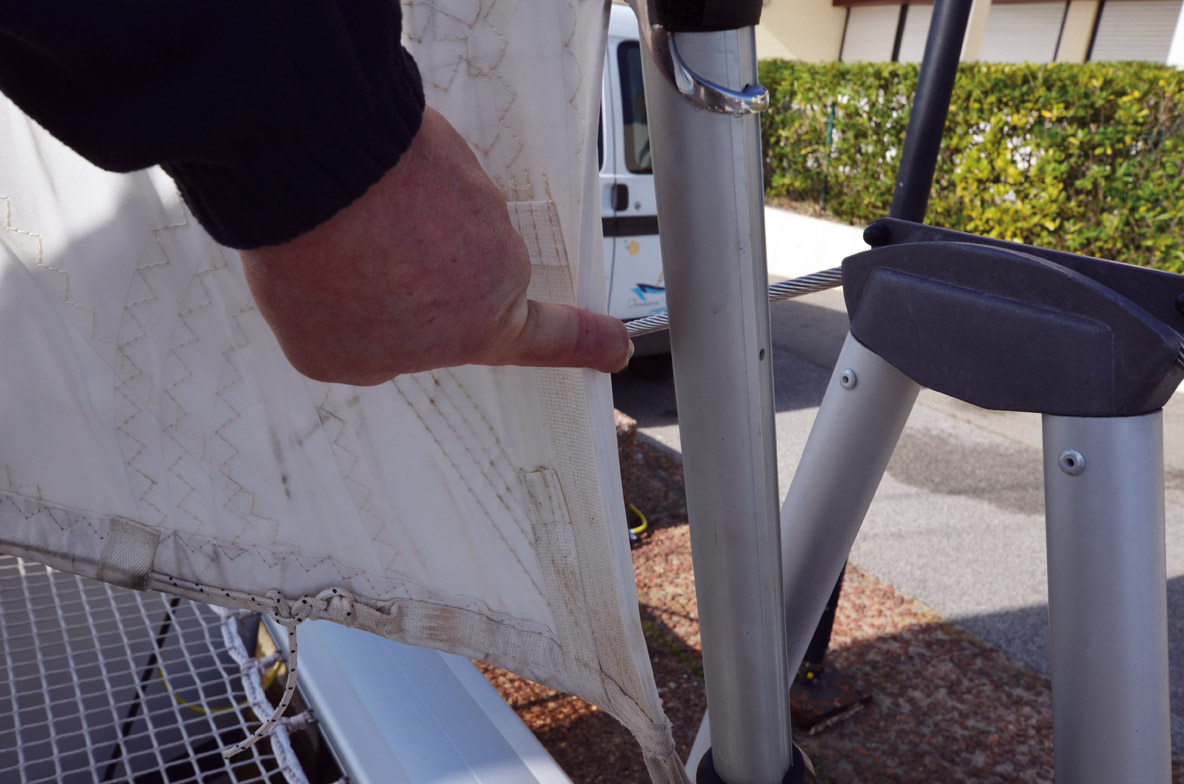
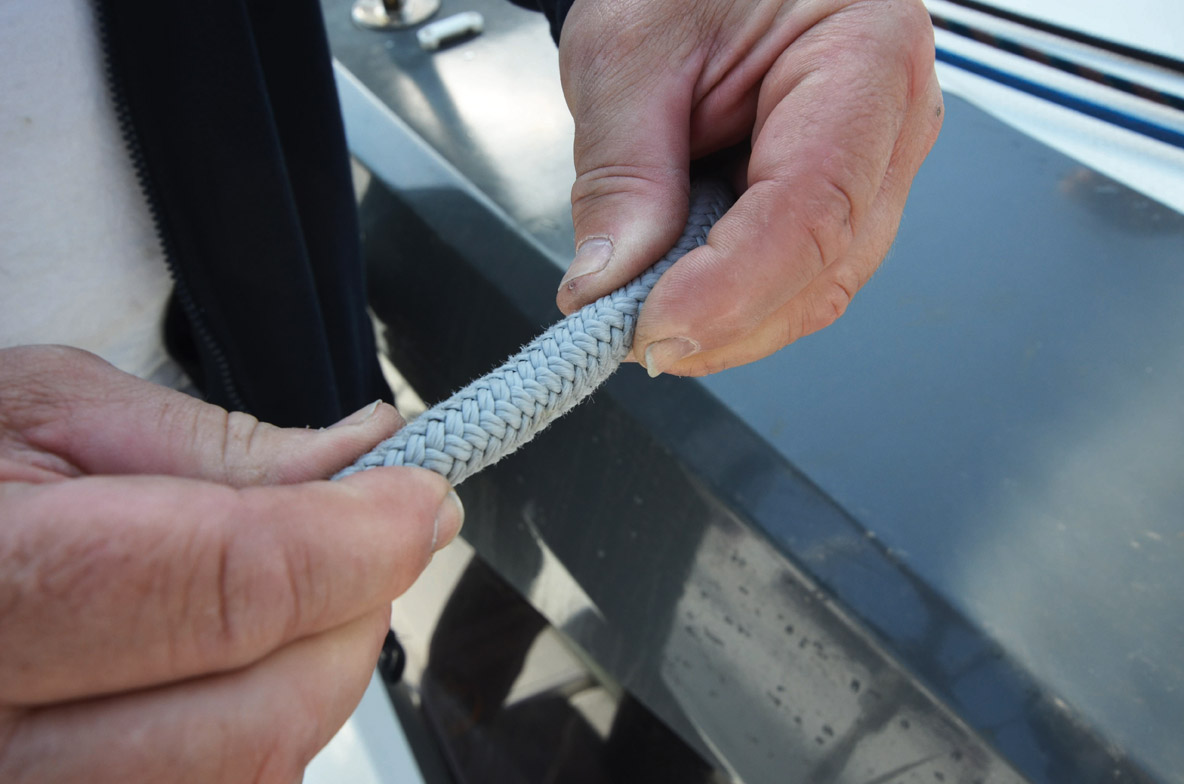
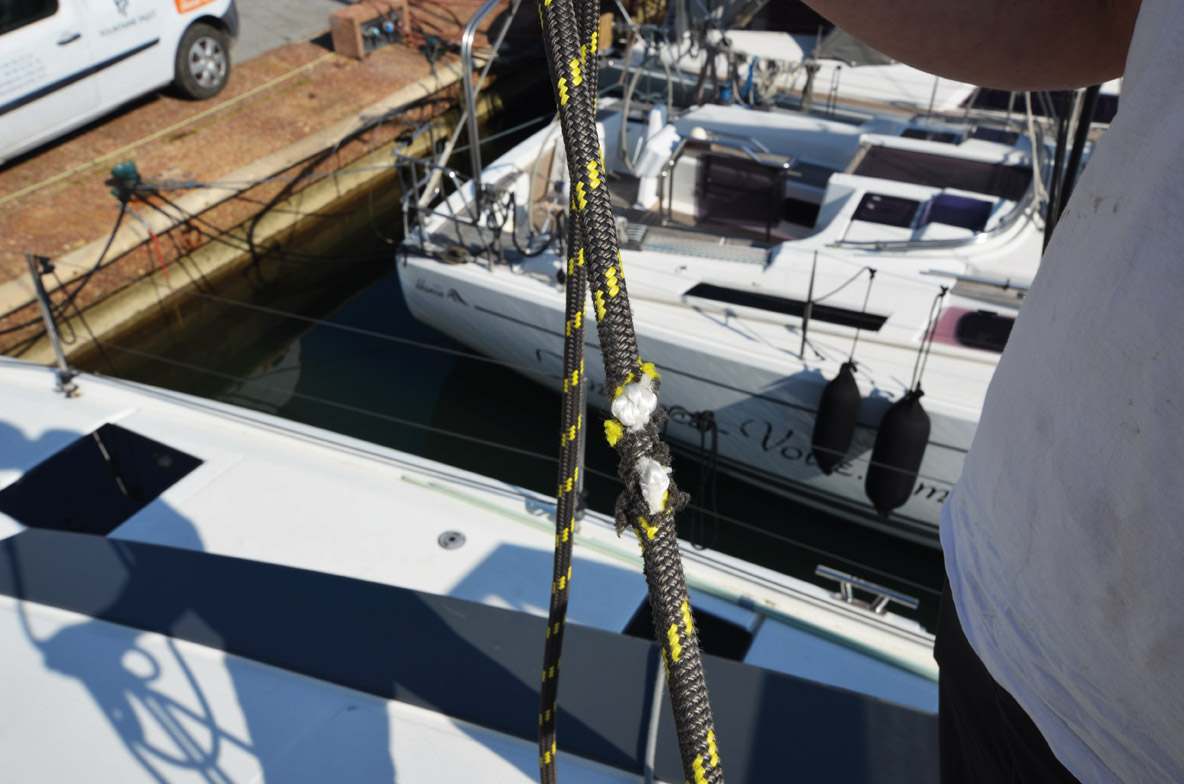
11 The sheets or halyards wear out irreparably. To check, squeeze the line in two places - the line should swell up a bit. If it doesn’t, as in this case, it’s pretty much done…
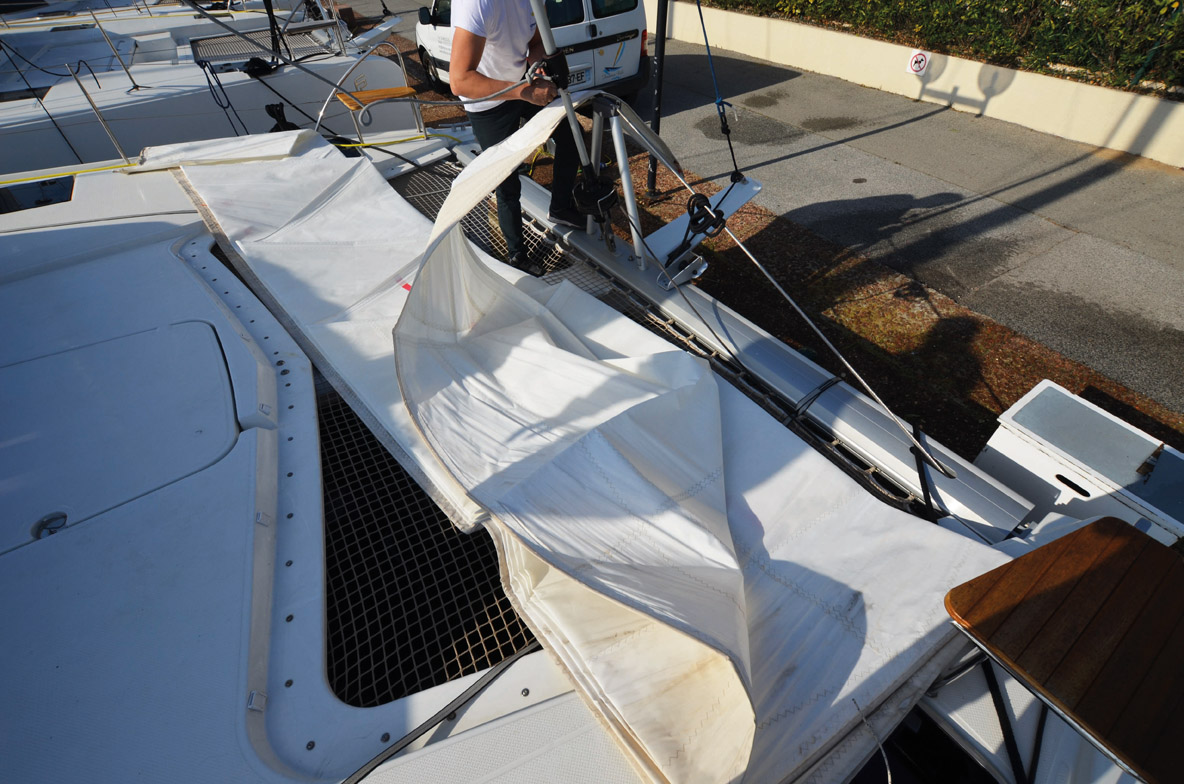
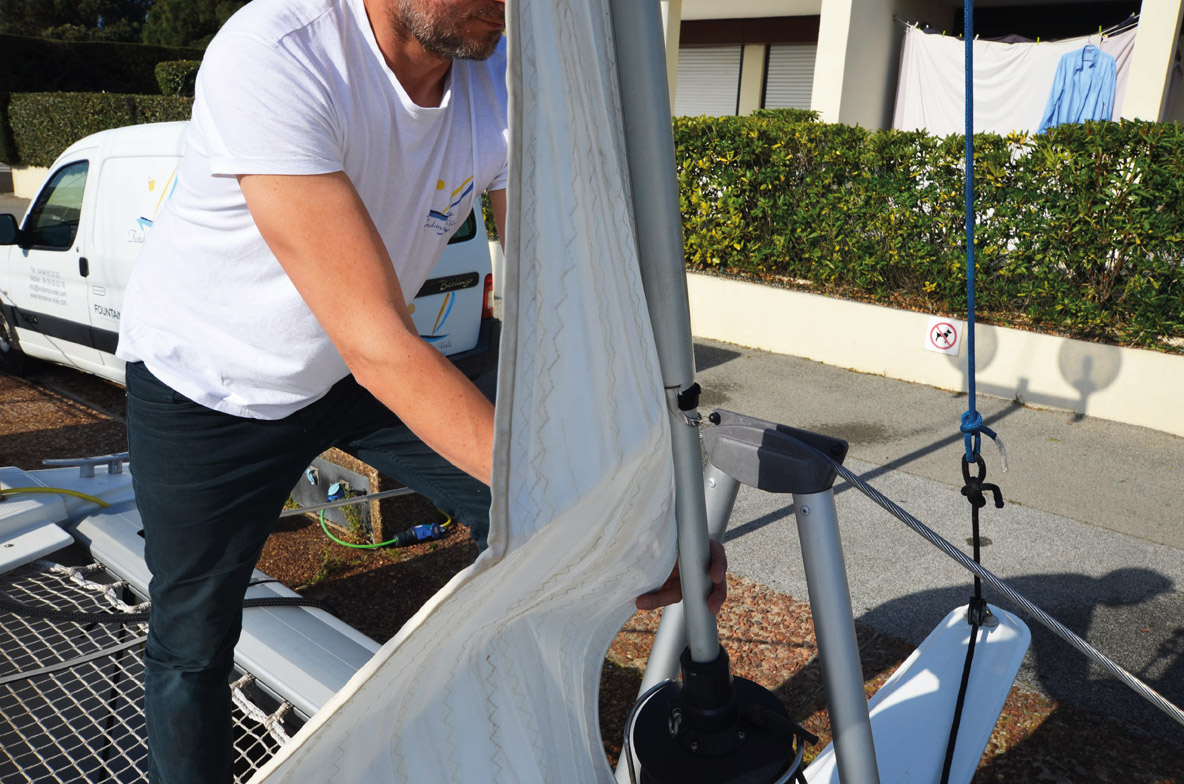
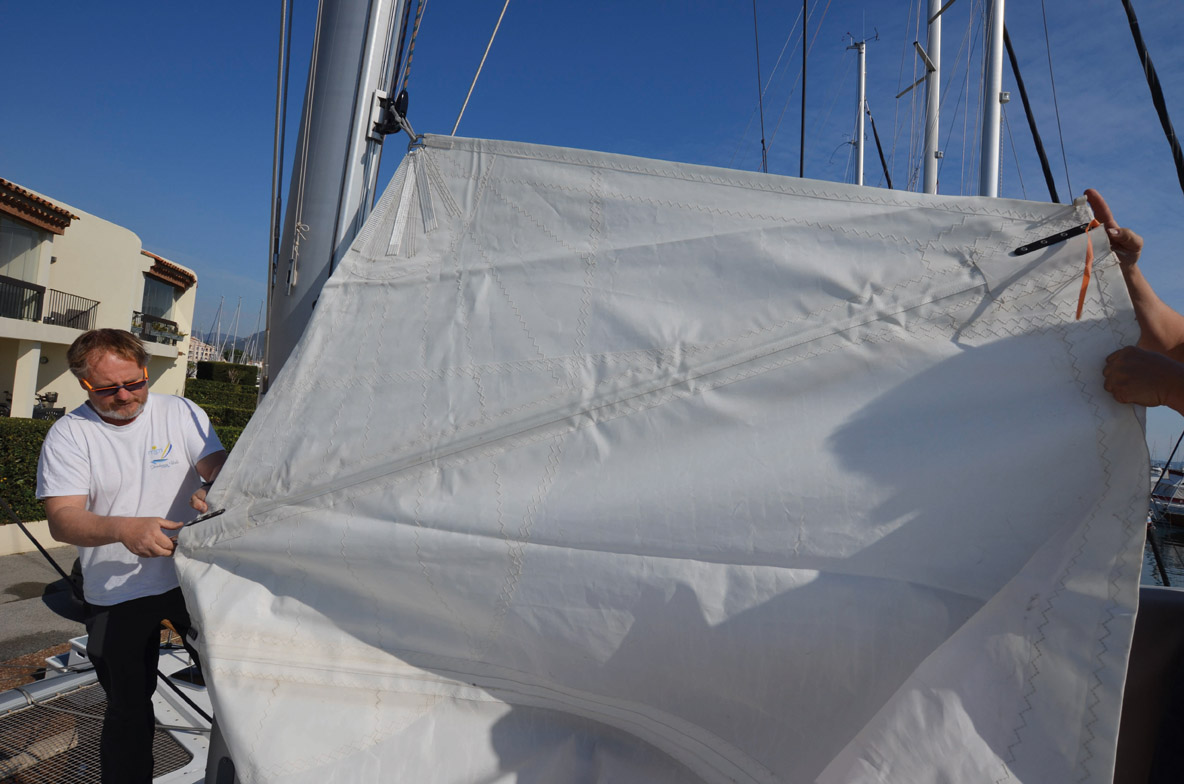
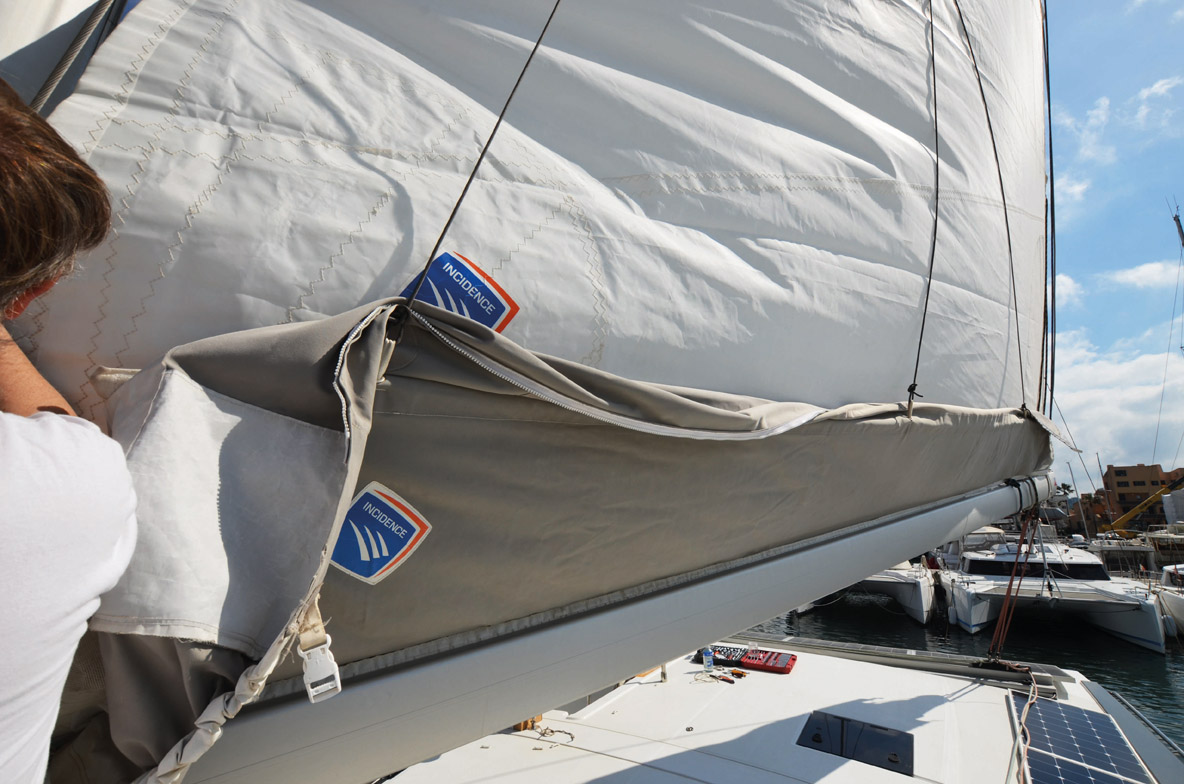
12 For the mainsail, start with the lazy-bag which will support and protect it. Like hoisting the genoa, this is an operation that is easier to do with two people. You start by sliding the lazy-bag into the track on the boom.
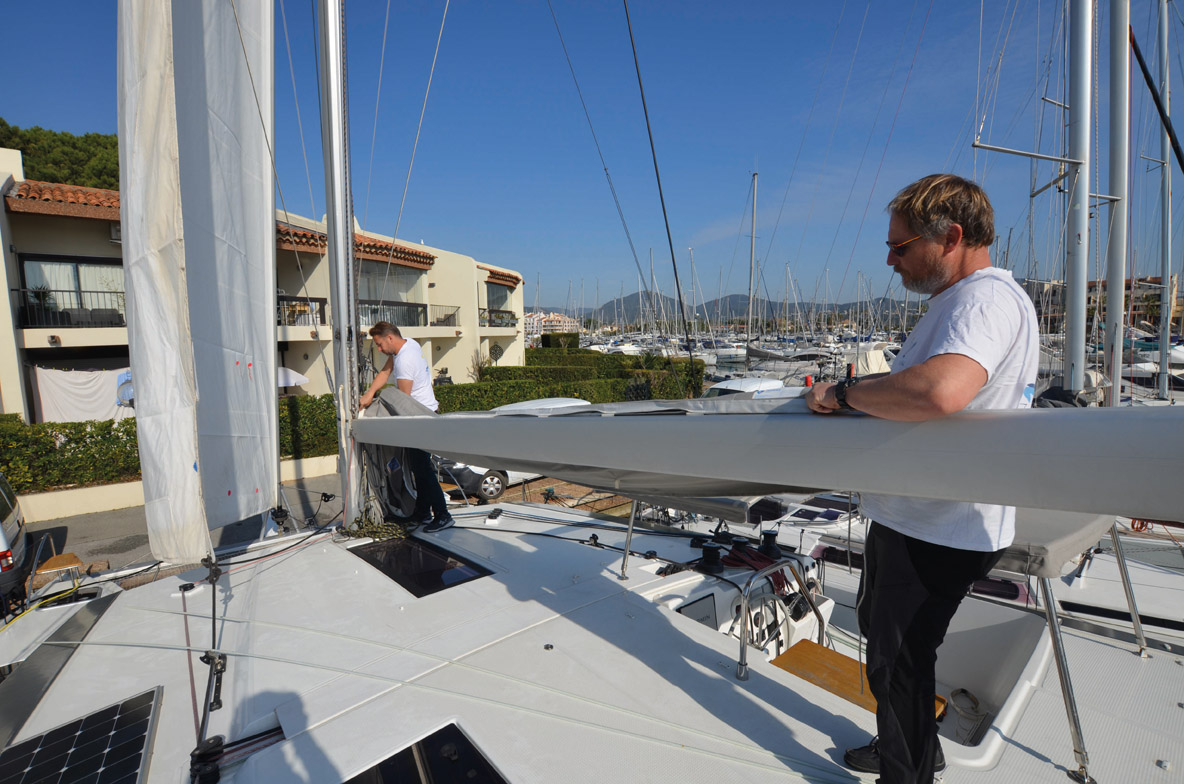
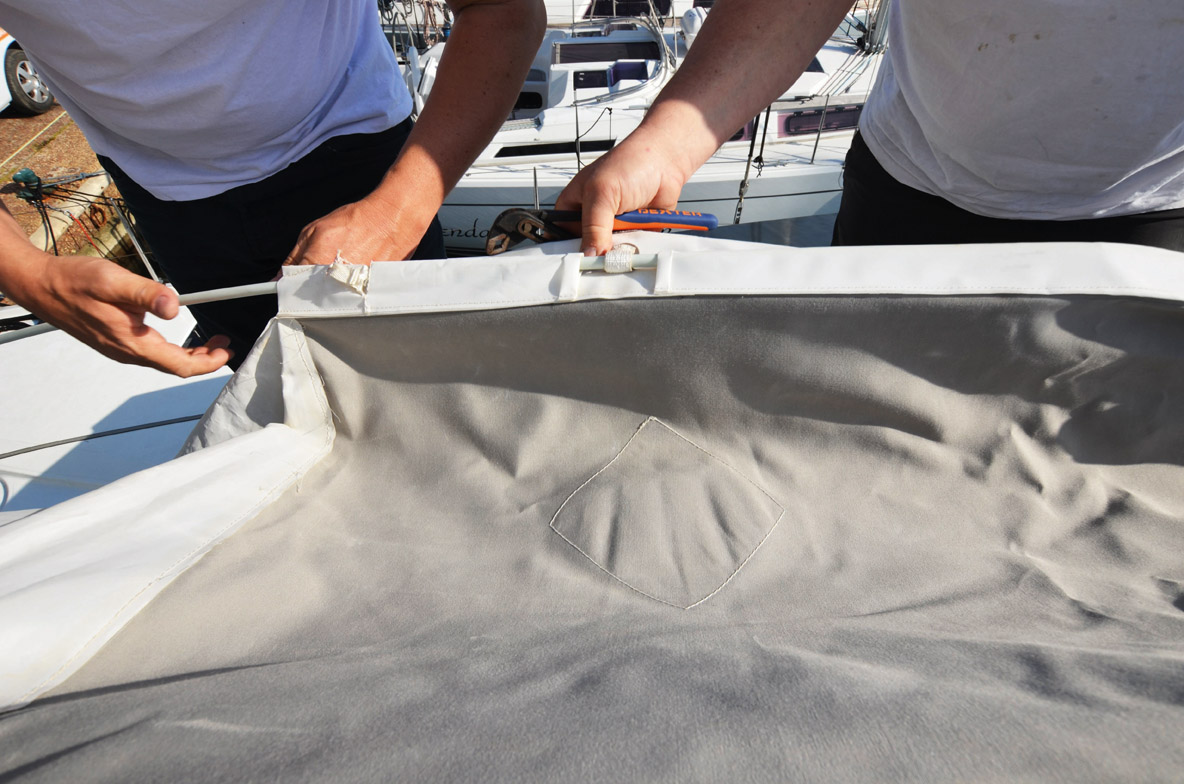
13 Next, slip in the battens that support the top of the lazybag, being careful to pass them through the support straps. Here, a small strap is torn and it was replaced by a lashing made with a bit of small stuff. Ultimately though, it’ll have to go to the sailmaker…
 |
 |
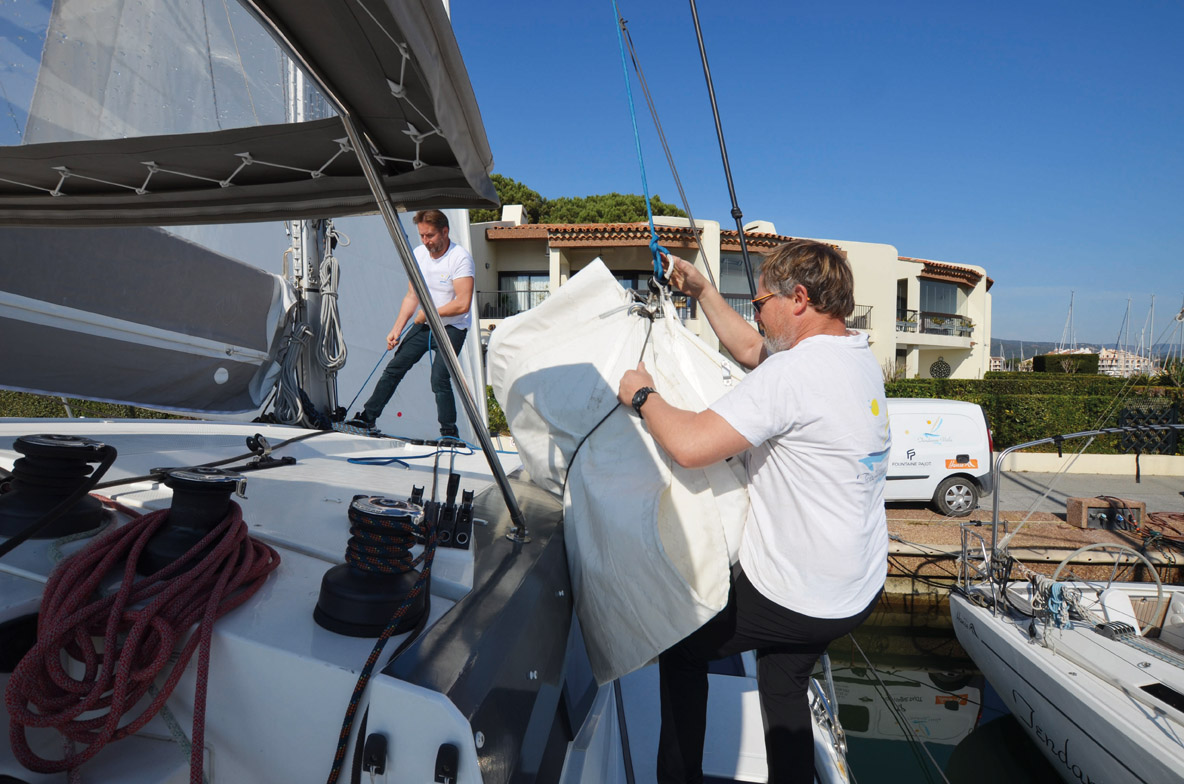
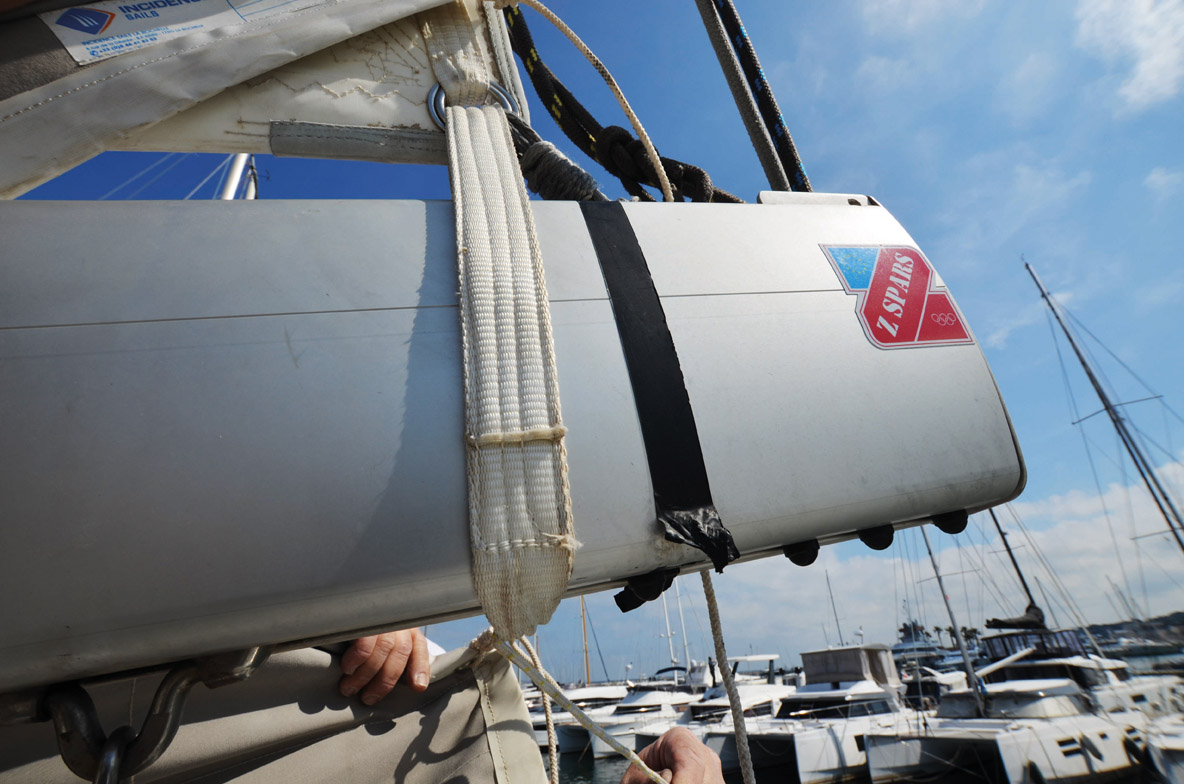
14 The mainsail on a cruising multihull can weigh between 100 and 180 pounds, so using the halyard to help you get it up on the coachroof might be a good idea. This is when you need to prepare the little items for securing the batten pockets, the batten cars, etc., and all the necessary tools.
 |
 |
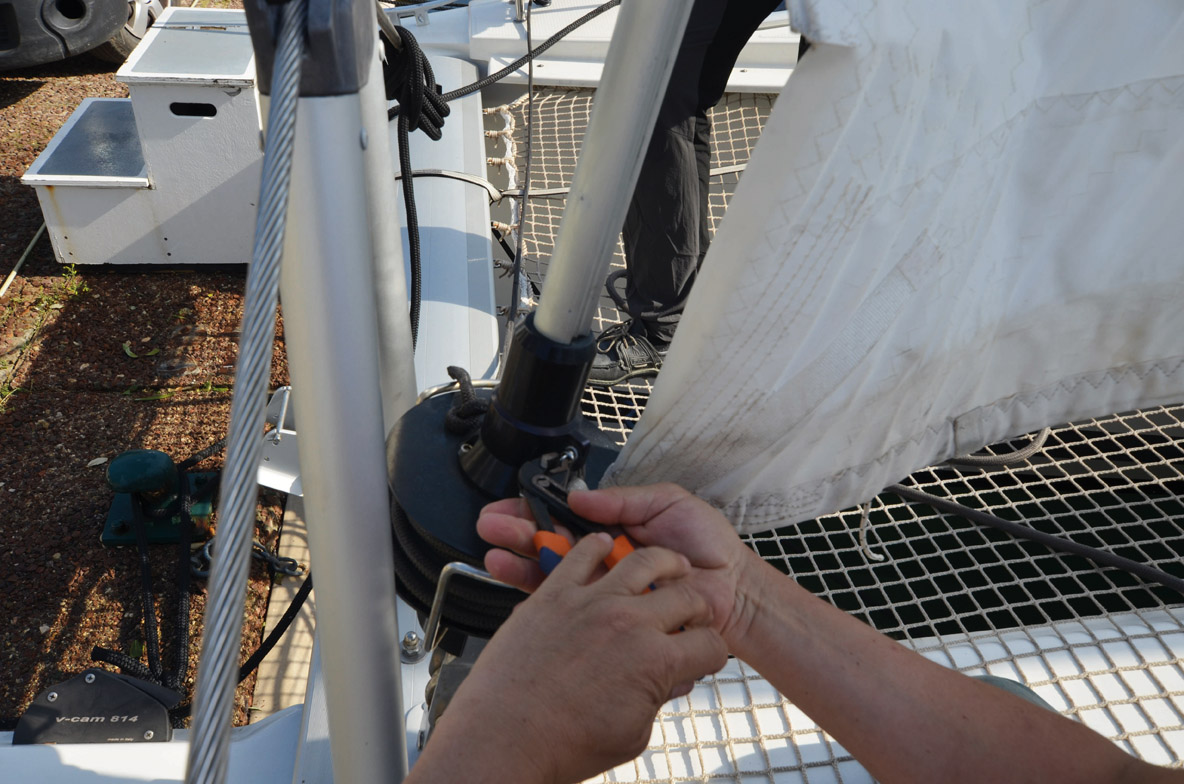
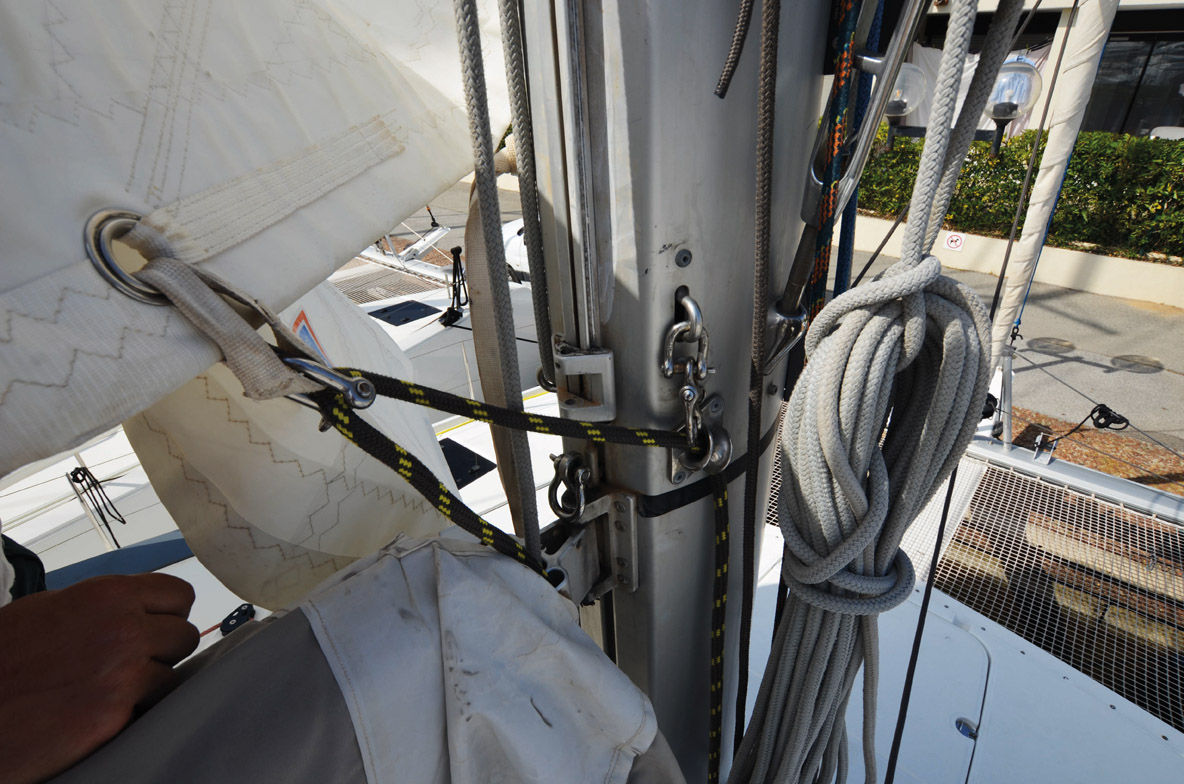
15 The headboard car for modern square-topped sails increasingly includes a hook which allows the sail to be repositioned in line with the mast. The halyard can be put directly into this, which makes hoisting easier.
16 The first batten at the head of the sail is small and easy to fit. Once in place, the batten sleeve is attached to the mast track via the batten car, then tightened at the bottom.
 |
 |
17 When hoisting the main, the reefing lines are installed. Level with the cringle, the line passes around the boom. To allow enough movement for when the cringle becomes the new clew, make a loop using a bowline so the reefing line can slide.
 |
 |
18 In this case, there was practically no breeze, but if there is, it would be better to position the multihull head-to-wind in another slip in the harbor, or anchor if necessary.
19 Do not overtension the battens as this will put too much belly in the sail and increase the load on the batten cars.
 |
 |
20 Between the batten cars, there are also free cars. The sail is attached to these sliders with a bungee cord. Don’t hesitate to replace these with new ones every year. A small expense that can save you a lot of trouble.
 |
 |
21 Check over the reefing line leads, being careful to avoid any points of chafe or bad leads. Here the line is very damaged; fortunately, this was close enough to the end that it could be cut off. If not, it would have had to be switched for a new line.
 |
 |
22 Once the tack has been fixed, the foot can be tensioned with a small lashing at the clew. Spectra or Dyneema lines are perfect for this.
 |
 |
23 Make one last check under the lazy bag, ensuring there are no anomalies in the reefing line circuit.
24 Sometimes, you might struggle to get the lines through the clutches. A little environmentally friendly dishwashing liquid does the trick (the same goes for the cars on the mast track).
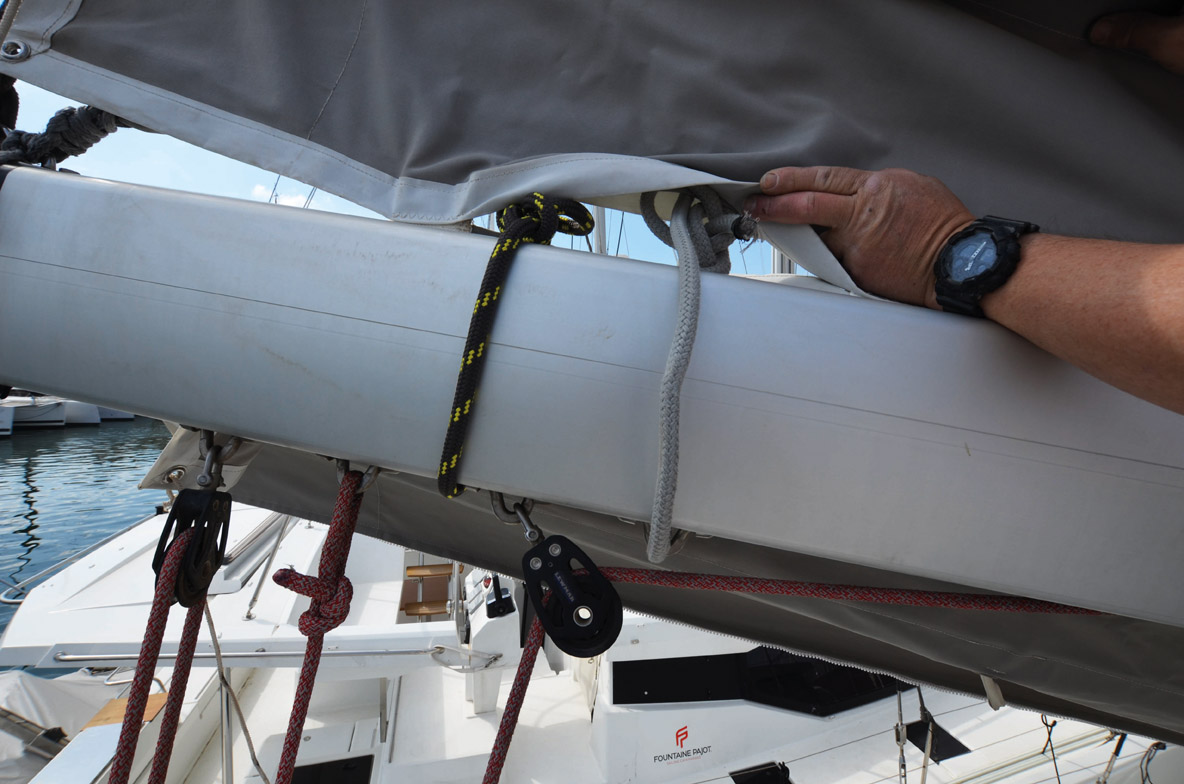
25 The final operation for the mainsail involves securing a well sized webbing strap at the clew, around the boom.
26 Now that the sail is fully hoisted, attach the lazyjacks to the lazy-bag and tighten them up to the sail. The fall of the lazy-jack lines is carefully coiled and clipped to the mast.
27 All that remains is to lower the mainsail into its lazybag by pulling on the leech as required, as it comes down.
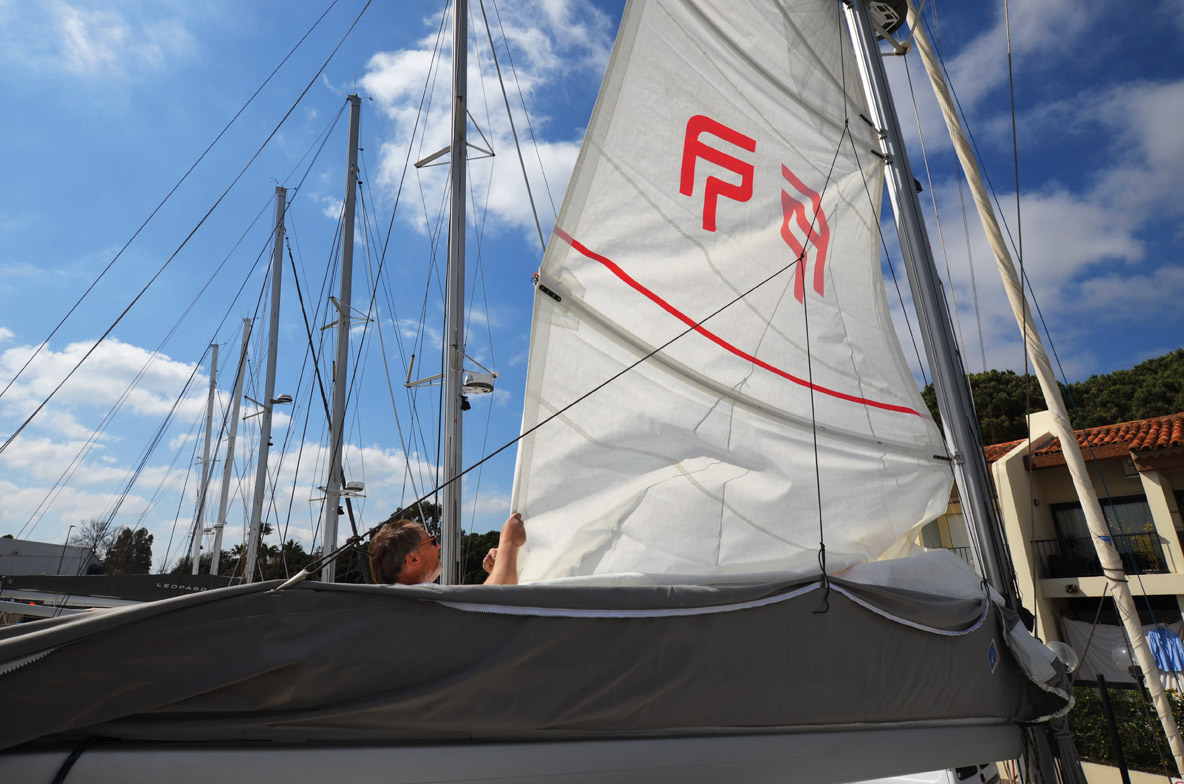
28 One last thing: tie the lazy bag to the mast and at the back, to the topping lift. This allows you to keep it in position to receive the mainsail. That’s it, your multihull is ready to set sail.
 |
 |
