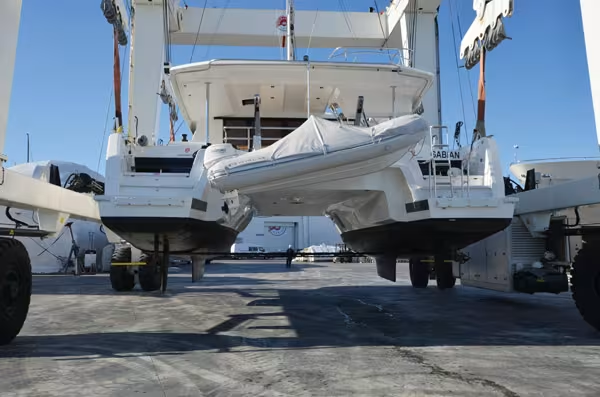

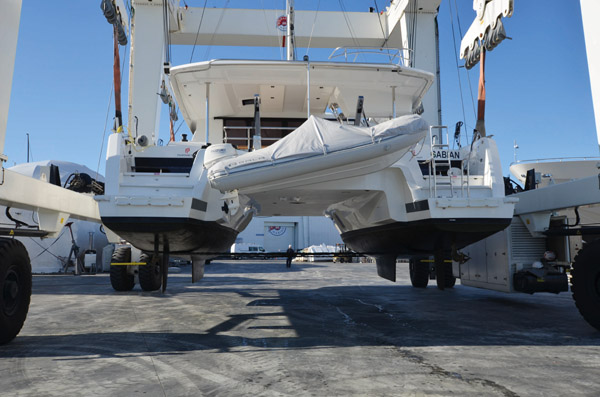
Saildrives are becoming more and more common on our multihulls: they allow for saving precious space by moving the engines as far aft as possible and by eliminating the propellor shaft. The saildrives are mechanical parts in motion: their drive shafts, composed of two angular gearboxes to transmit the engine’s power to the propeller, can wear out quickly if they are not maintained. They require attention, especially since they are immersed in seawater and sometimes subjected to high stresses. Manufacturers recommend changing the oil every 400 hours or once a year. O-rings, shaft seals and the main rubber boot should be changed every seven years. While the oil change is an easy operation to perform at haulout time, it is not the same if the O-rings and shaft seals are defective following any sort of propeller incident. The well-known line round the prop doesn’t just happen to others and the unfortunate consequences are not always visible at first sight. The suddenly blocked propeller applies a torsion to these joints which then let the sea water pass into the mechanism of the base making the lubricating oil inoperative. A visual check of the oil can be done with the dipstick on the top of the saildrive unit. But we don’t necessarily think about that - as is the case on the charter catamaran which served as an example for this report, it is sometimes only when we change the oil that we notice the problem. Because without lubrication, there’s a risk of breaking the saildrive... The only solution is to dismantle the hub of the saildrive to change the two O-rings and the shaft seal. The operation requires you to have all the tools on board, plus a section of pipe the size of the shaft seal that you should have aboard if on long trips.
The annual haulout for antifouling, etc is the ideal time to change the oil in your saildrive legs. Just before hauling out, run the motors in gear for about ten minutes so that the oil heats up and becomes more liquid and so will drain easier.
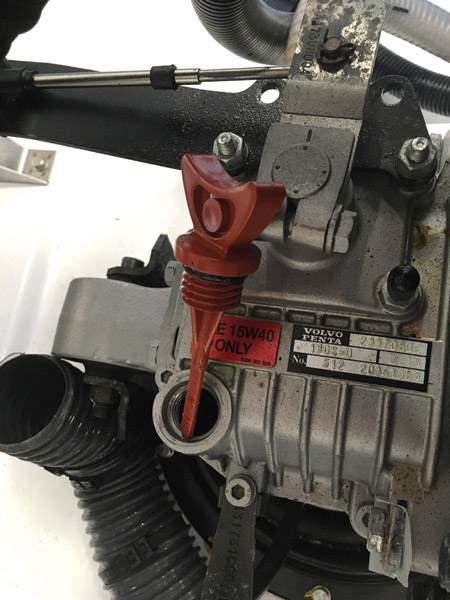
1) The part of the saildrive inside the boat is located at the back of the motors. Unscrew the plug: this one features a graduated scale which acts as a dipstick for oil level. This dipstick allows a visual check of the condition of the oil.
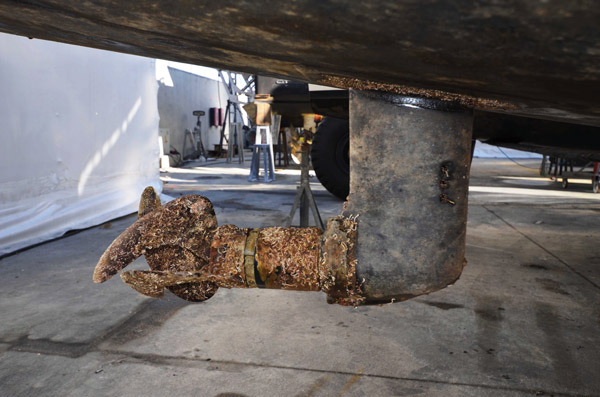
2) An initial visual check will allow you to detect potential problems. The first thing to check is the wear level of the anodes, which may need to be replaced, and the condition of the propeller blades – saildrives do not appreciate vibration.
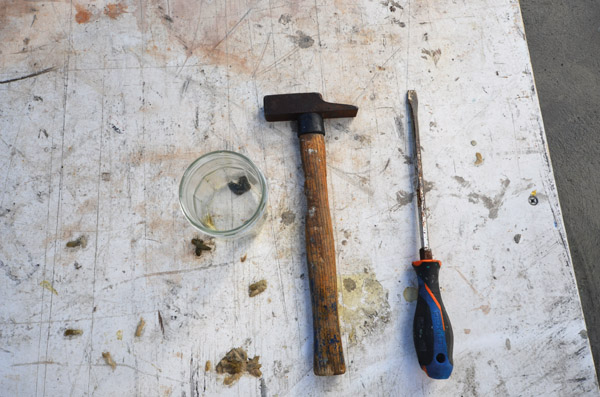
3) The draining itself requires only very basic tools - a flat screwdriver and a hammer should suffice..
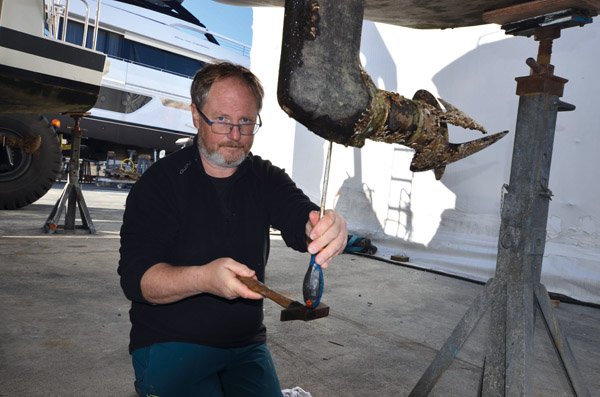
4) Here, the screw head of the bung was clogged with growth. Philippe, the Tendance Voile technician, used a small hammer, and the job was done.
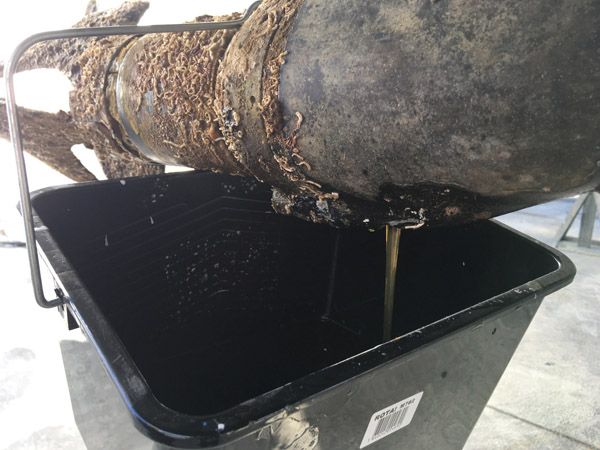
5) We placed a small bucket beneath the leg to drain the oil into. Here, the oil has a normal aspect: it is all good, all we need do now is refit the bung and to pour fresh oil back in from inside the boat.
6) Before putting the bung back in, check the magnetic end that attracts metal particles or filings. Here, there is a little. If the deposits are larger and recurring, it means that some parts are malfunctioning – you then need to have the transmission checked by a professional.
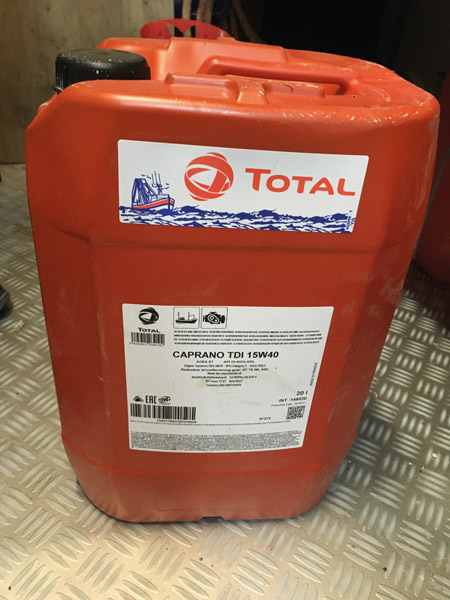
7) Since 2010, Volvo has recommended grade 15w40 oil for its saildrives.
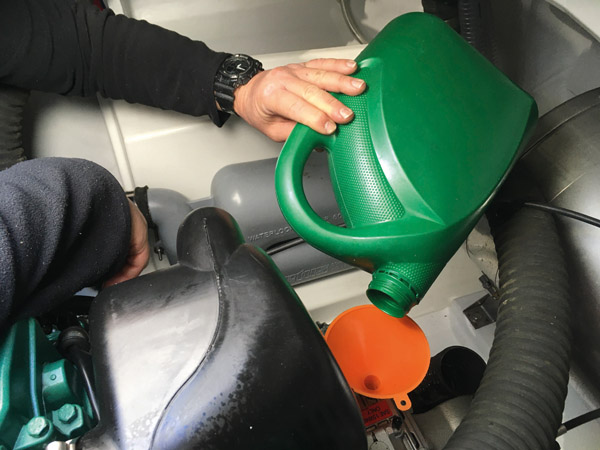
8) Filling the saildrive - about 2 liters (just over 2 US quarts) from inside the engine compartment to the minimum mark on the dipstick. Once in the water, run the saildrives and top-up the oil to the mark on the dipstick. See your user manual to ensure whether the level should be checked with the dipstick screwed fully in or not.
 |
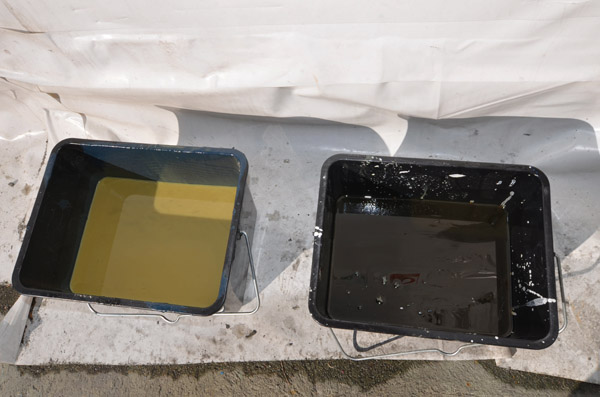 |
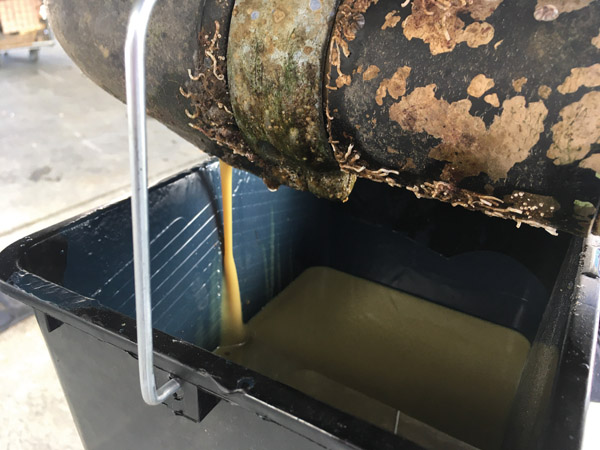
9) This boat’s other saildrive had a nasty surprise in store for us. The oil that rained out was mayonnaise-colored – comparing this with the previous other oil makes this obvious. Without doubt, water has entered the mechanism. A service to replace the seals is required.
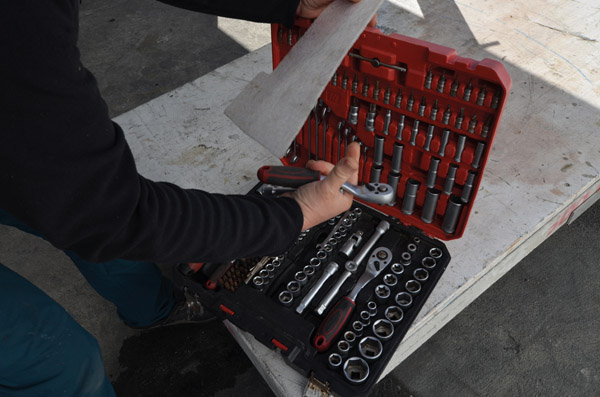
10) In contrast to the “standard” oil change, this is where you need to get out the whole toolbox. Screwdrivers and sockets or wrenches of various sizes will be required.
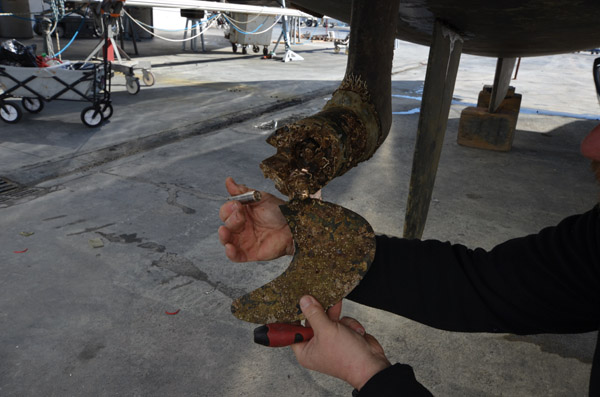
11) Here, we began by removing the shafts of the individual propeller blades using an Allen key. Then we removed the blades to have access to the hub.

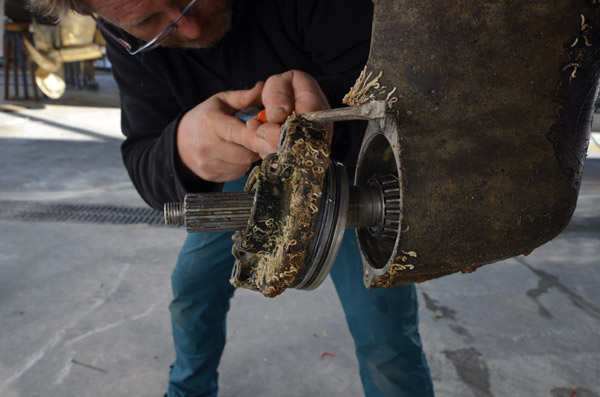
12) Next, we slackened off the shaft nut and then removed the locking washer.
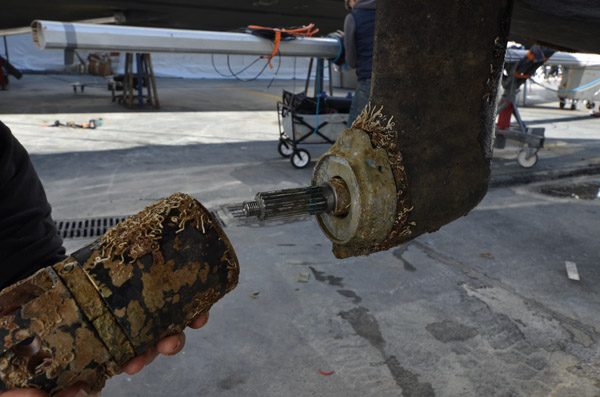
13) Next, we slackened off the shaft nut and then removed the locking washer.
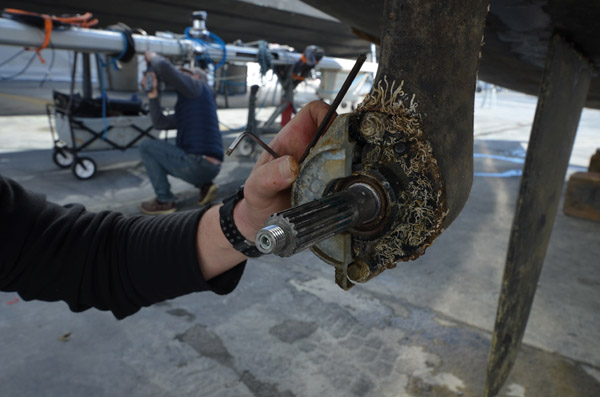
14) Next, we removed the anode located between the shaft outlet and the flange that contains the seals. A simple Allen key all that’s needed for this job. The anodes can be replaced without disassembling the whole unit during normal maintenance operations.
15) After loosening the bolts, the hub flange can be removed with the help of a screwdriver.
 |
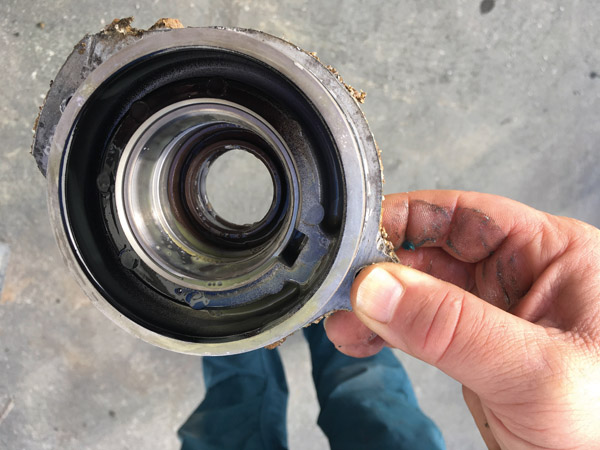 |
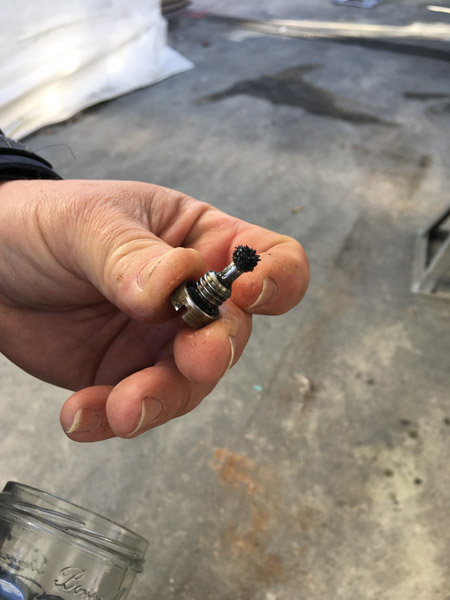
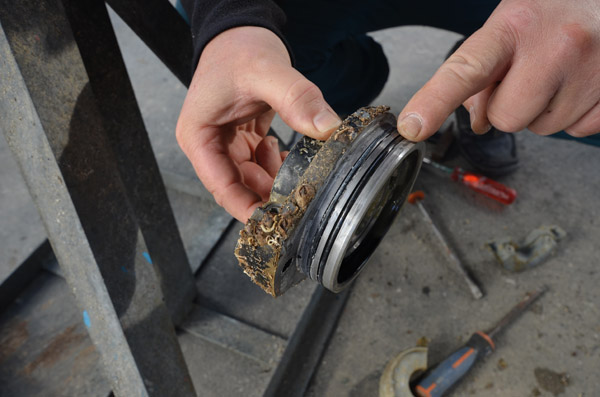
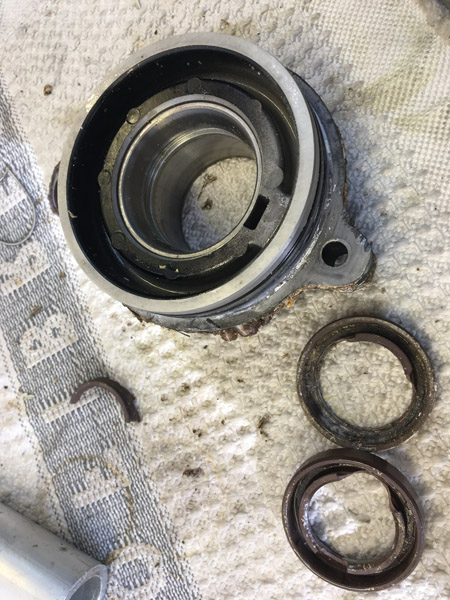
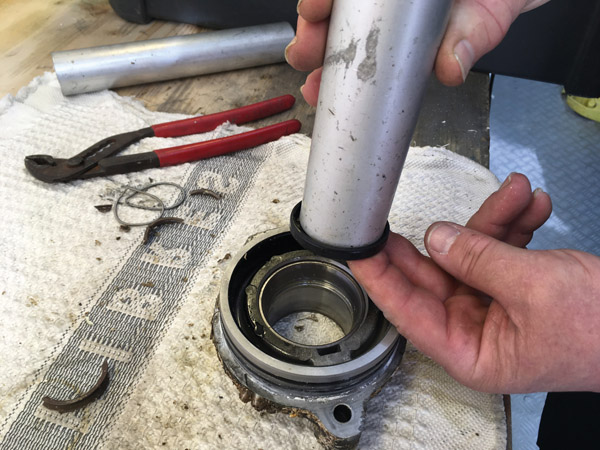
16) On this flange, the two O-rings look pretty good, we’ll have to look further, but in any case, they’ll be replaced by new ones before reassembling. Inside the hub, here is the shaft seal. This is the one that took a hit when a line got caught in the prop.
 |
 |
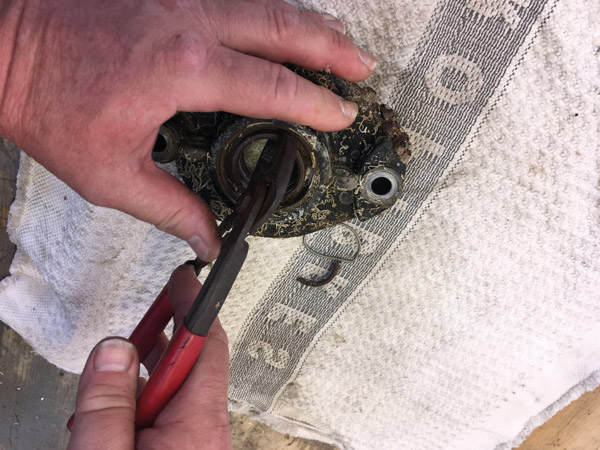
17) On a bench, remove the shaft seal using pliers. You can also use a spacer and a hammer if it’s a bit stubborn. You can see that the seal has stated to disintegrate - it was letting the sea water into the saildrive…
 |
 |
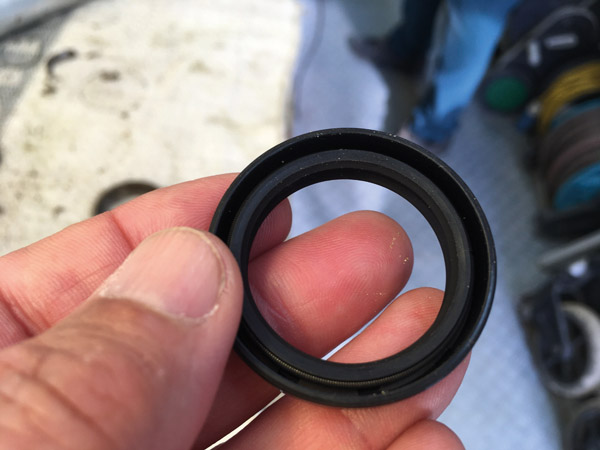
18) We can’t recommend enough that you have a spare seal kit on board. In addition, they come with instructions for use.
 |
 |
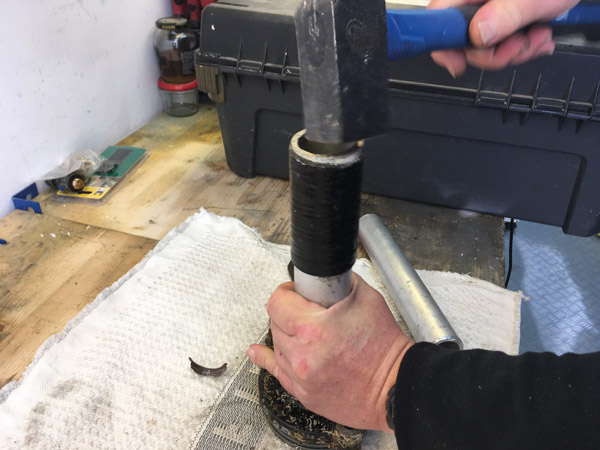 |
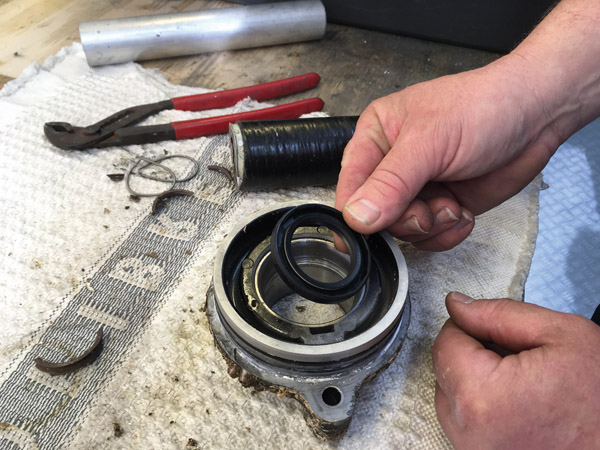
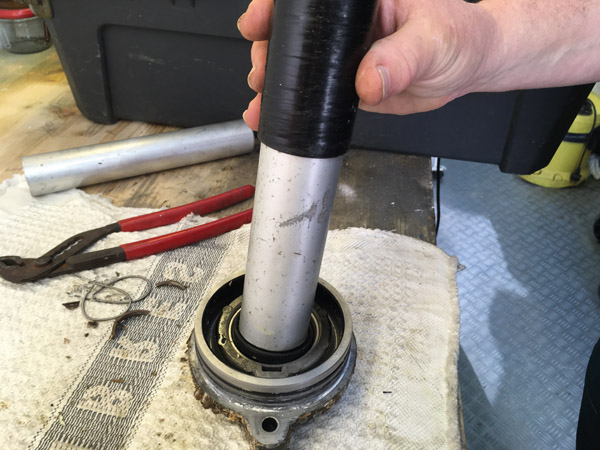
19) To fit the new seal, a section of tube of the correct diameter can be used – a tool you could keep in your kit. A few taps with a hammer and the seal is back in place.

20) All that’s left to do is reassemble. After replacing the anodes, give it a good clean and apply special antifouling paint to the leg, and then you’re ready to go cruising again!
Saildrive checks
- Oil change every 400 hours or once a year.
- O-rings, shaft seal and boot: every seven years - except in the event of a leak.
- Budget: around € 1,500 for both engines
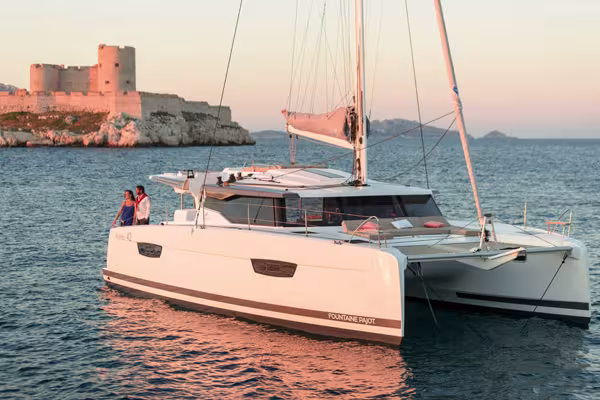
For our guide, we have used a pair of Volvo saildrives as the example. For the first one, a simple oil change was all that was required. For the other, the seals had to be changed. We would like to thank Tendance Voile, the Fountaine Pajot agent in Les Marines de Cogolin, France, for providing the boat.
