
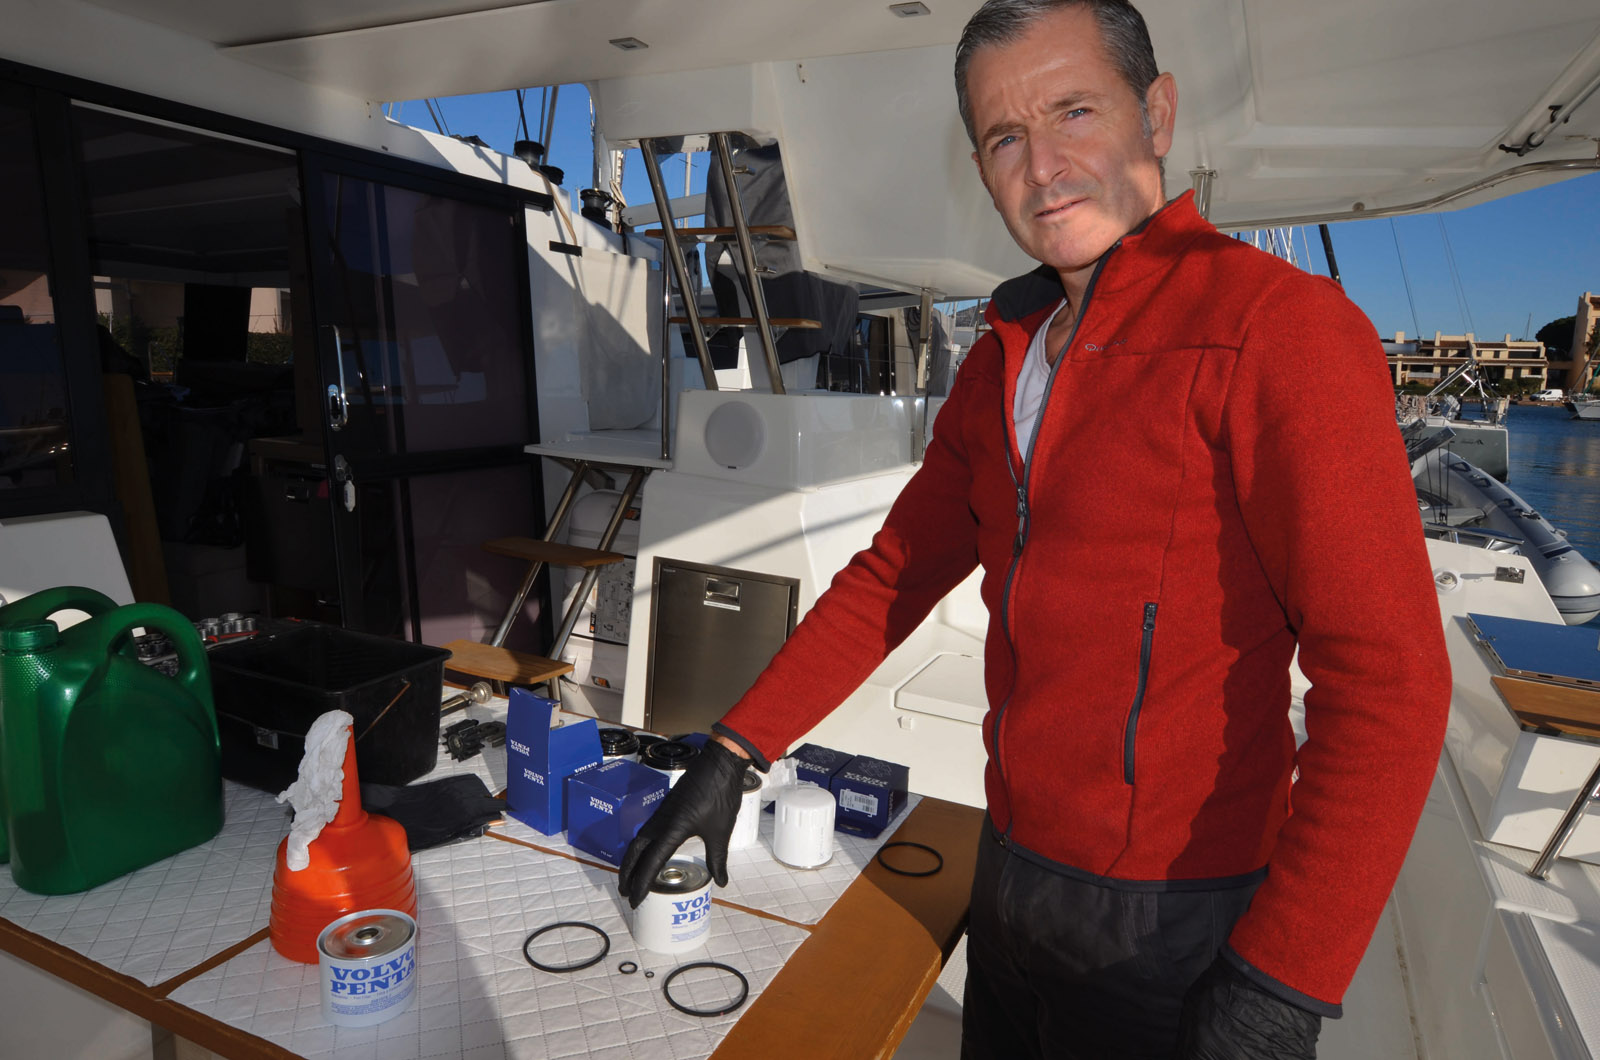
Olivier, the technician, carried out this service for our cameras. Note the filter seals - every single one of them has to be changed.
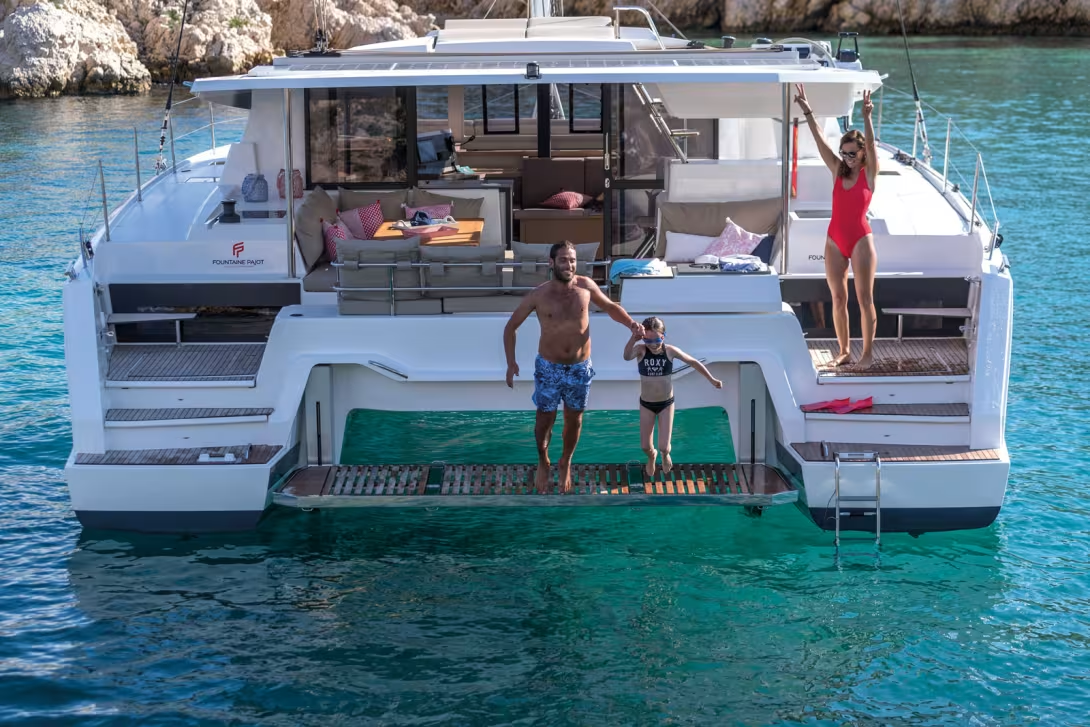
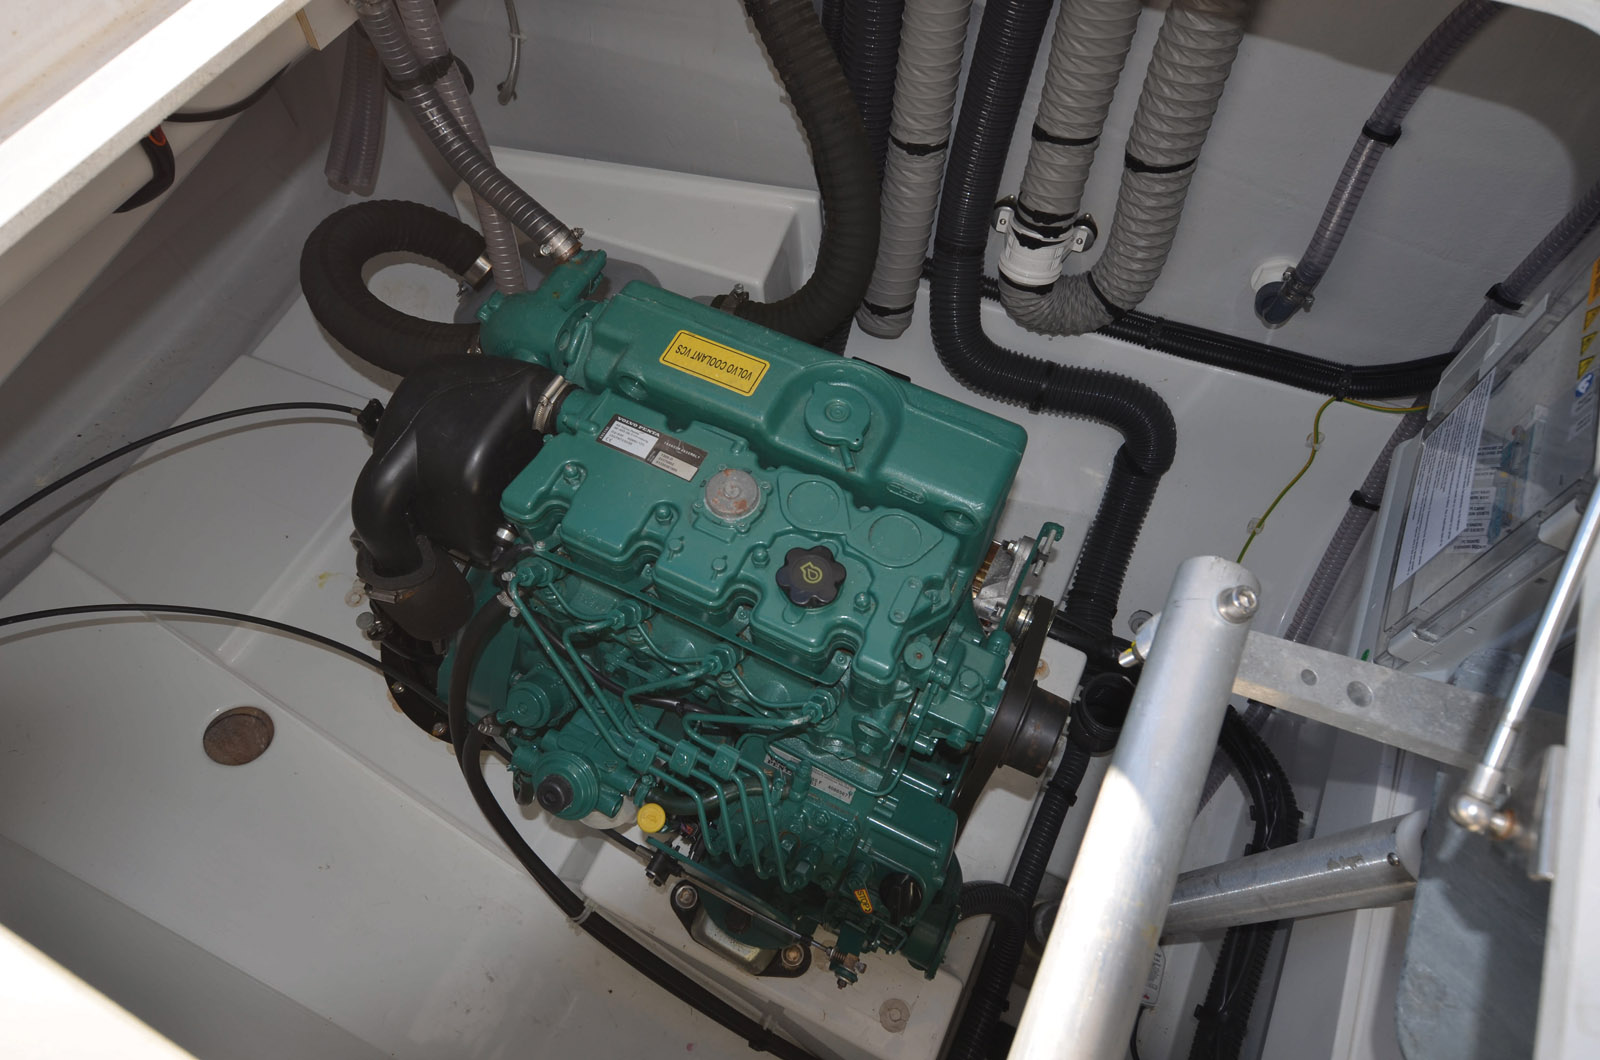
On board sailing boats, skippers sometimes tend to "forget" about periodic maintenance. But beware! This behavior can lead to (very) unpleasant surprises, or even jeopardize your multihull in the event of a breakdown that occurs at the worst possible moment. The overhaul recommended by the manufacturers is important for the reliability and durability of the engines. A service is required every two hundred and fifty hours. Most of the blocks you have in your engine bay are indestructible - if you do the right thing, at the right time. In general, an engine service can be carried out easily and wherever you are - provided you are properly equipped. In port, it is of course easy to ask for the services of a professional mechanic. But when you are on the other side of the world - and this often happens on a multihull - you have to do it yourself. gearbox oil, cleaning the raw water strainer and the air filter, replacing the oil and diesel filters, changing the impeller and even the belts are all operations that should be carried out at least once a year. Every 500 hours or three years, a more extensive overhaul can include replacing all the hoses, heat exchangers - air and water - and exhaust elbows. In general, this is a professional service that will cost a minimum of € 1,500 for a 50 HP engine. For a simple annual overhaul and maintenance, expect to pay around € 700. Sailors who prefer to do their own service will need an oil extractor (a little over € 100), a good filter wrench (€ 30) and a impeller puller (€ 30). As for the other essential tools that will be needed, they should already be on board during any long-distance trip. Then all you need is a bit of energy and a lot of rags... To service both engines on a catamaran, you should expect it to take a full day. As a guide, we used a 50 HP Volvo D2 engine on board an Astrea 42 as an example. This engine had a total of 690 hours after two charter seasons. We would like to thank Tendance Voile, Fountaine Pajot’s agent in the Marines de Cogolin, for all their help.
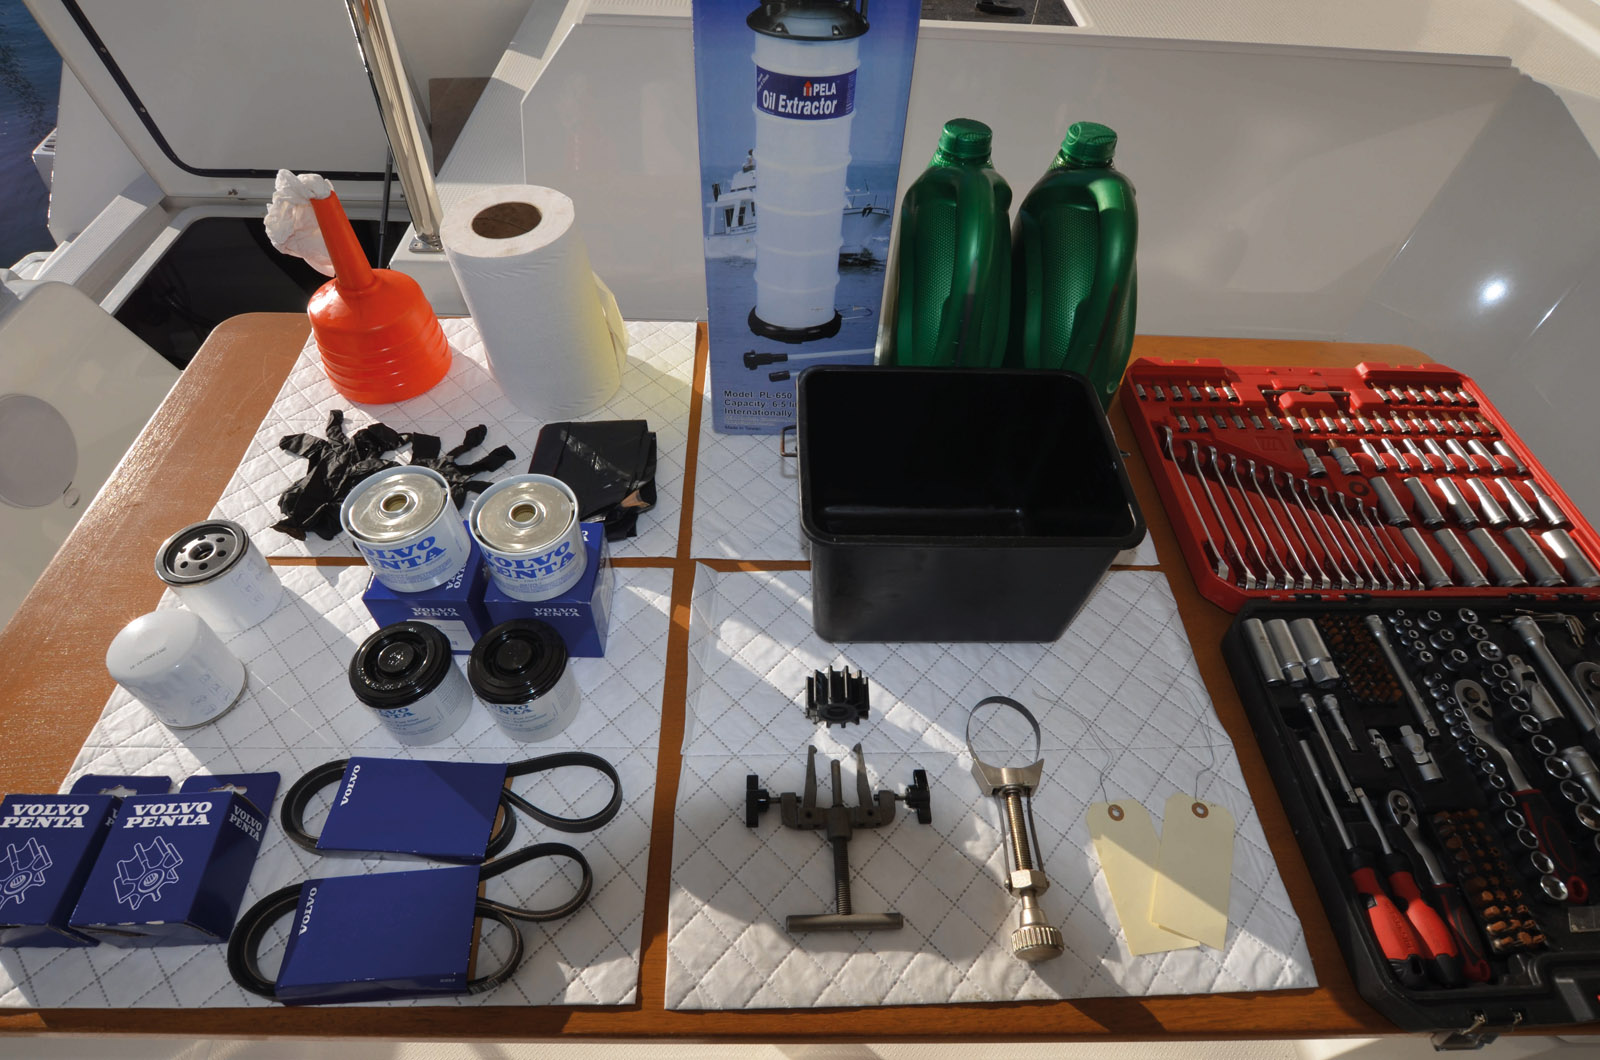
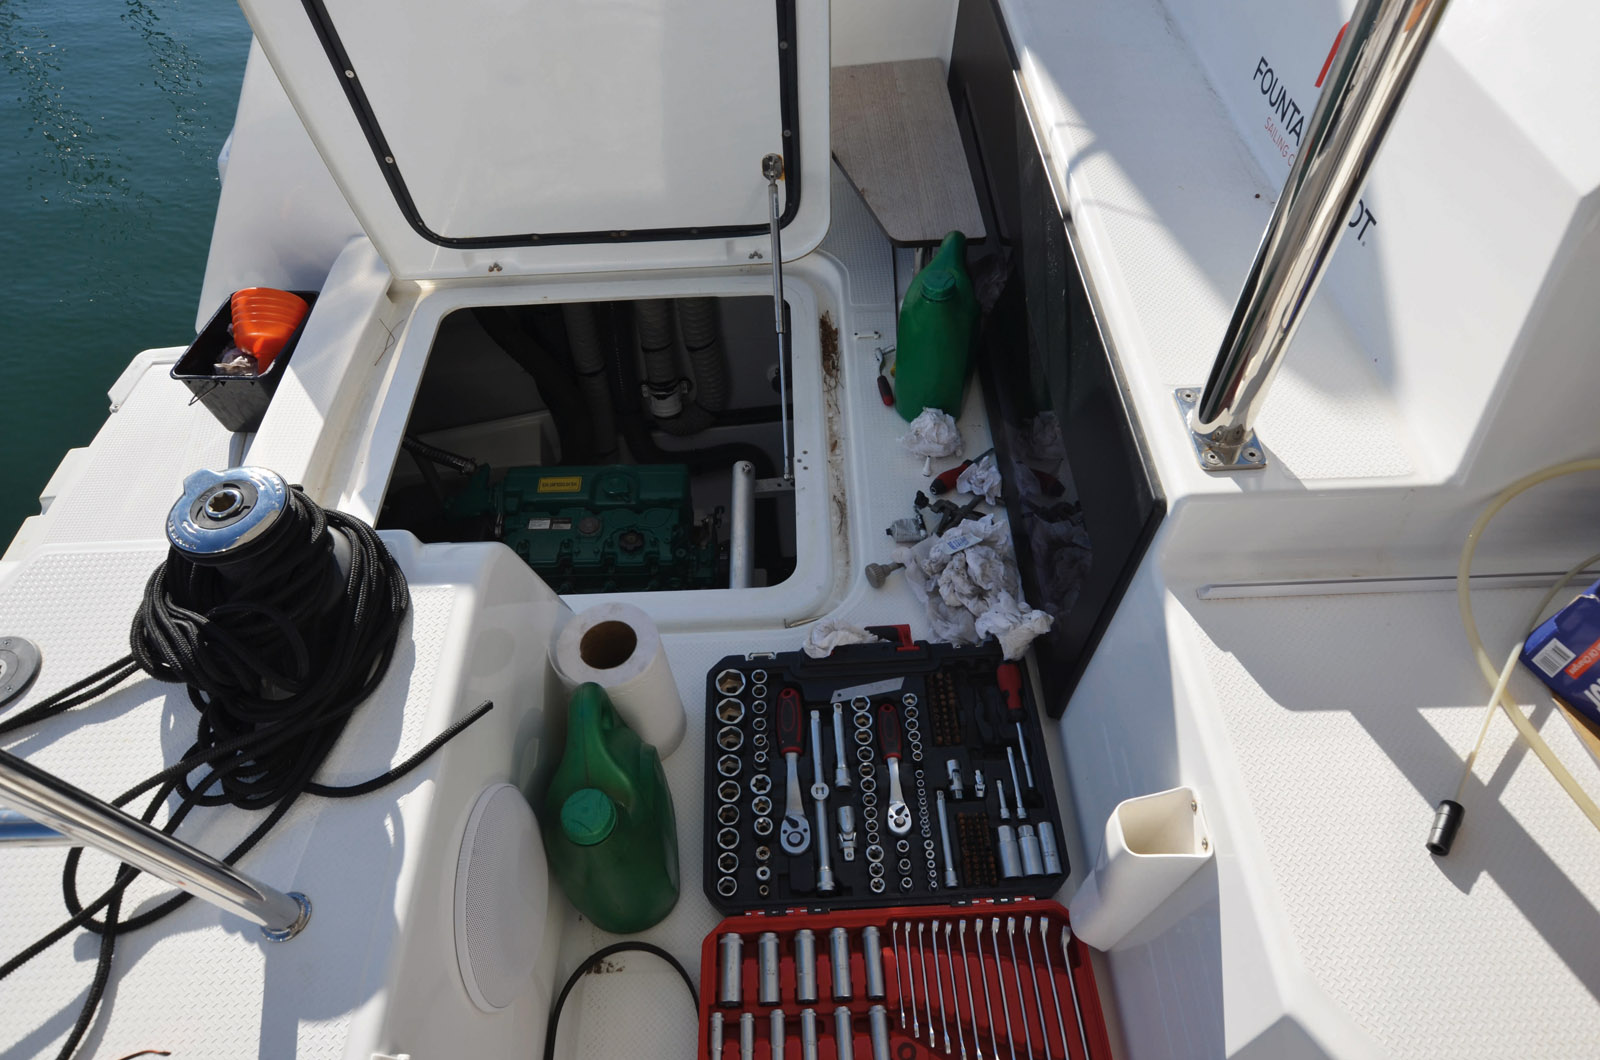
1) First step: get all your equipment together - belts, filters, consumables (in duplicate on a catamaran). The oil extractor, impeller puller and a quality filter wrench are essential. Also prepare a good tool kit and absorbent paper rags.
2) Run the engine for ten minutes and then let it sit for five minutes so that the hot oil settles back into the sump. On this model, there is plenty of room to operate. We take advantage of this to line the bilges with absorbent paper to avoid drips at the bottom.
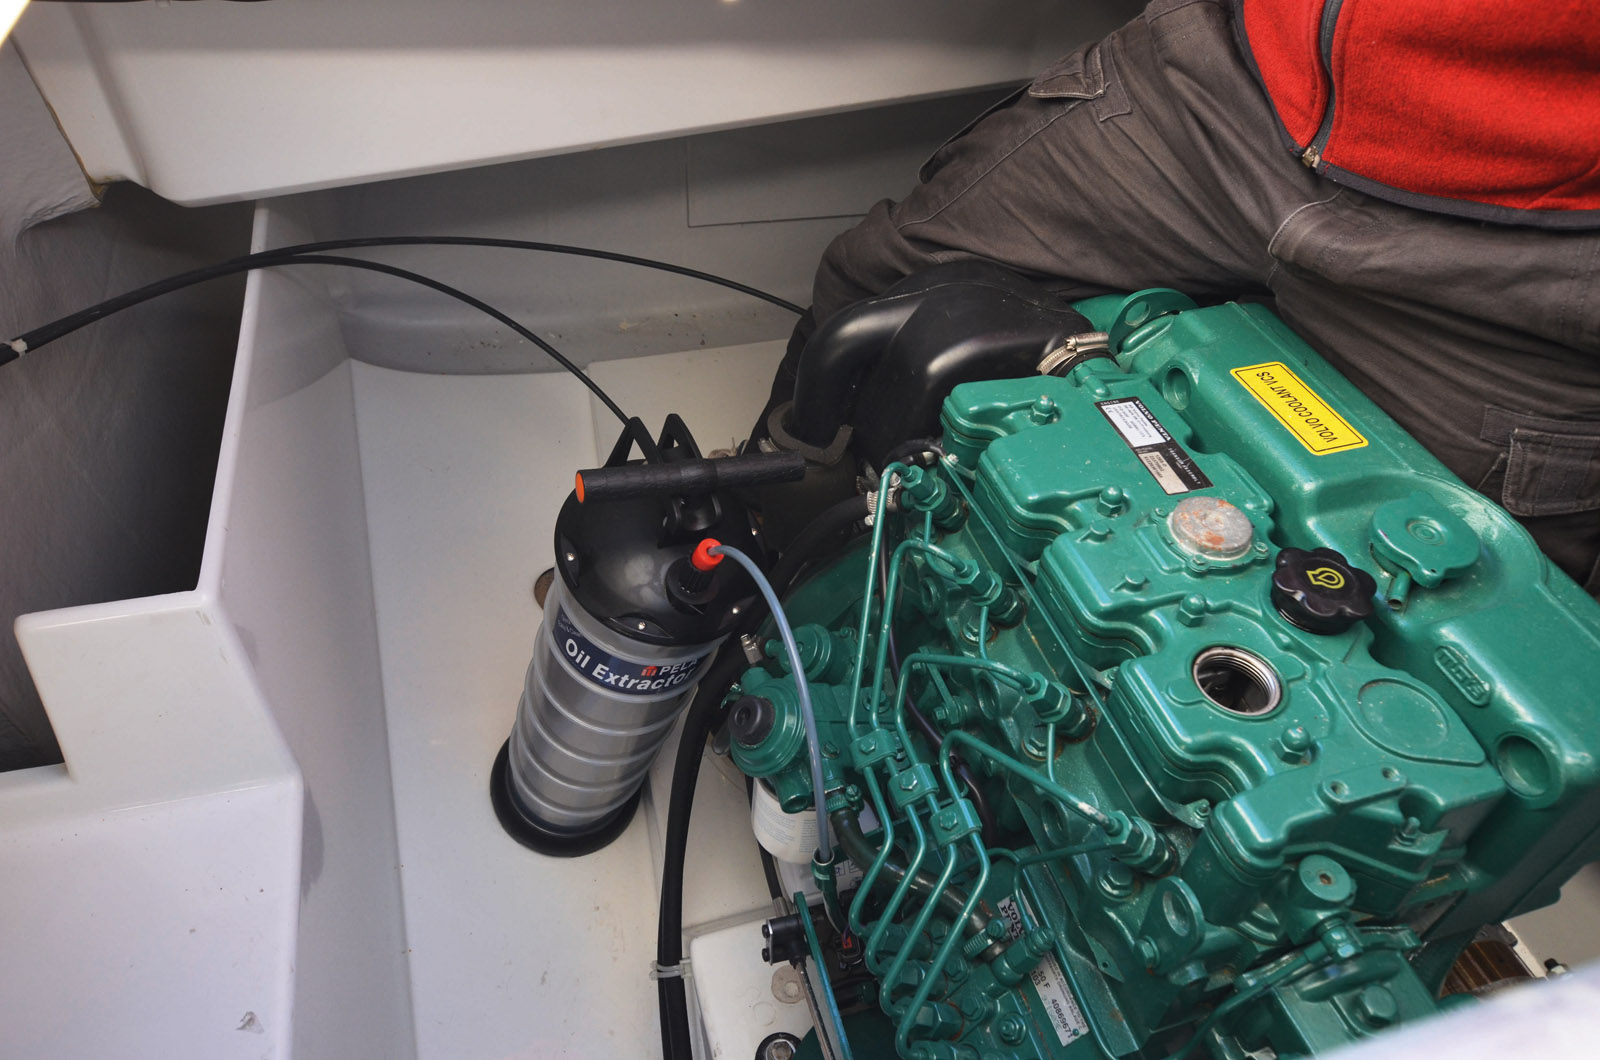
3) You start by emptying the oil. The flexible nozzle of the extractor is inserted into the bottom of the dipstick tube. It is then pumped two or three times and the oil pours out. This model, which has a capacity of five liters (nearly a gallon and a half), will require two goes to empty the 9.5 liters of oil contained in the engine sump.
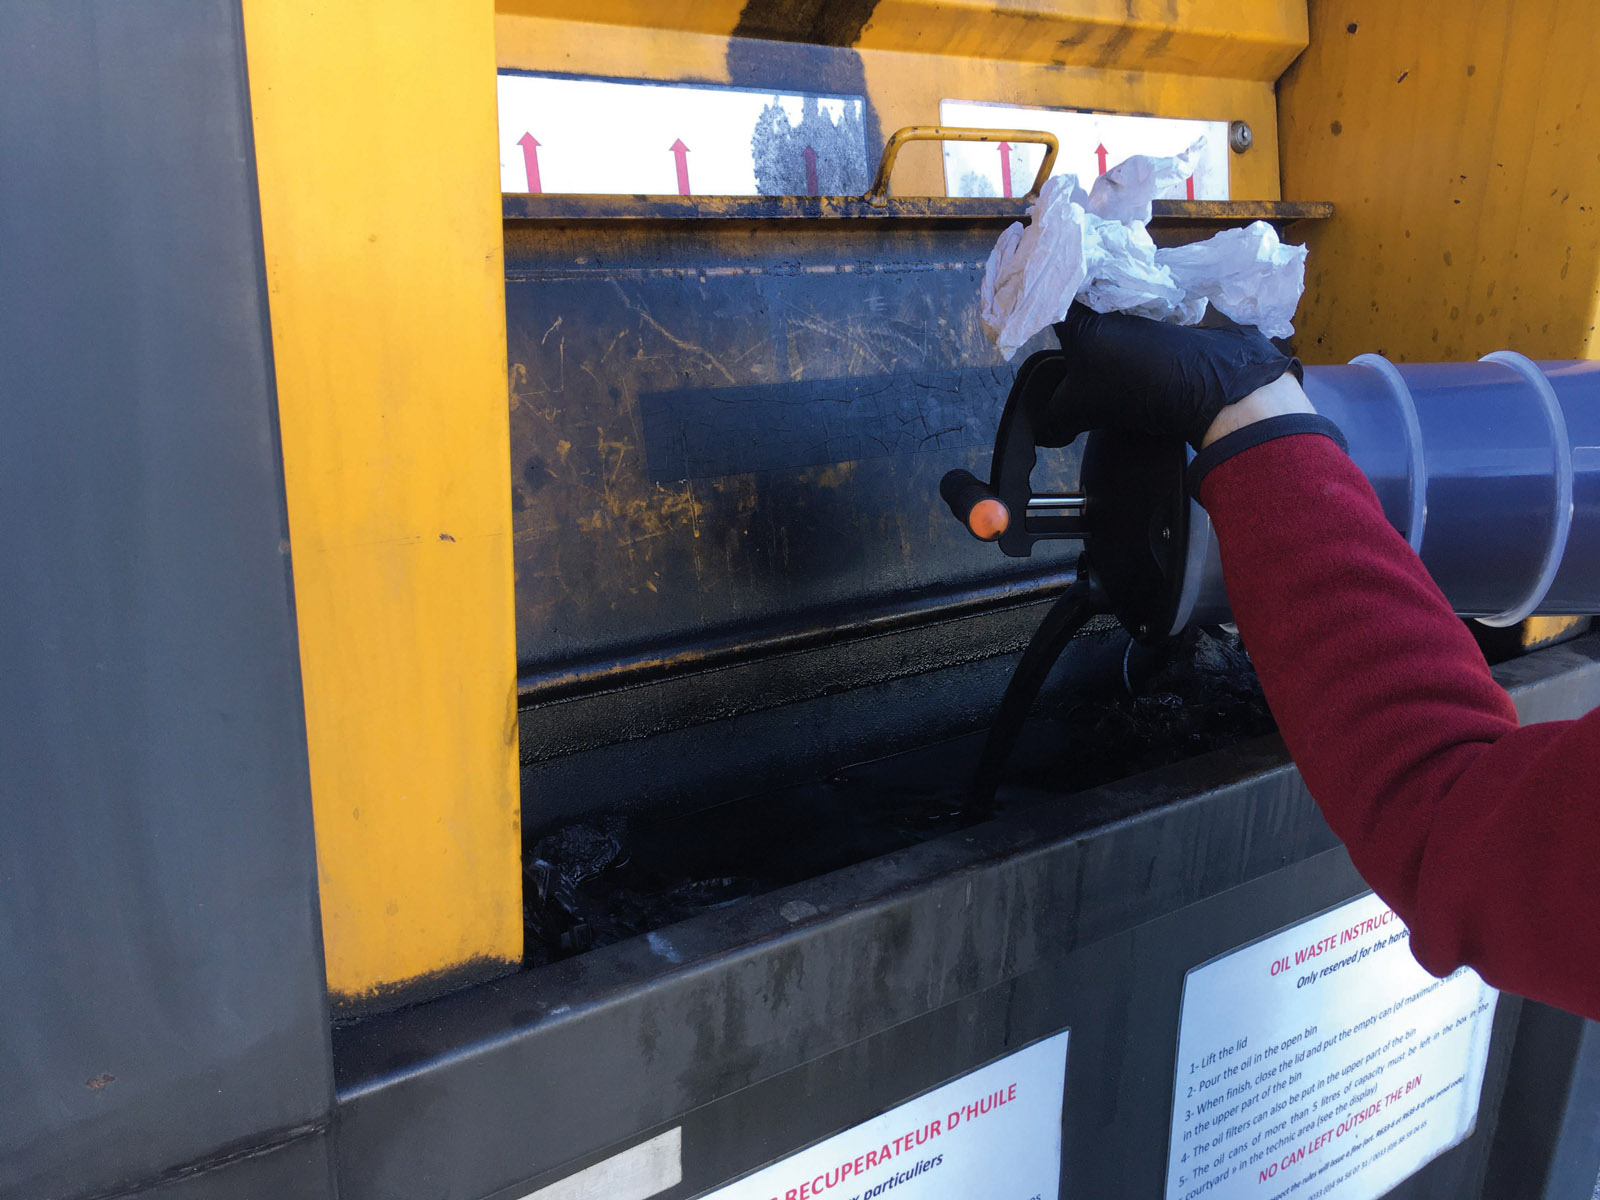
4) If you have a waste oil container nearby, you can empty the extractor between pumpings. If not, you will have to store the used oil in cans until you can next get rid of it.
 |
 |
 |
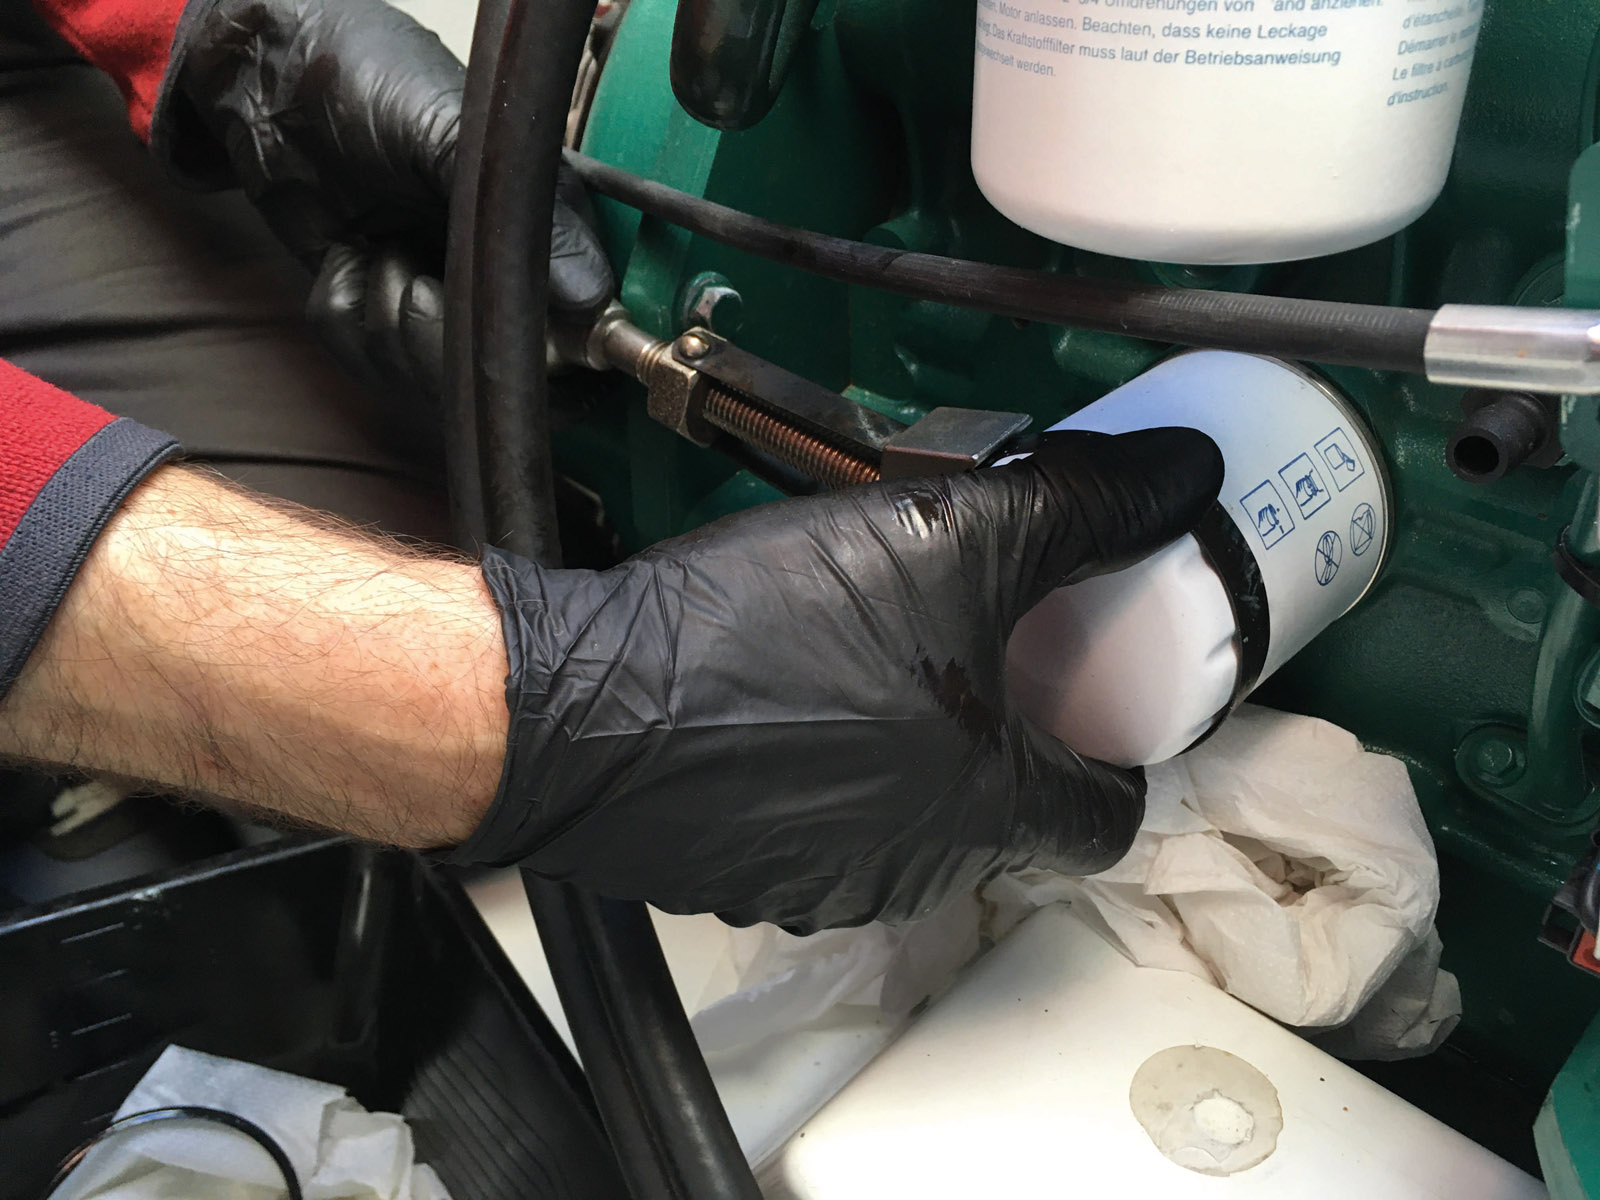
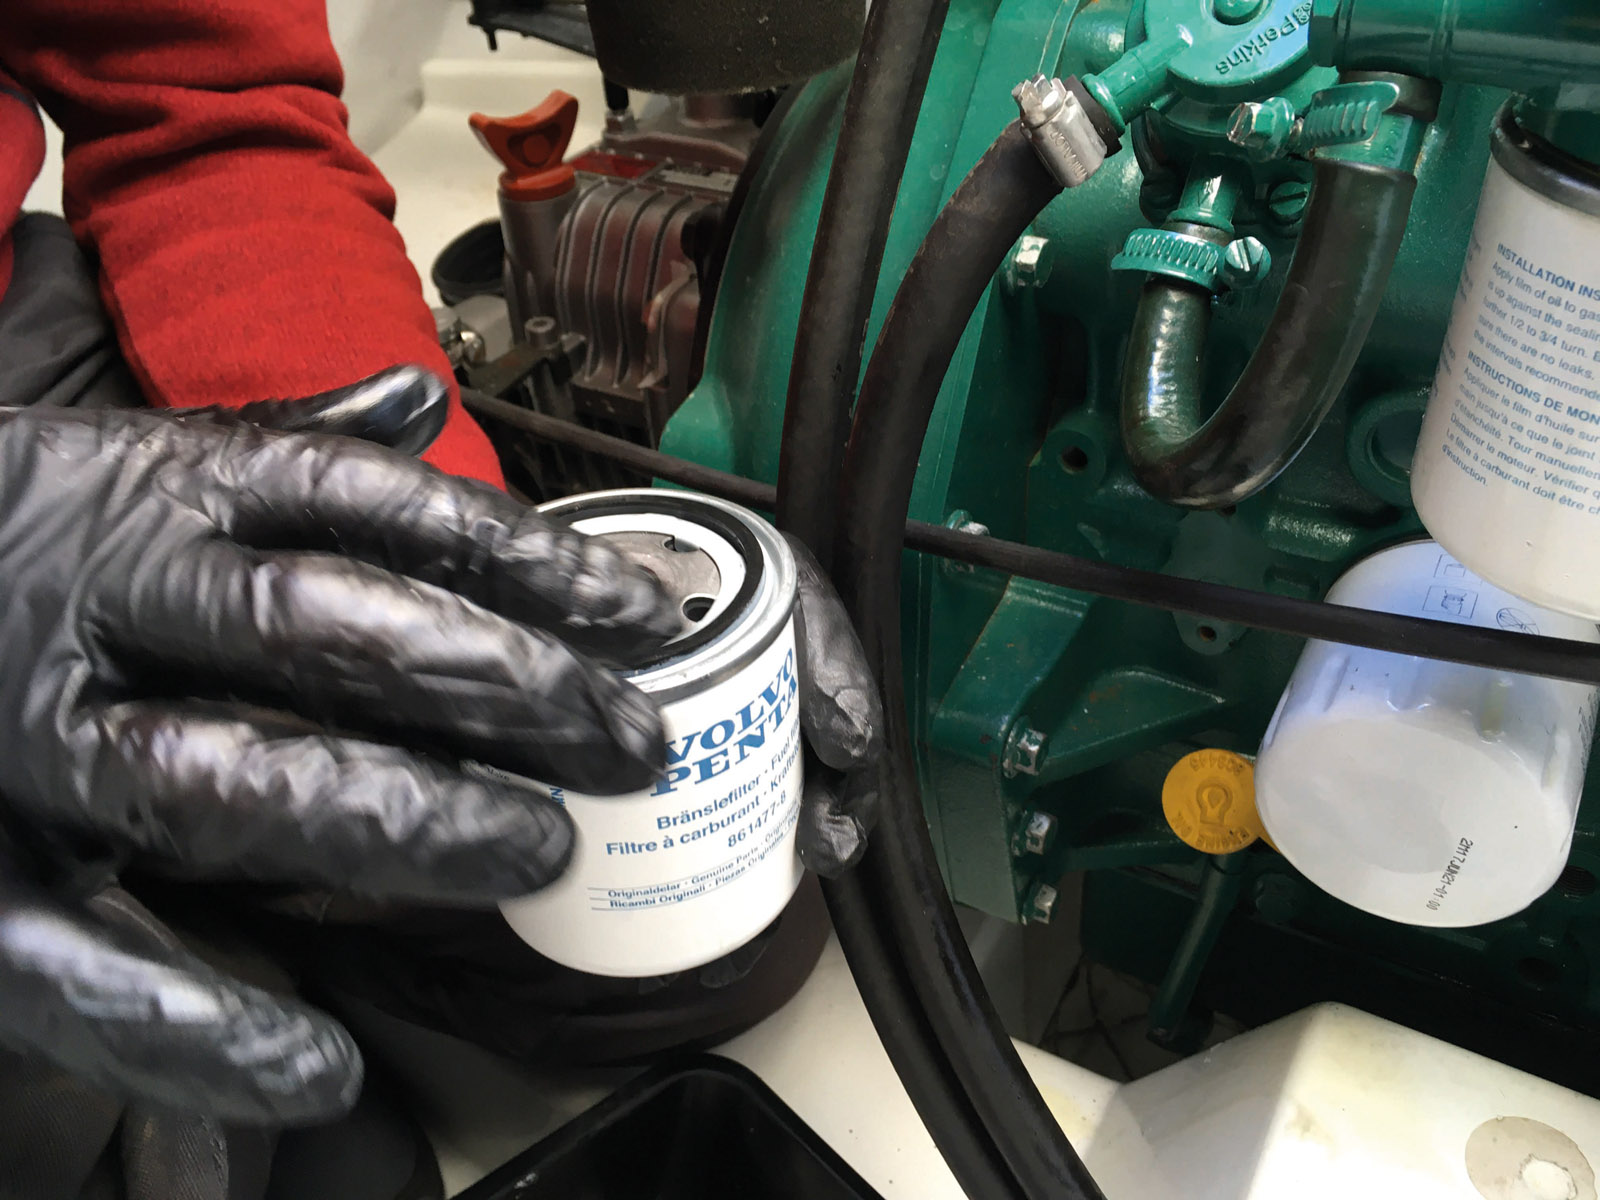
5) You then to change the oil filter. Don’t forget the rags because there is still some oil in the filter. To ensure a good, tight seal, rub a little oil on the seal of the new filter. Tighten as hard as you can by hand, and finish off with a quarter turn of your wrench. No more is needed!
 |
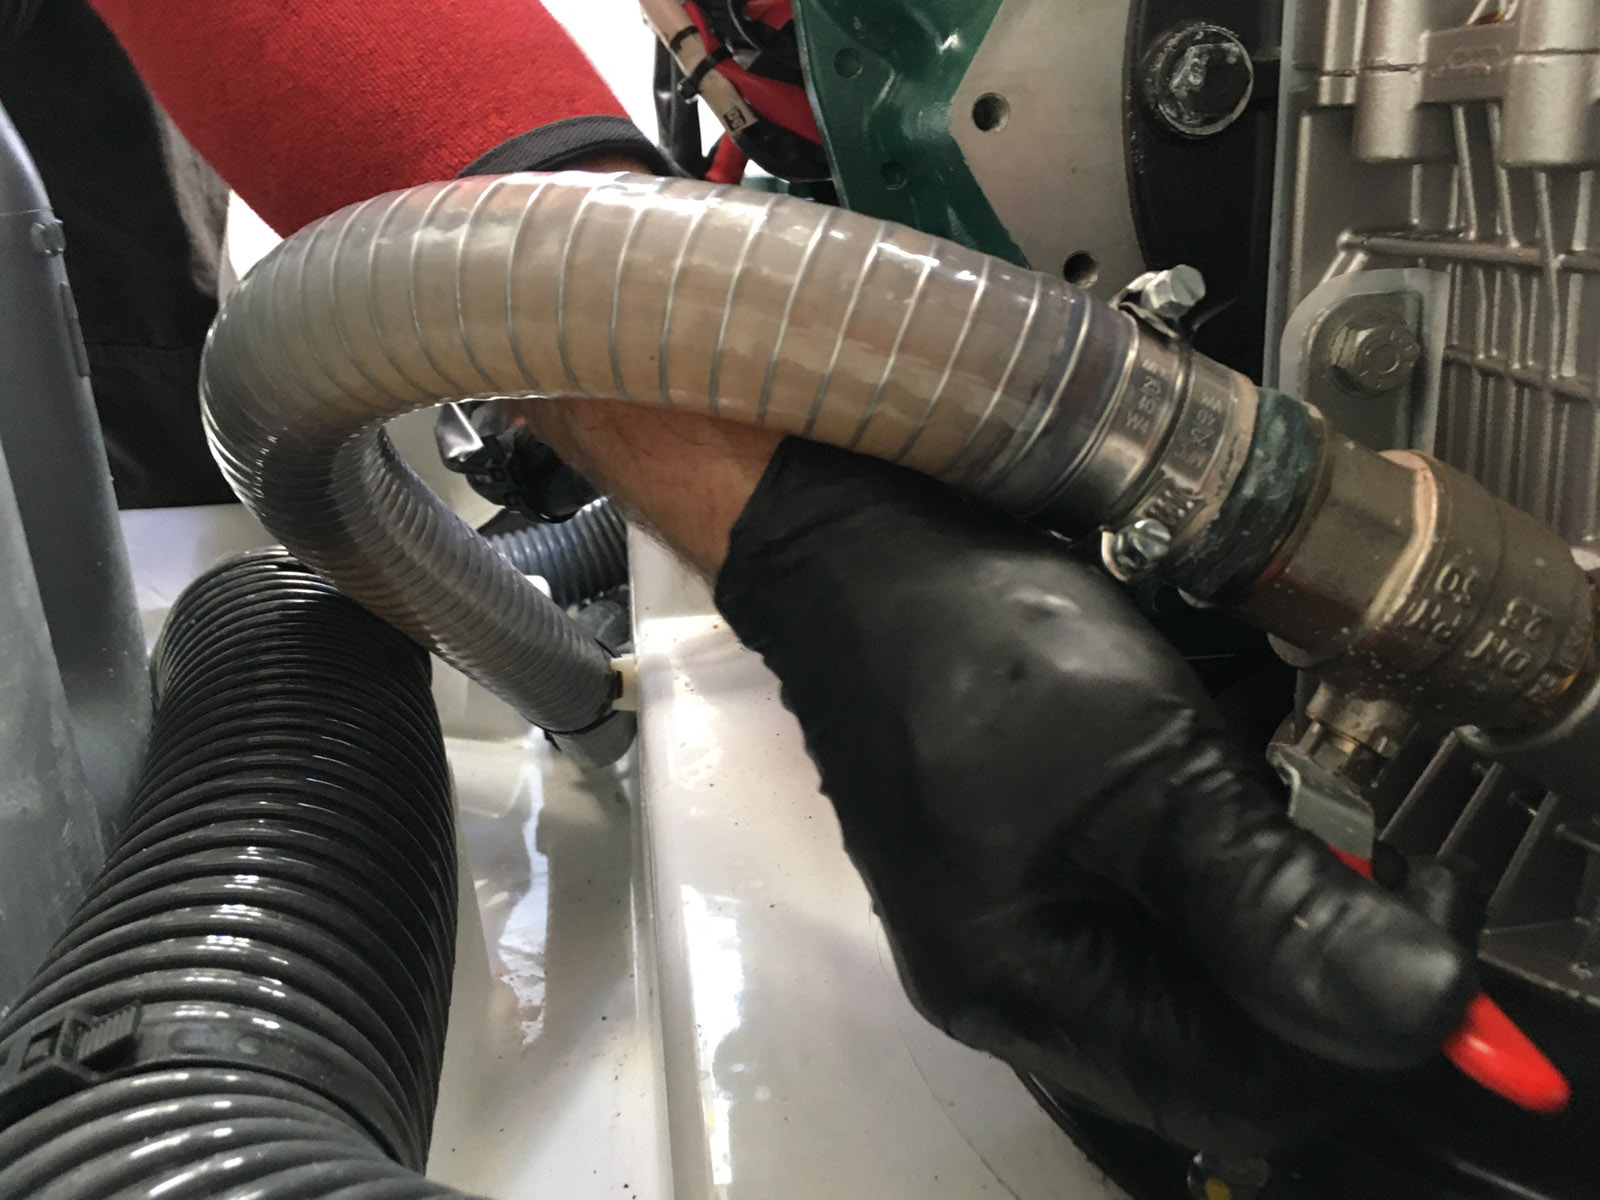 |
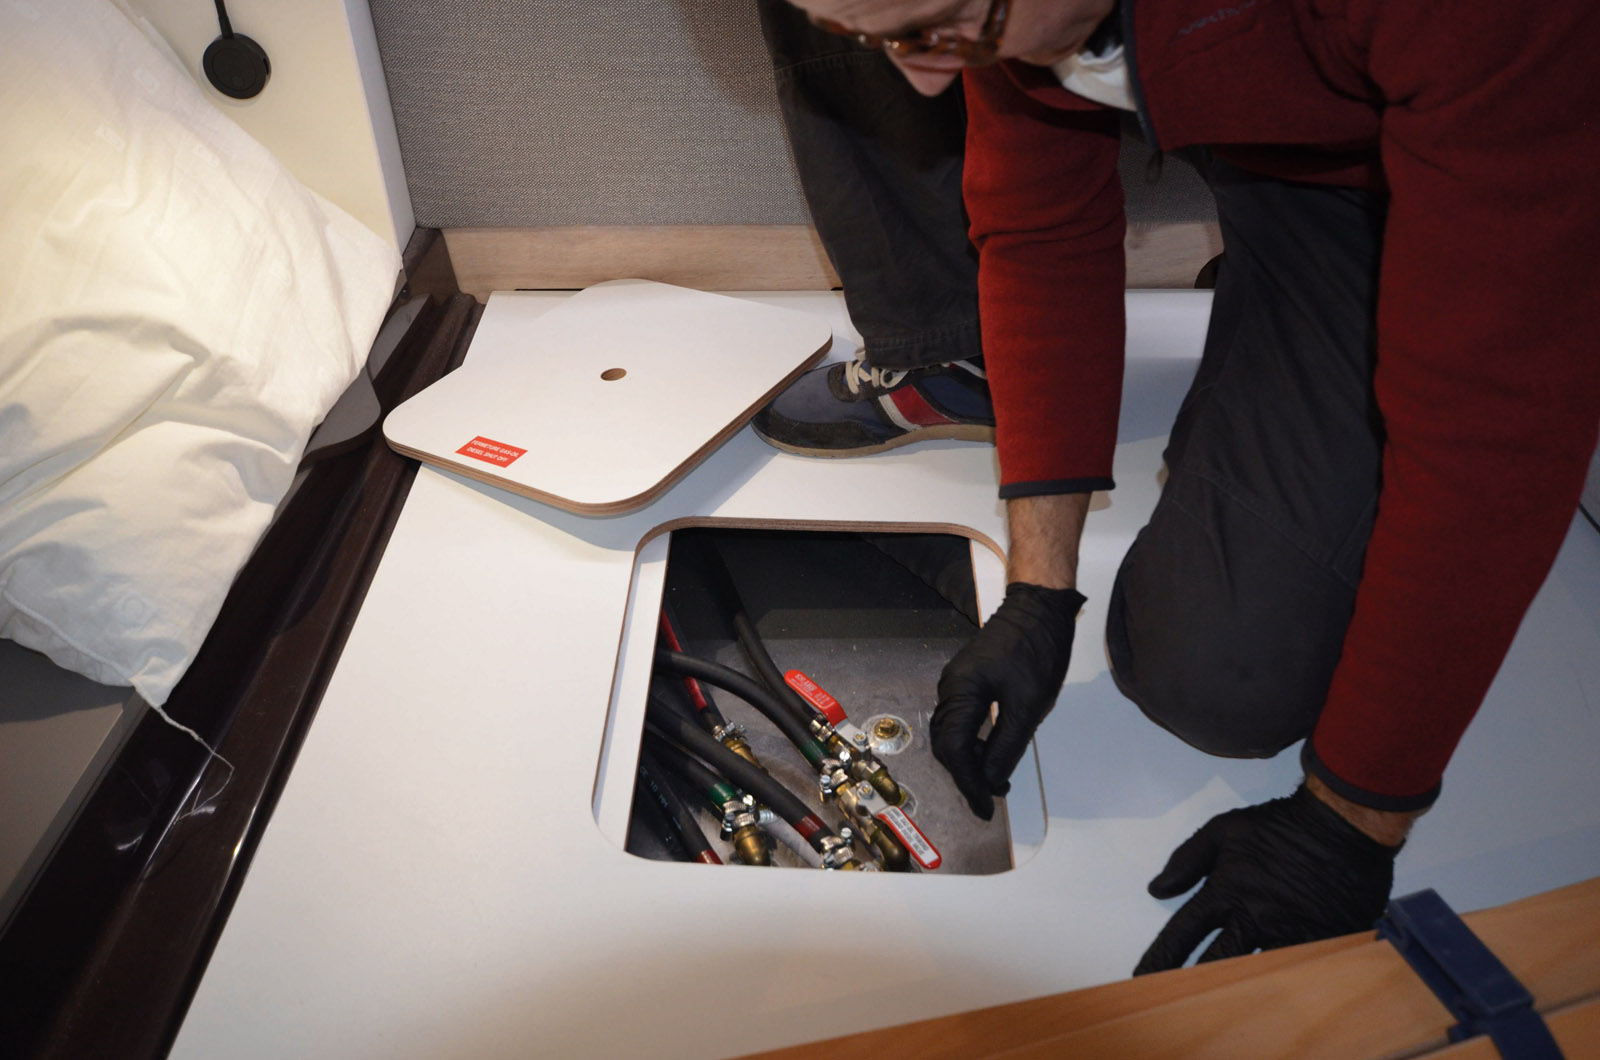
6) Before working on the fuel system and the raw water pump, the fuel feed tap and the intake seacock must be closed.
 |
 |
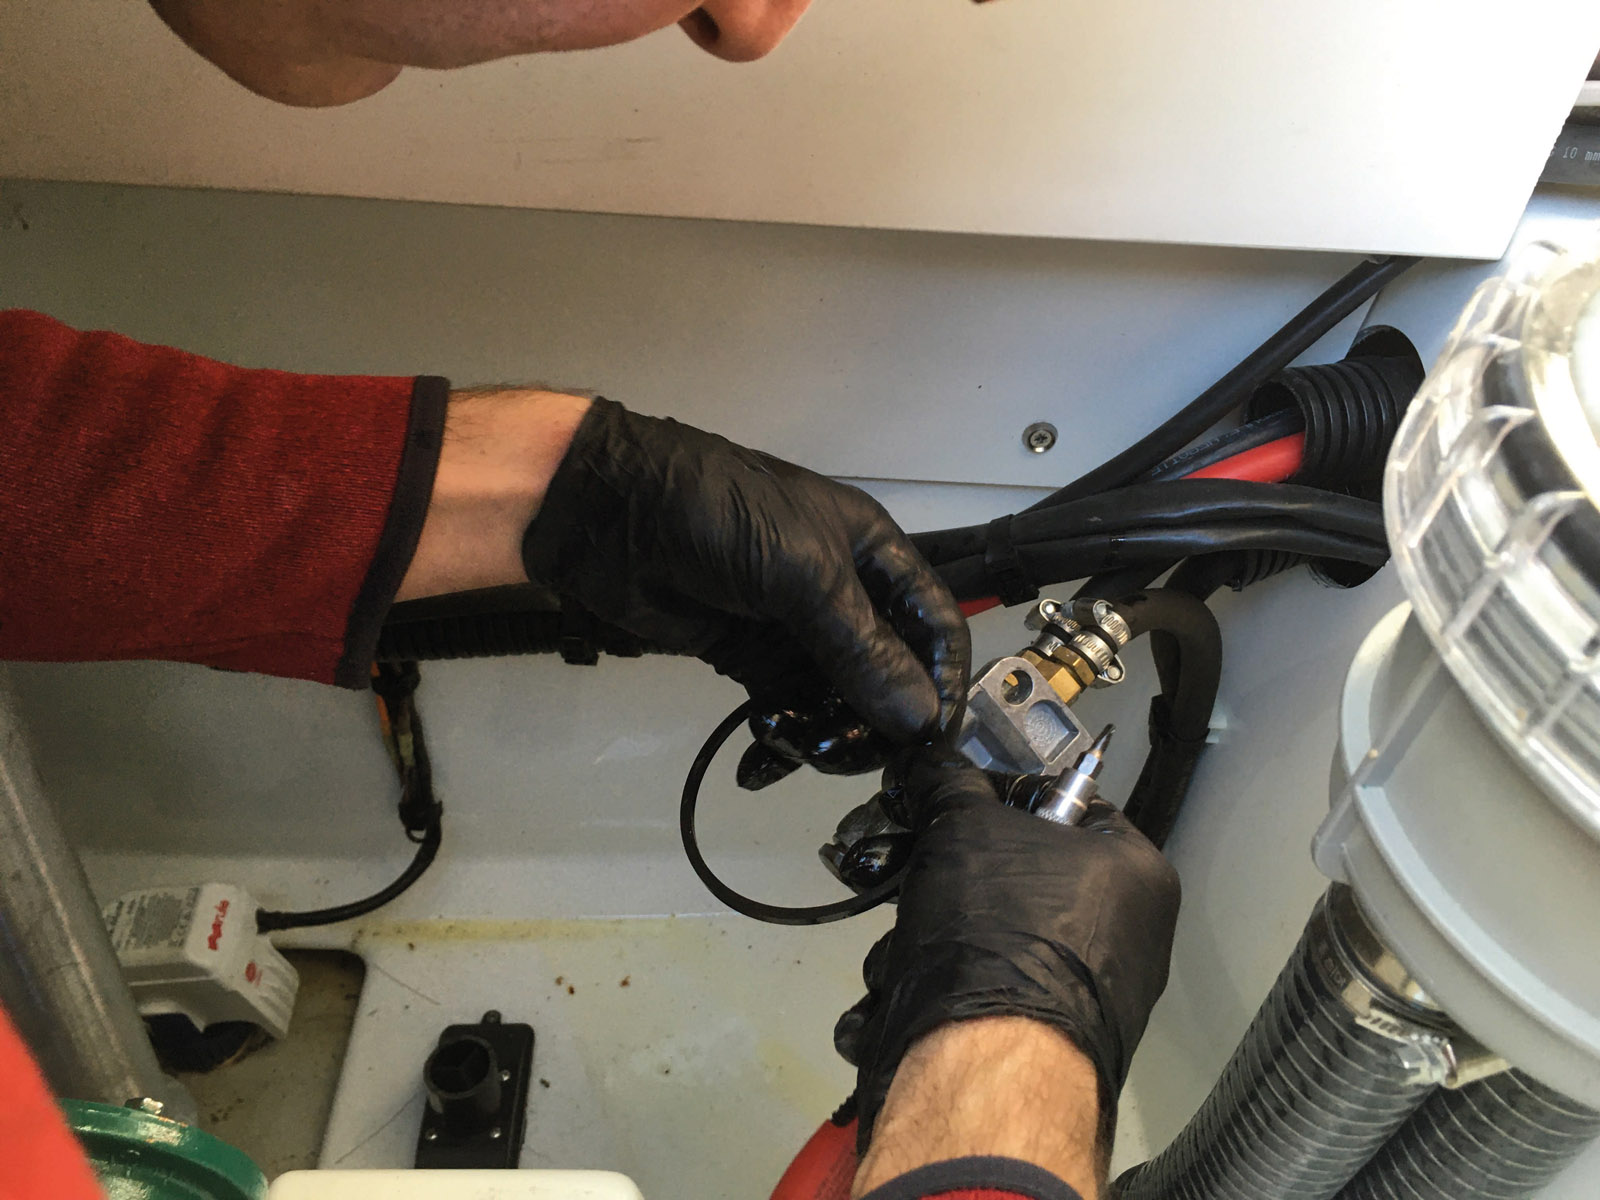 |
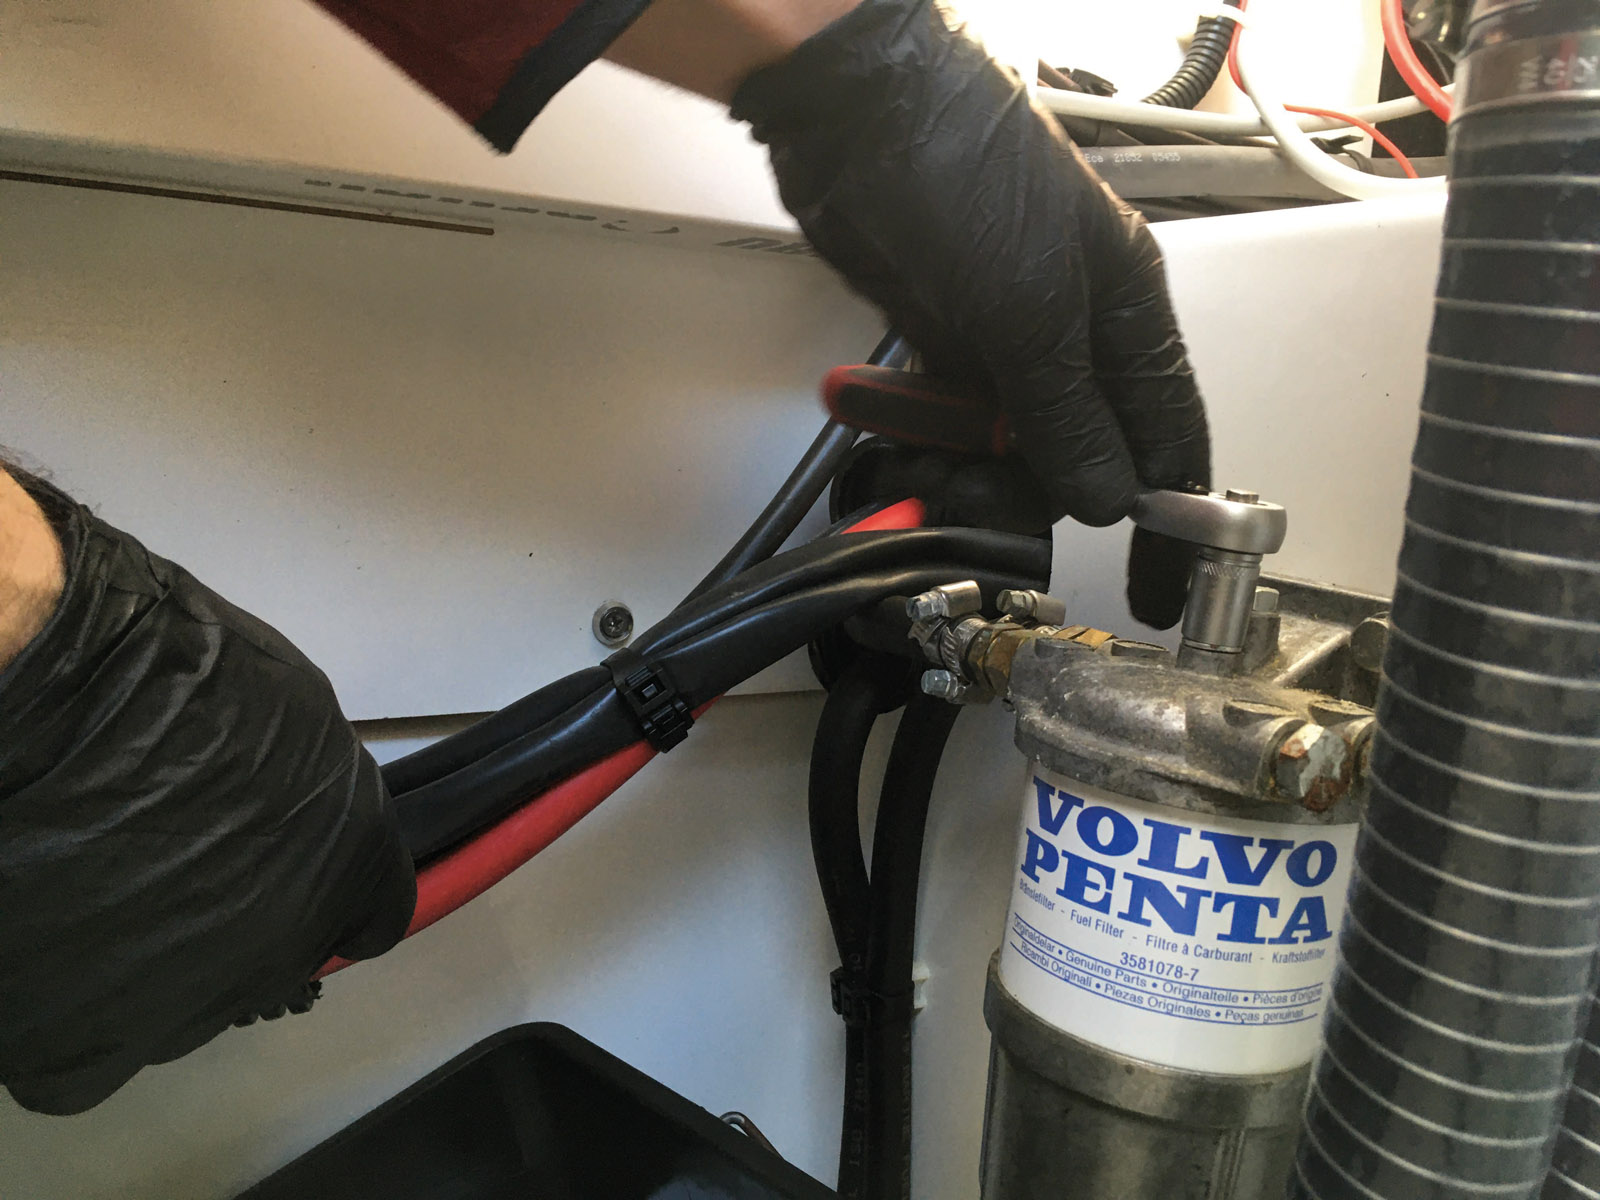
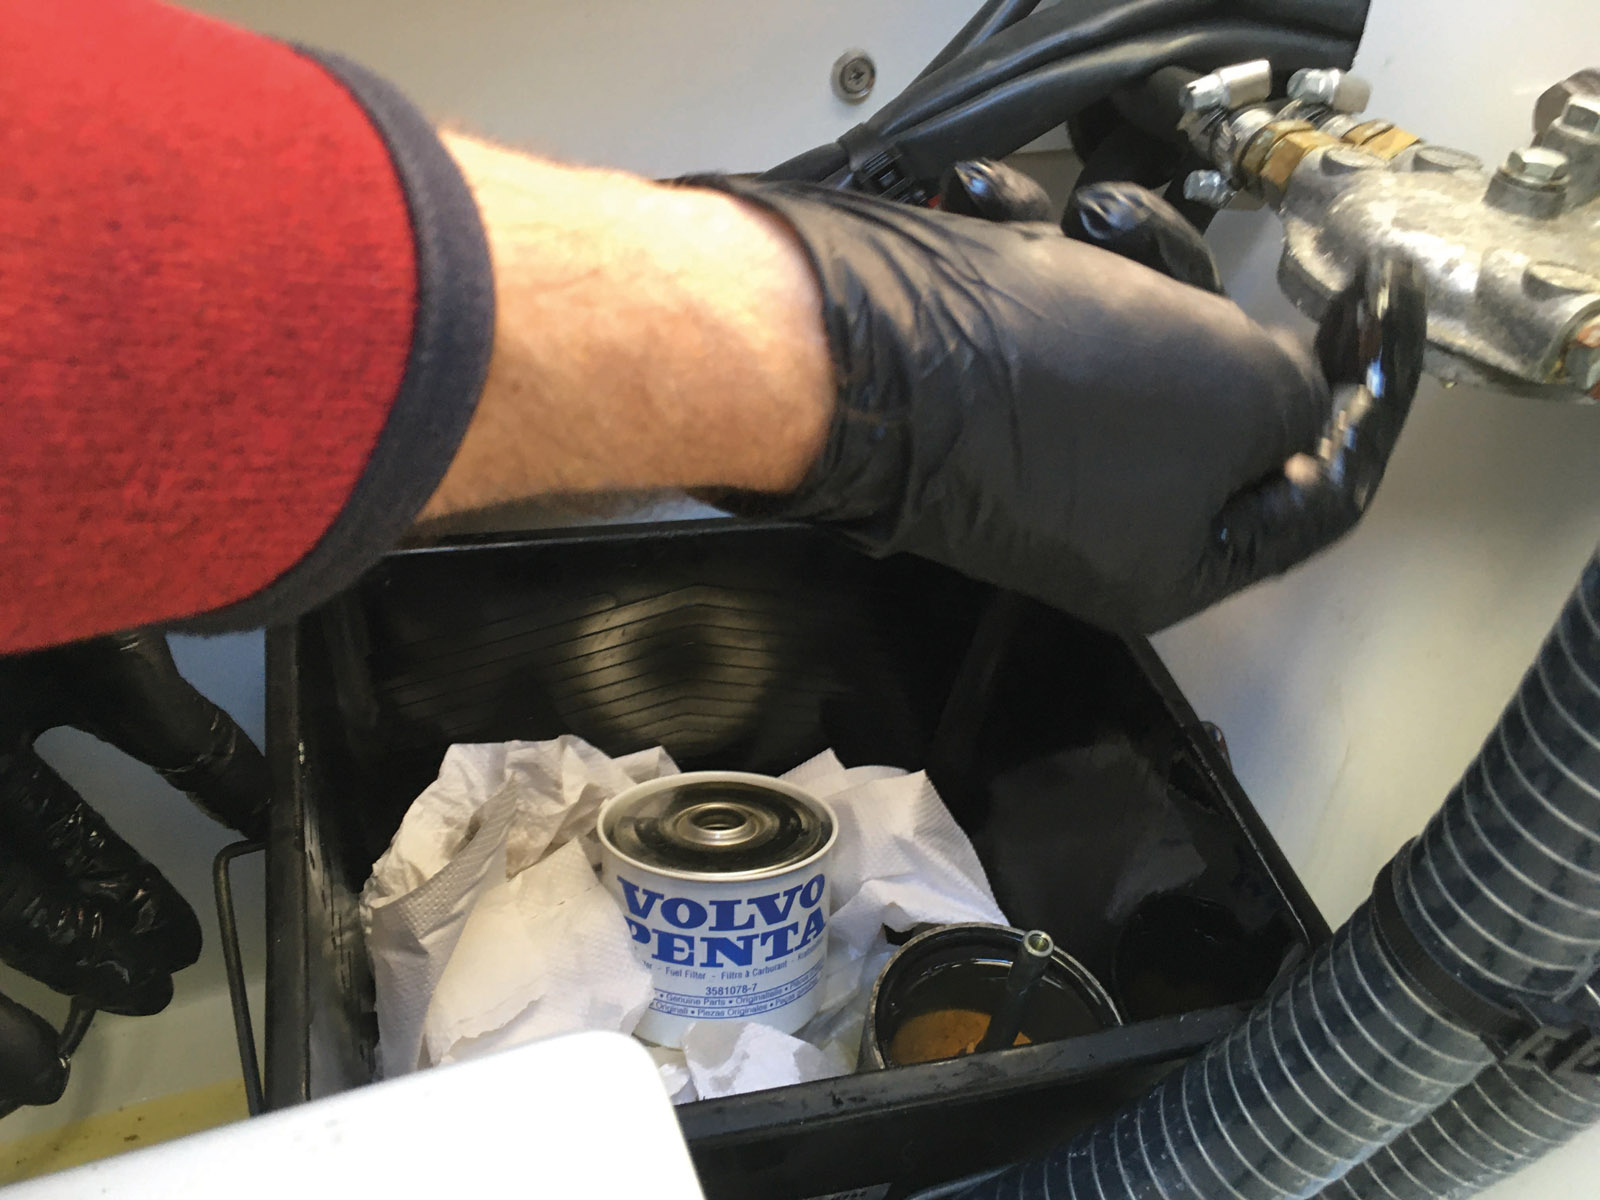
7) Start with the diesel pre-filter. Put a tray underneath to avoid spilling fuel in the bilges. Always moisten the seal before tightening.
 |
 |
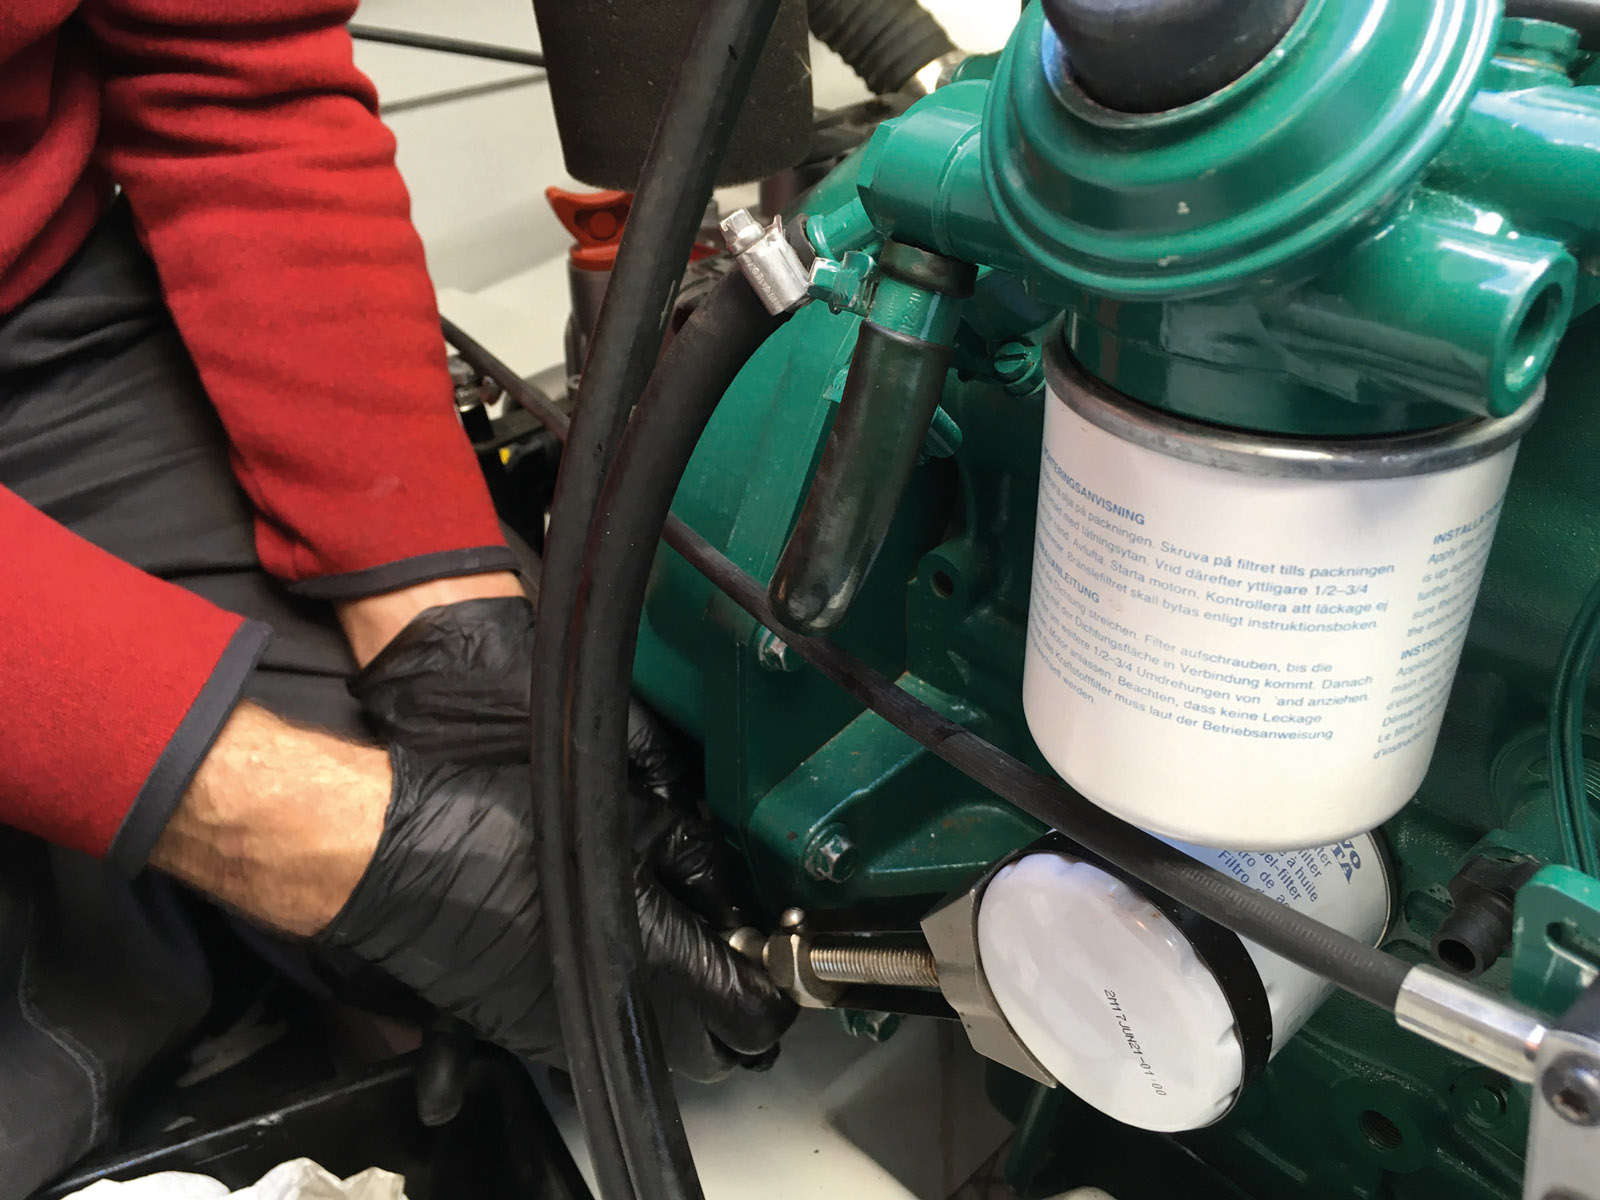
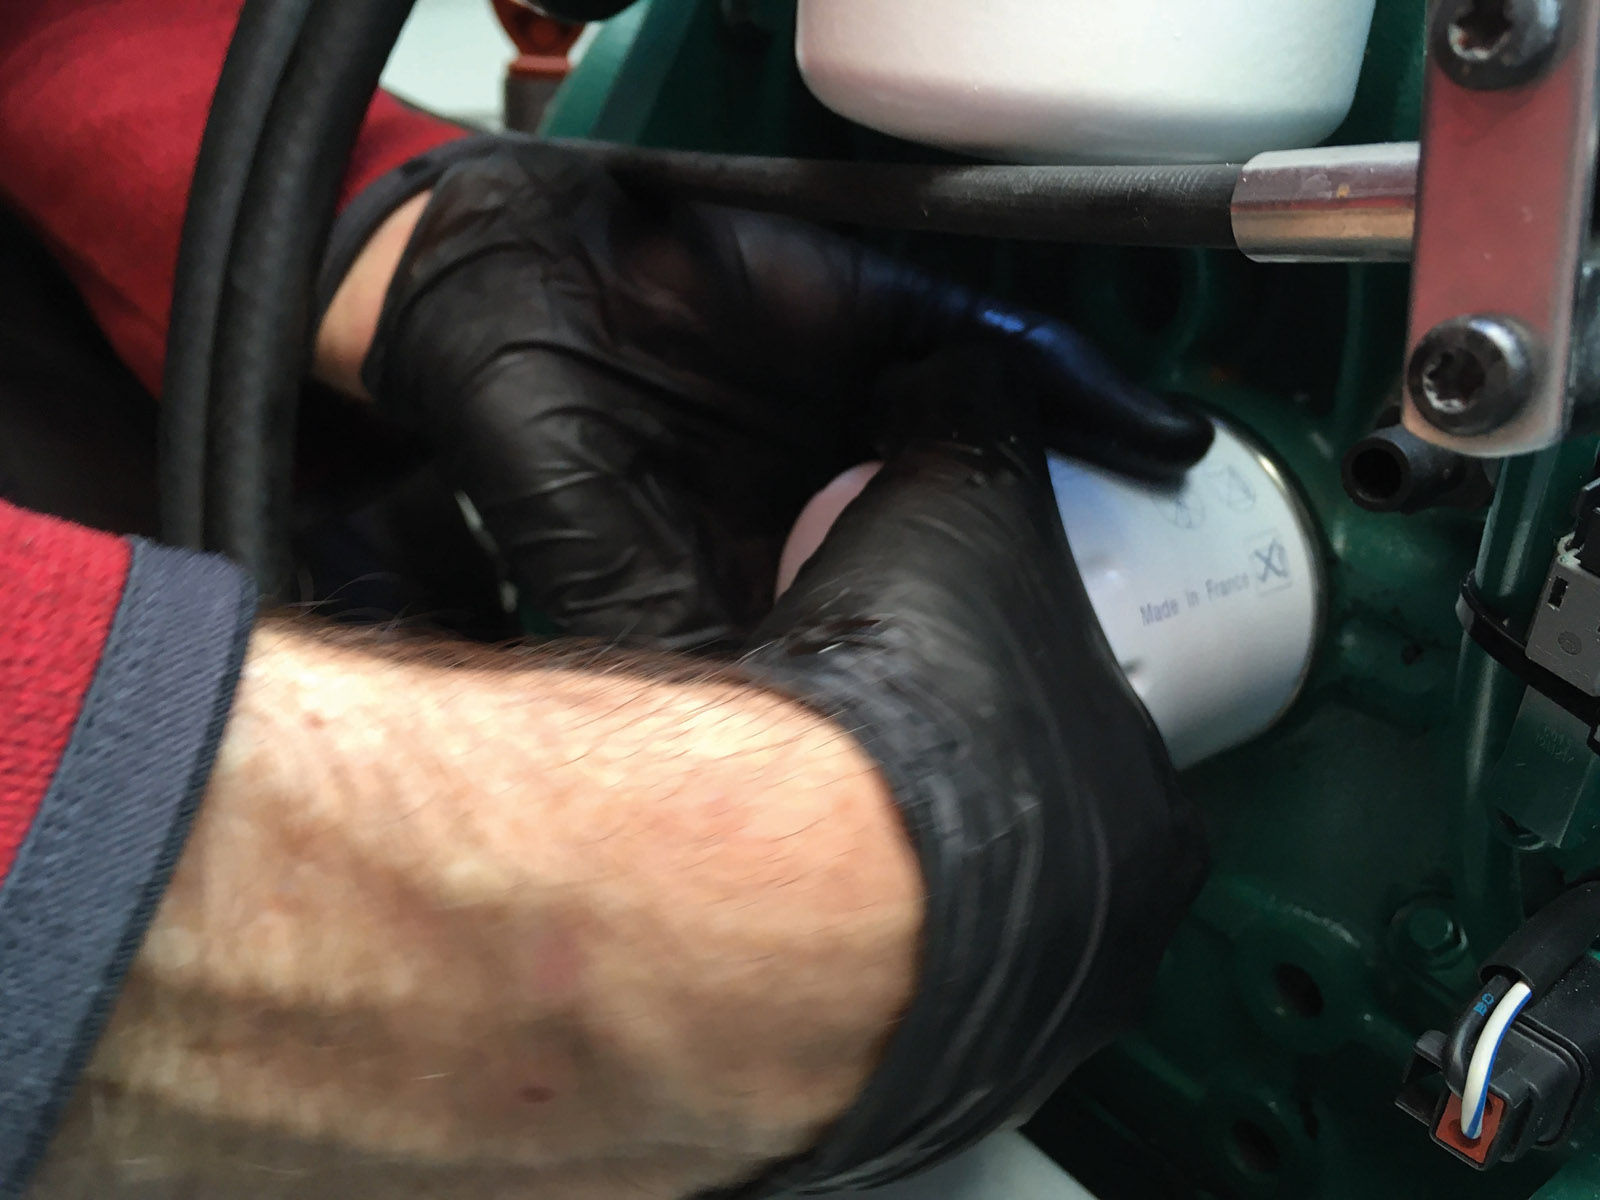
8) The same applies to the fuel filter, located under the oil filter.
 |
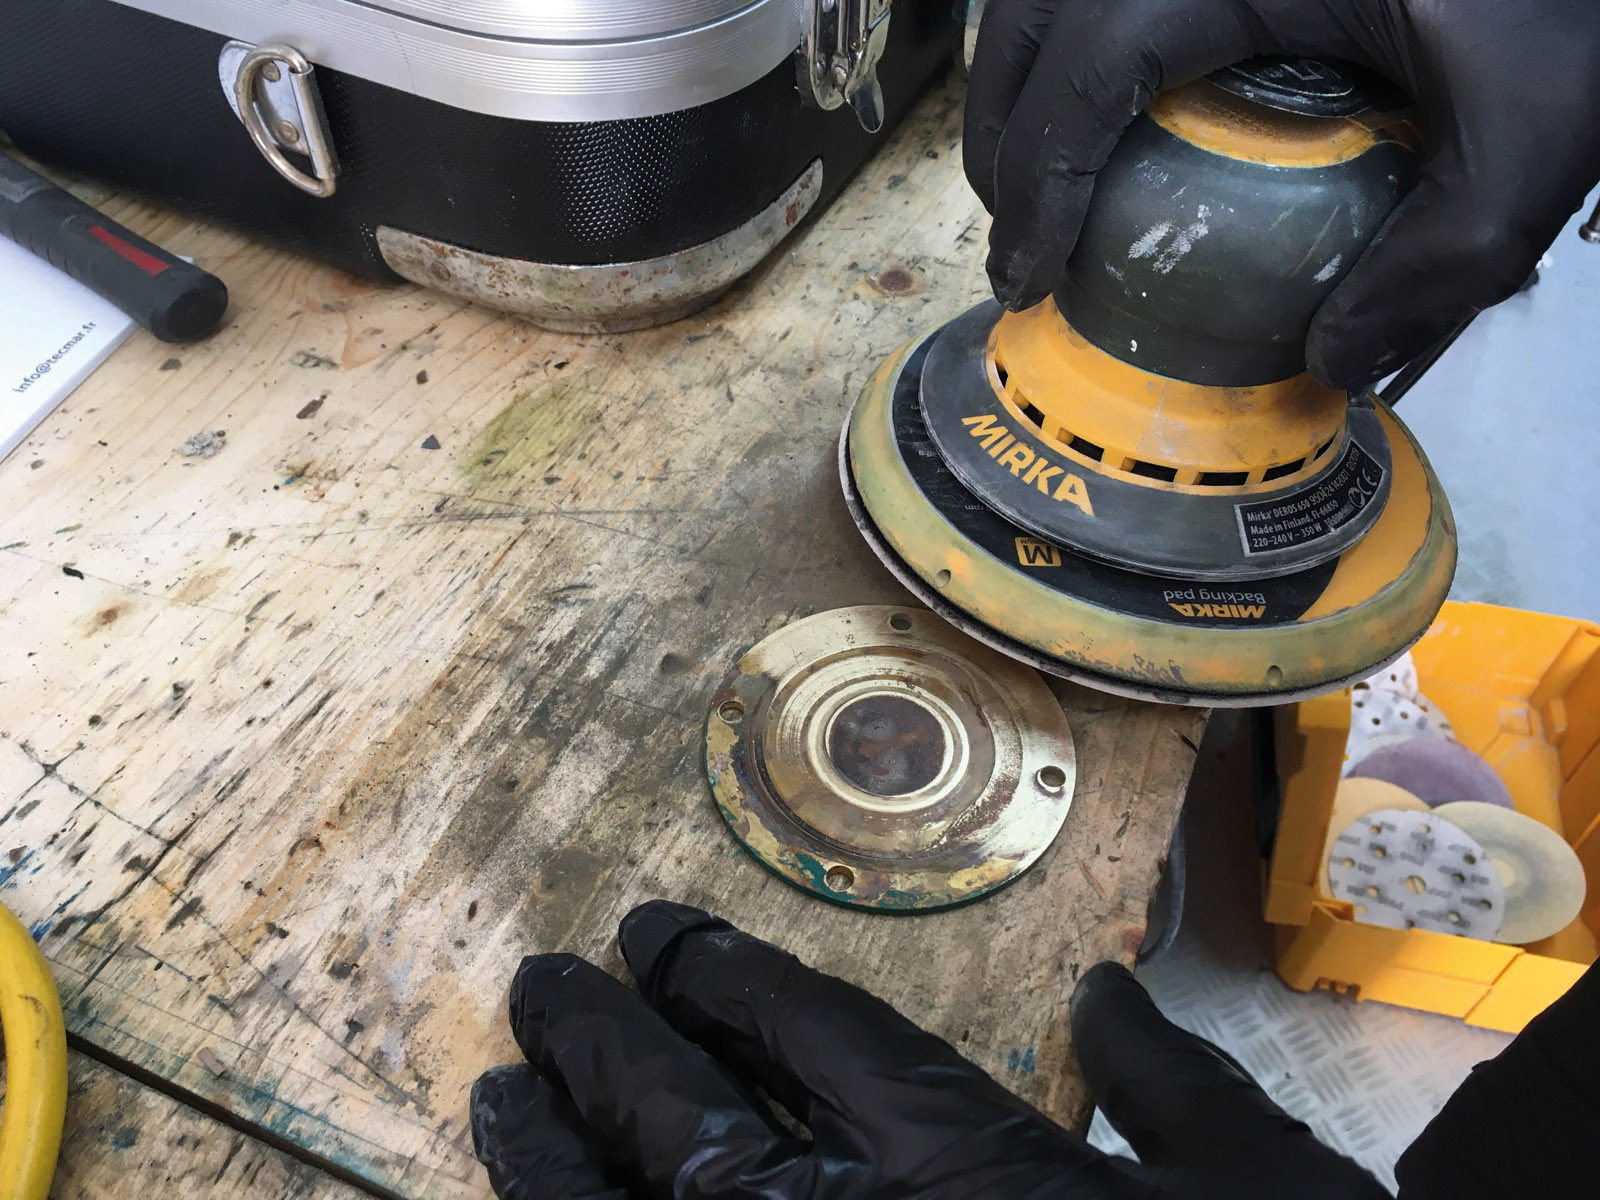 |
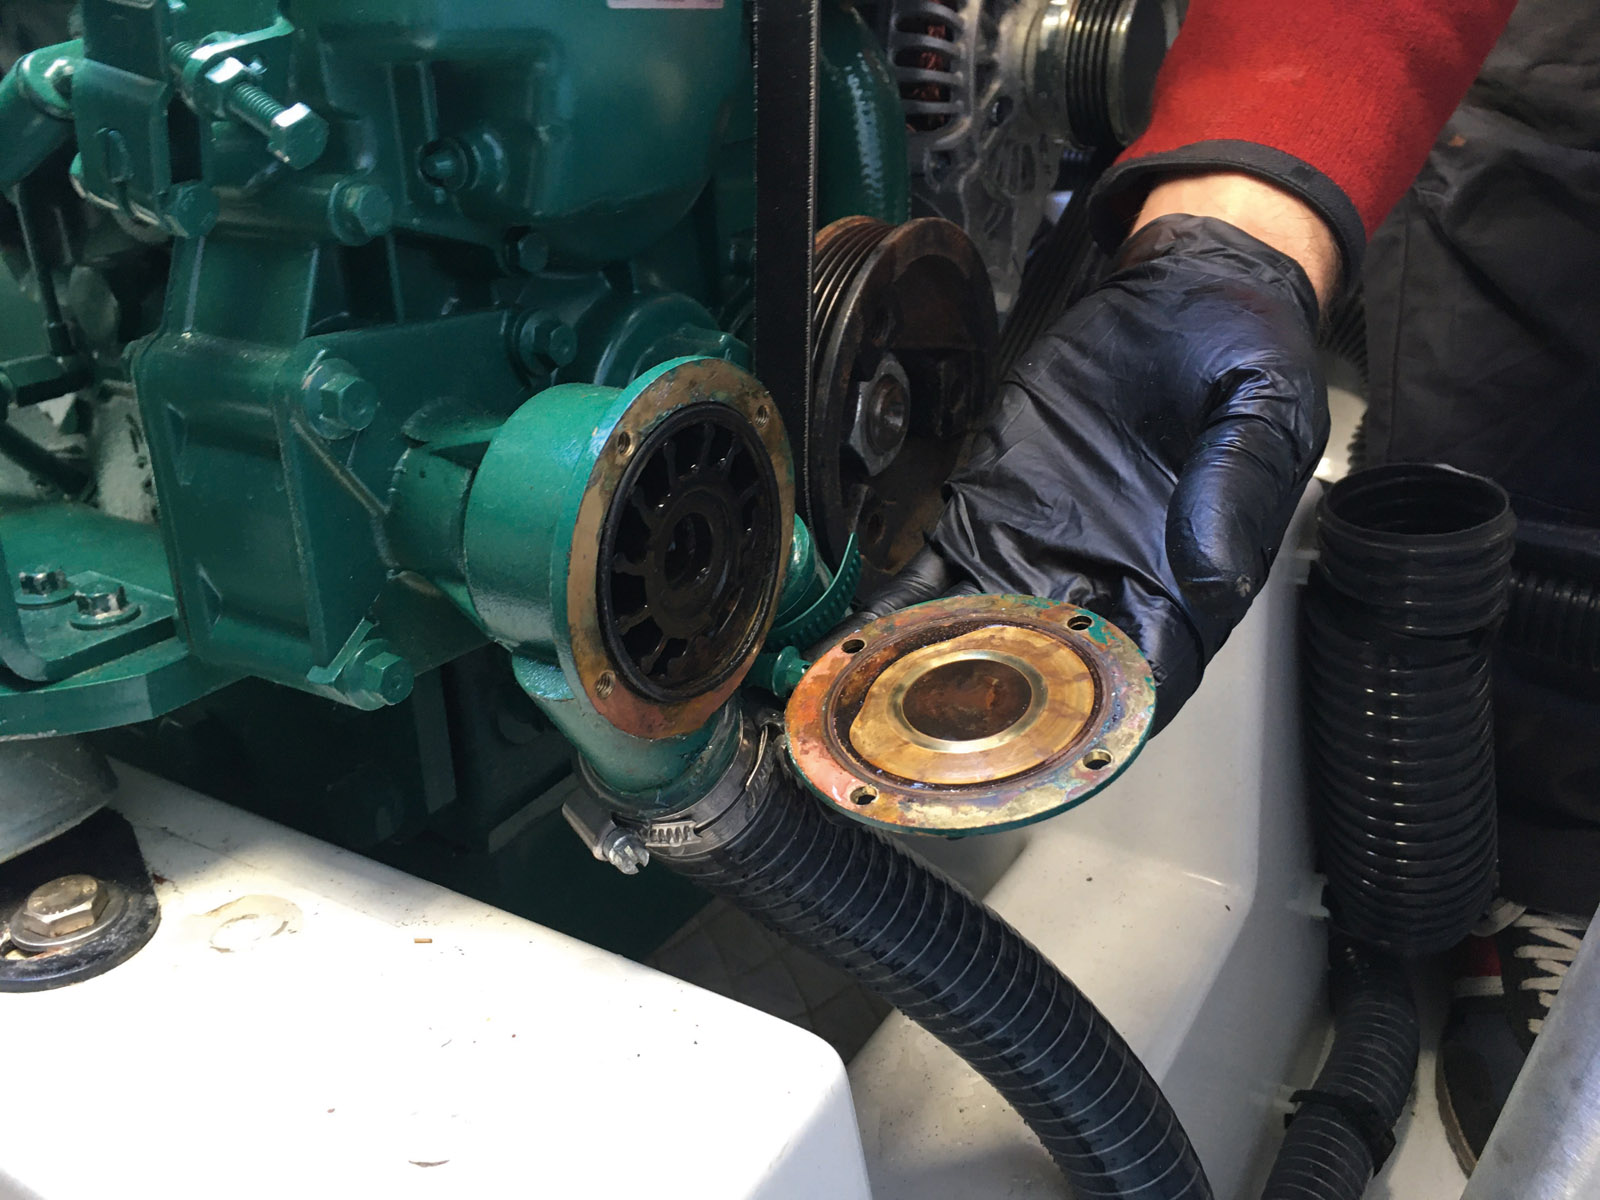
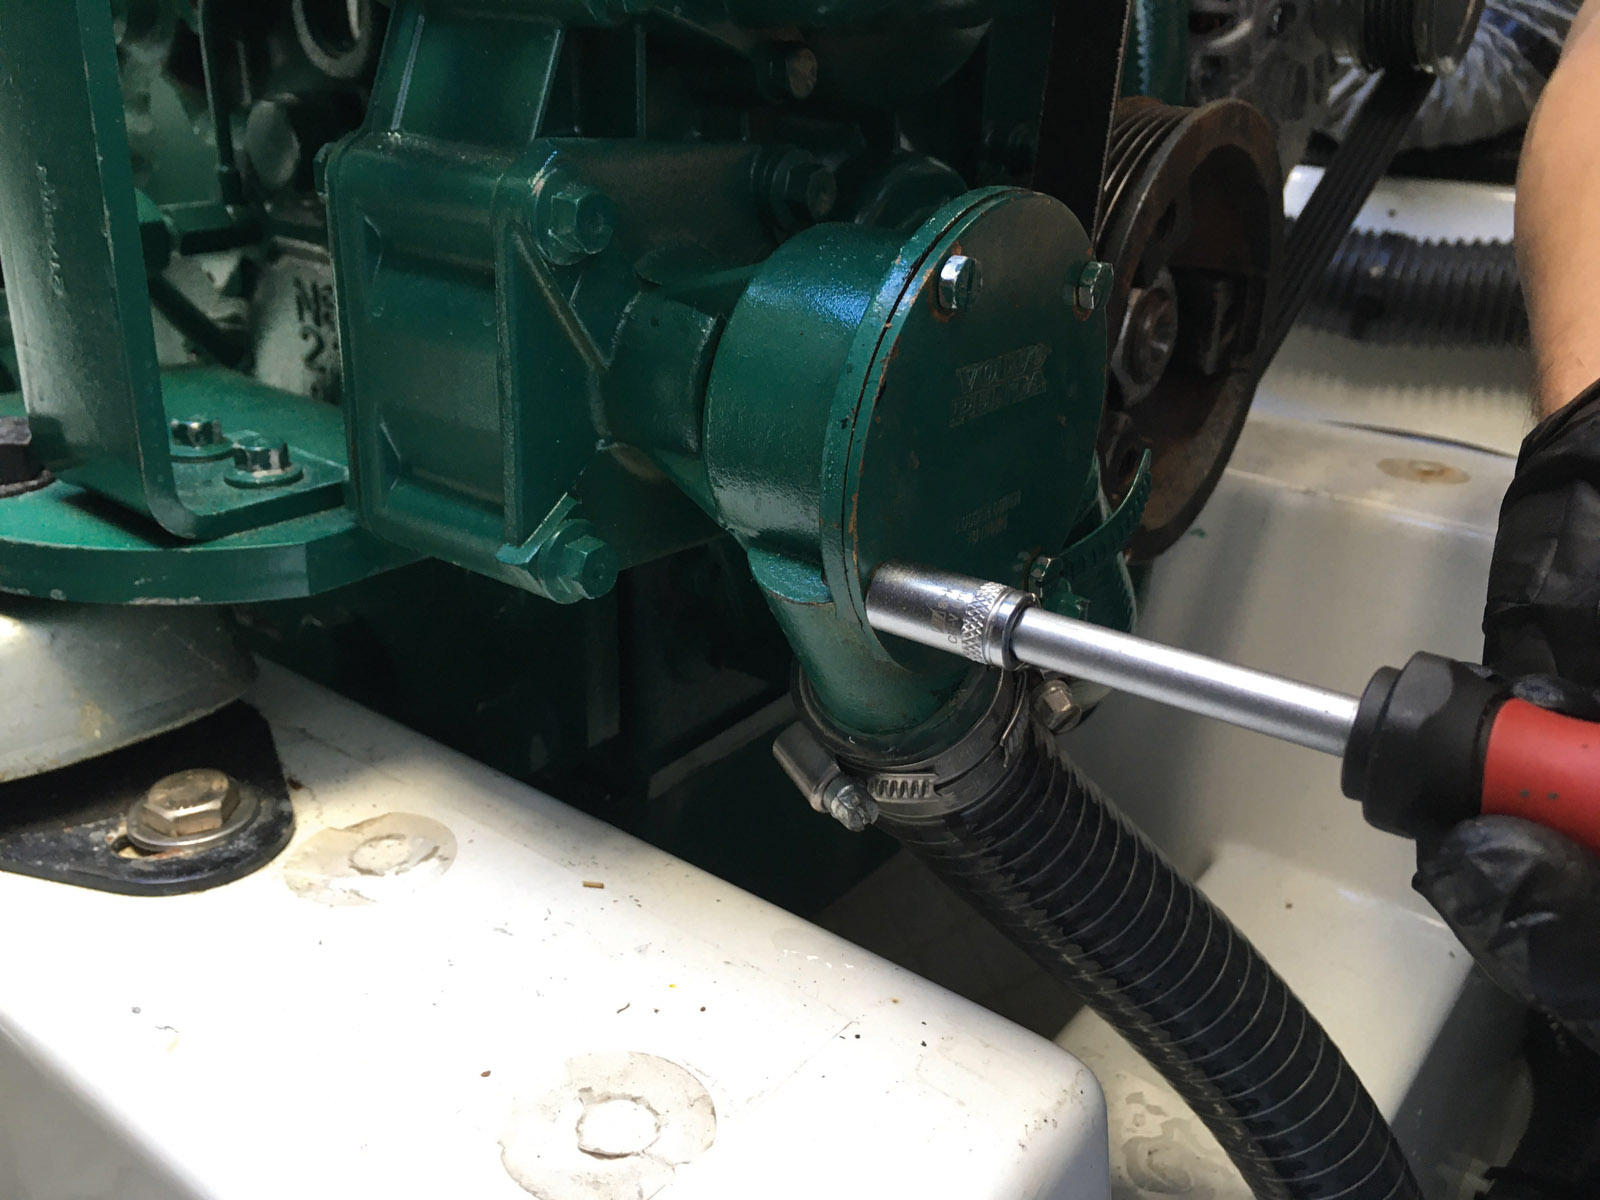
9) The removal of the raw water pump cover, here to the front, is easy. A little sanding with 500-grit paper will ensure a good seal.
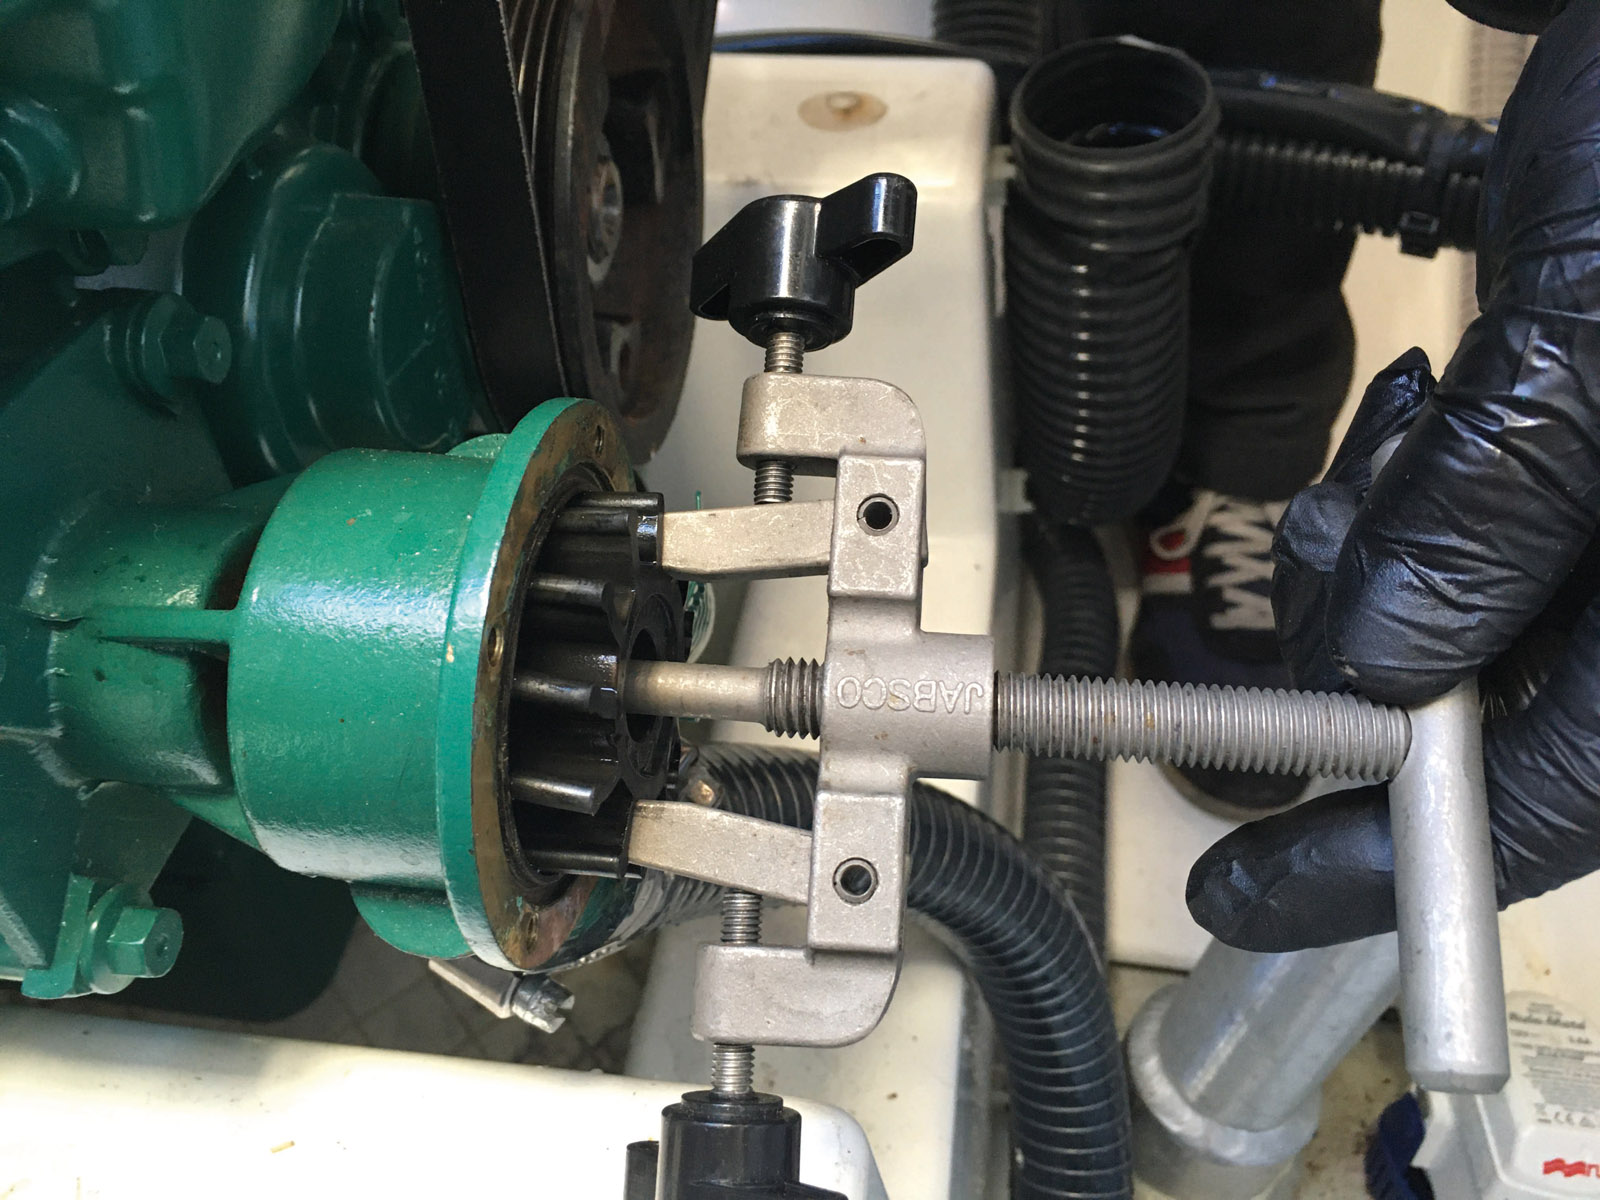
10) Extracting the impeller can be a delicate operation. A good extractor is recommended in order not to scratch the walls of the pump.
 |
 |
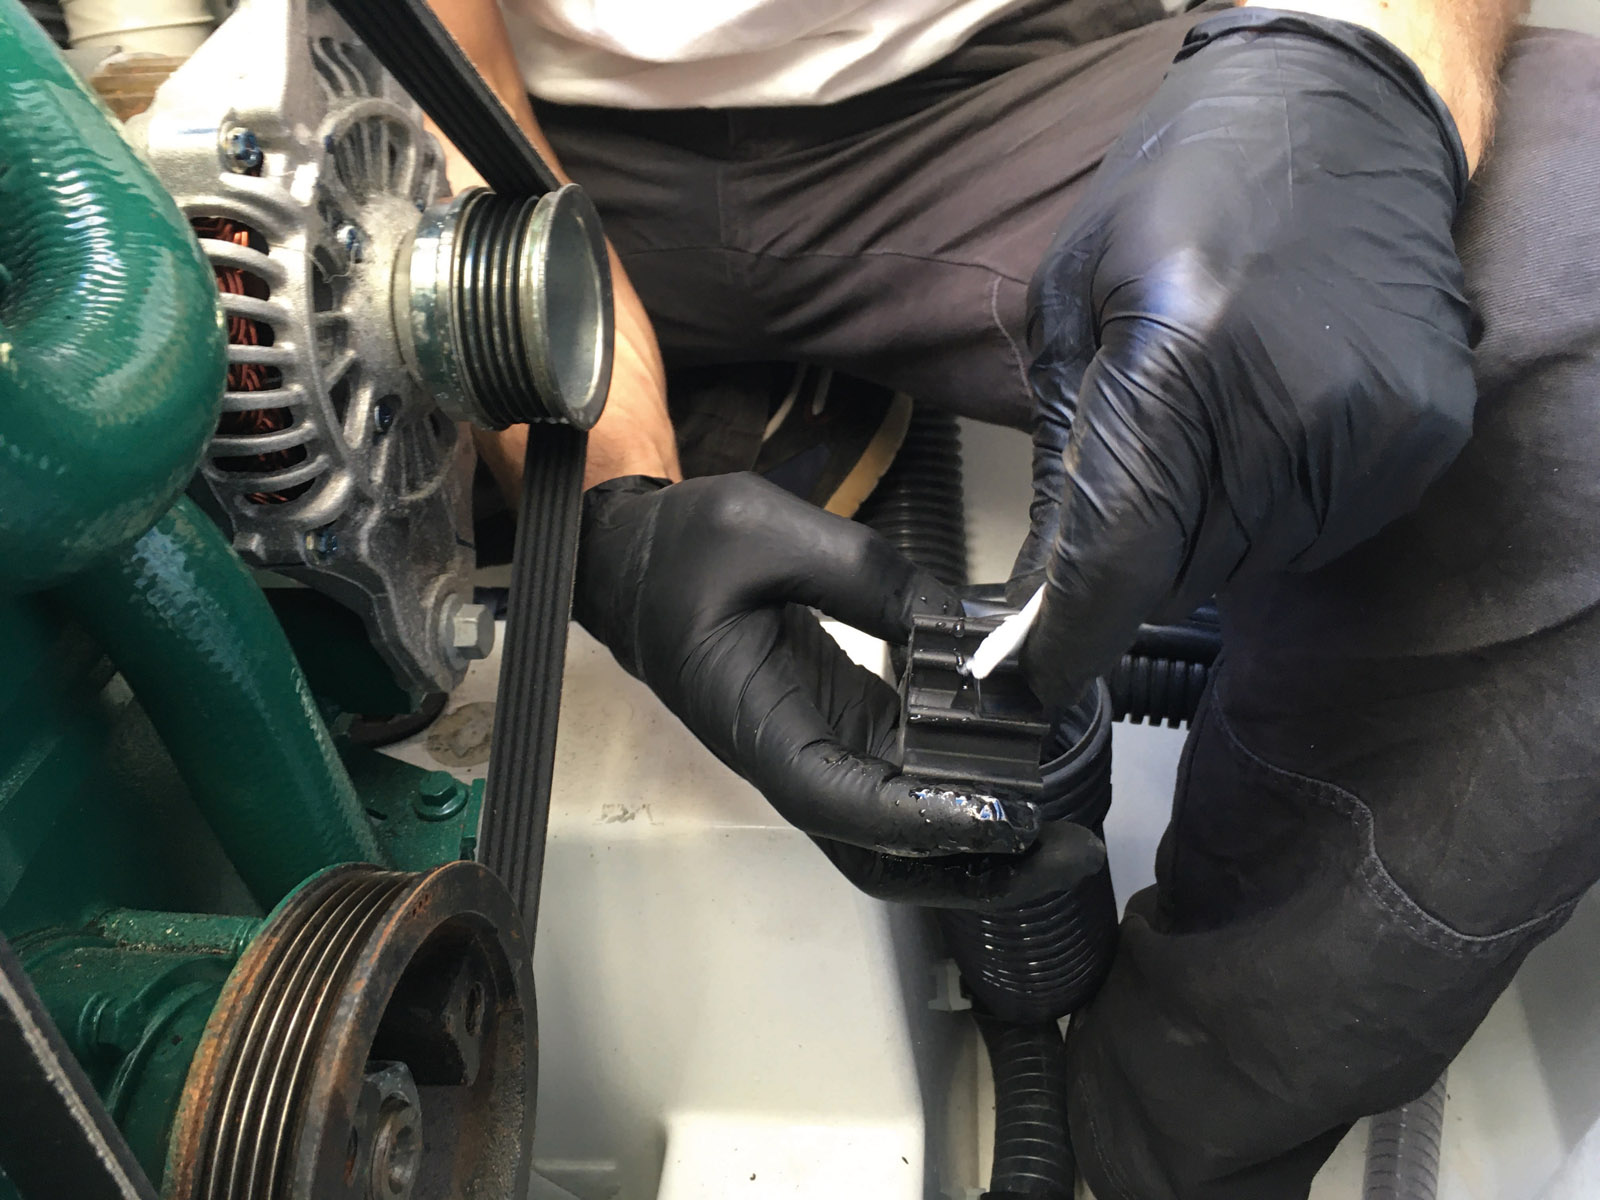 |
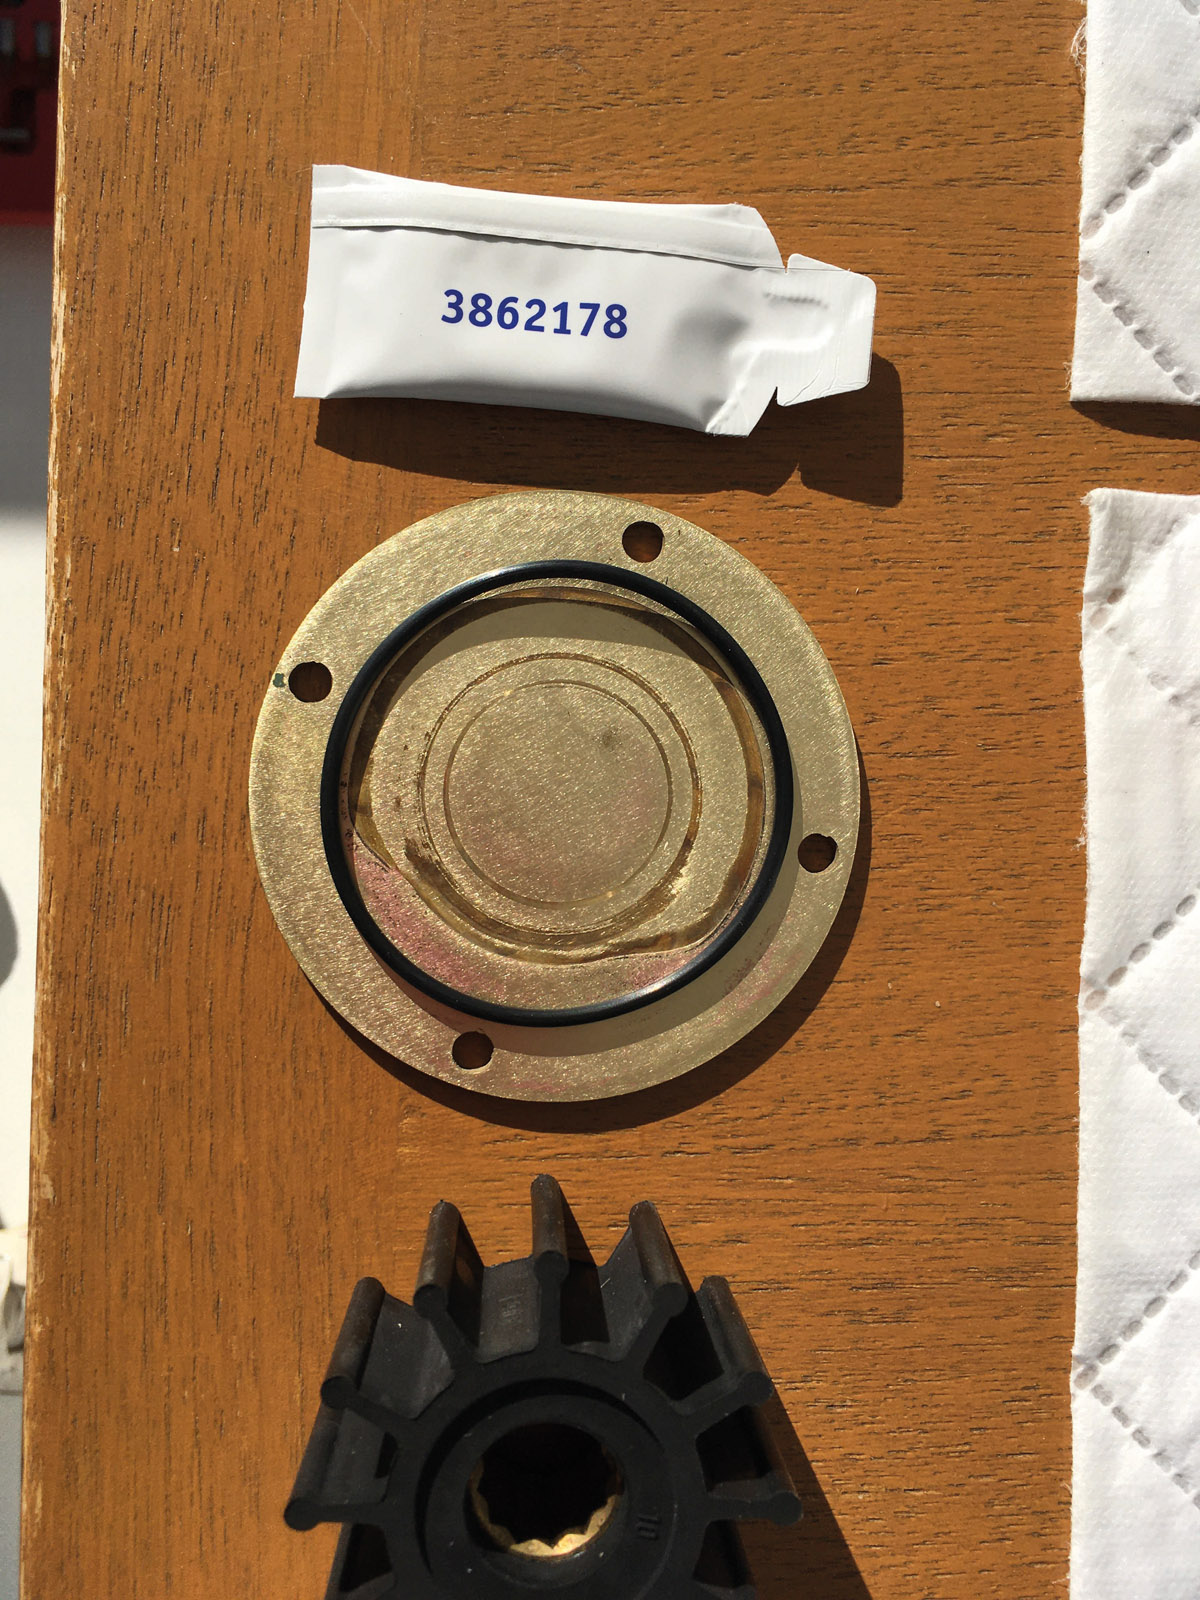
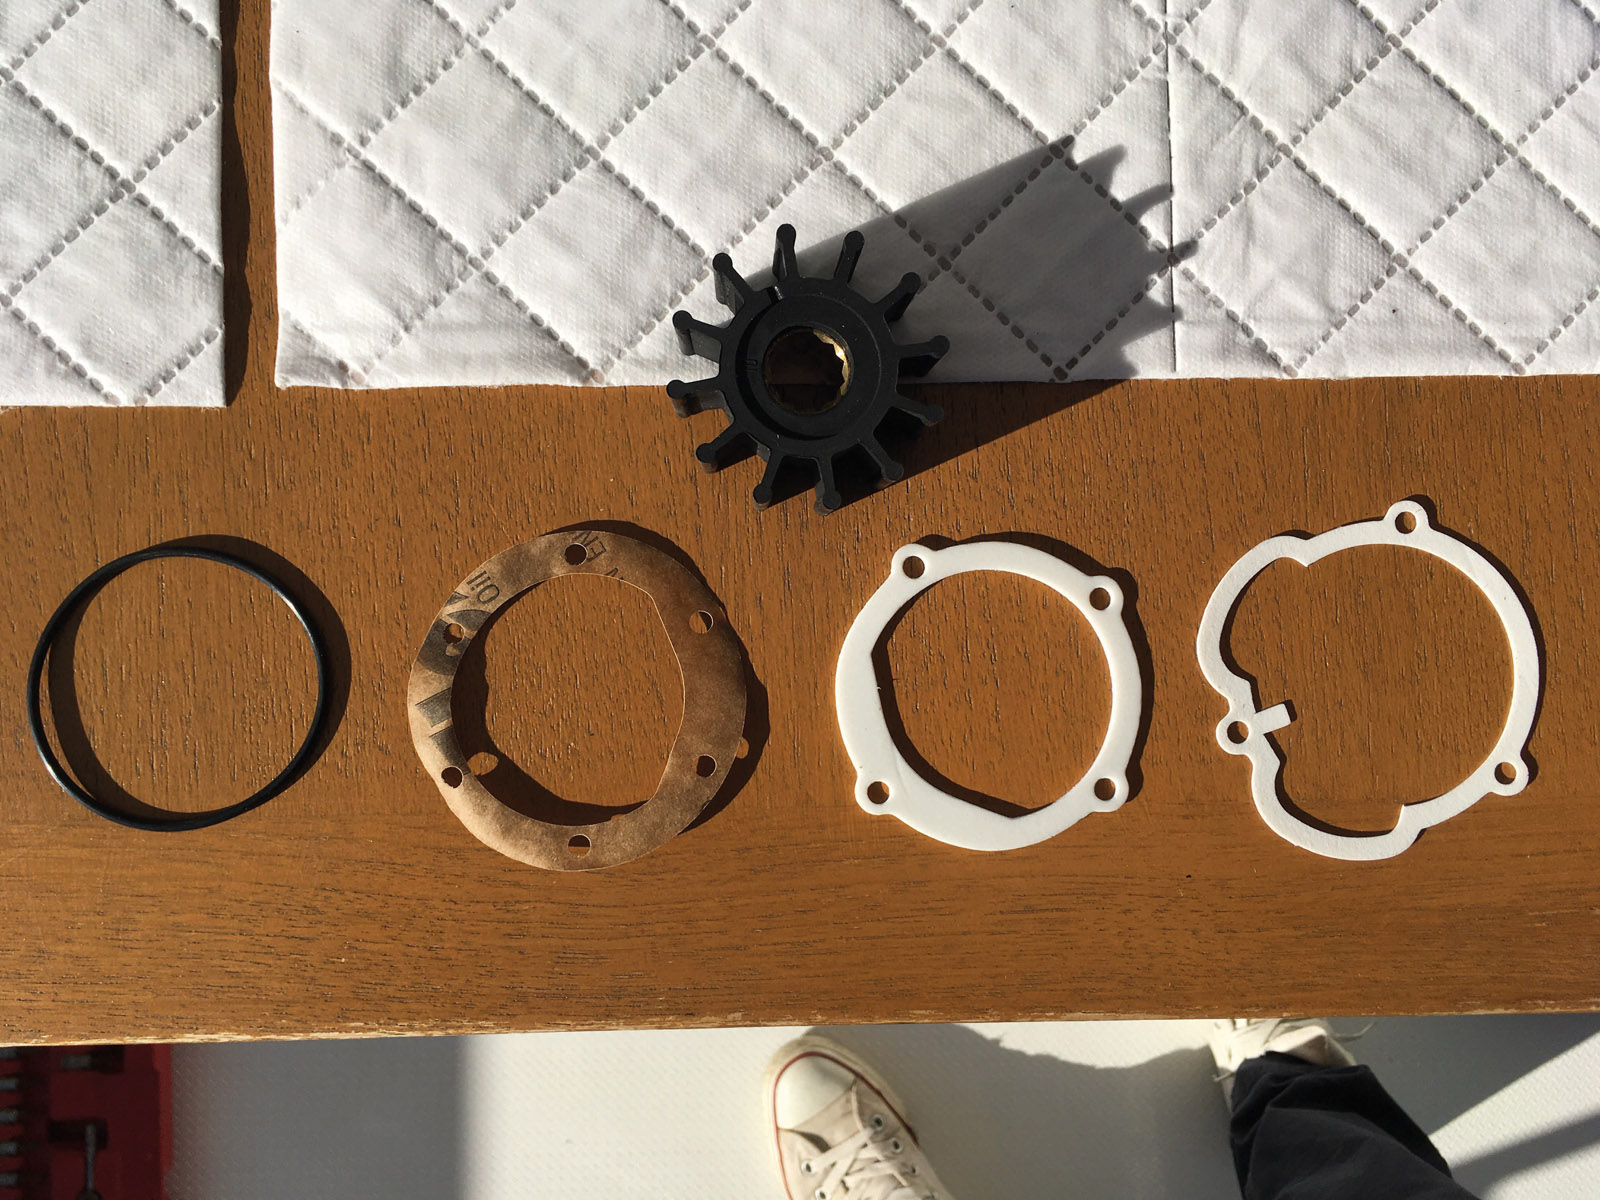
11) A lubricator is supplied with the impeller kit. Several seals are provided depending on the pump model. The lubricant helps to insert the turbine without forcing. Note the traces of wear and tear on the impeller cover.
12) The cover is put back in place thanks to progressive tightening in order to balance the stresses and thus guarantee watertightness.
 |
 |
13) Cleaning the raw water strainer: a large pair of pliers can be useful in case of blockage. This transparent pre-filter should be checked once a week during intensive boating use or when in brackish water
 |
 |
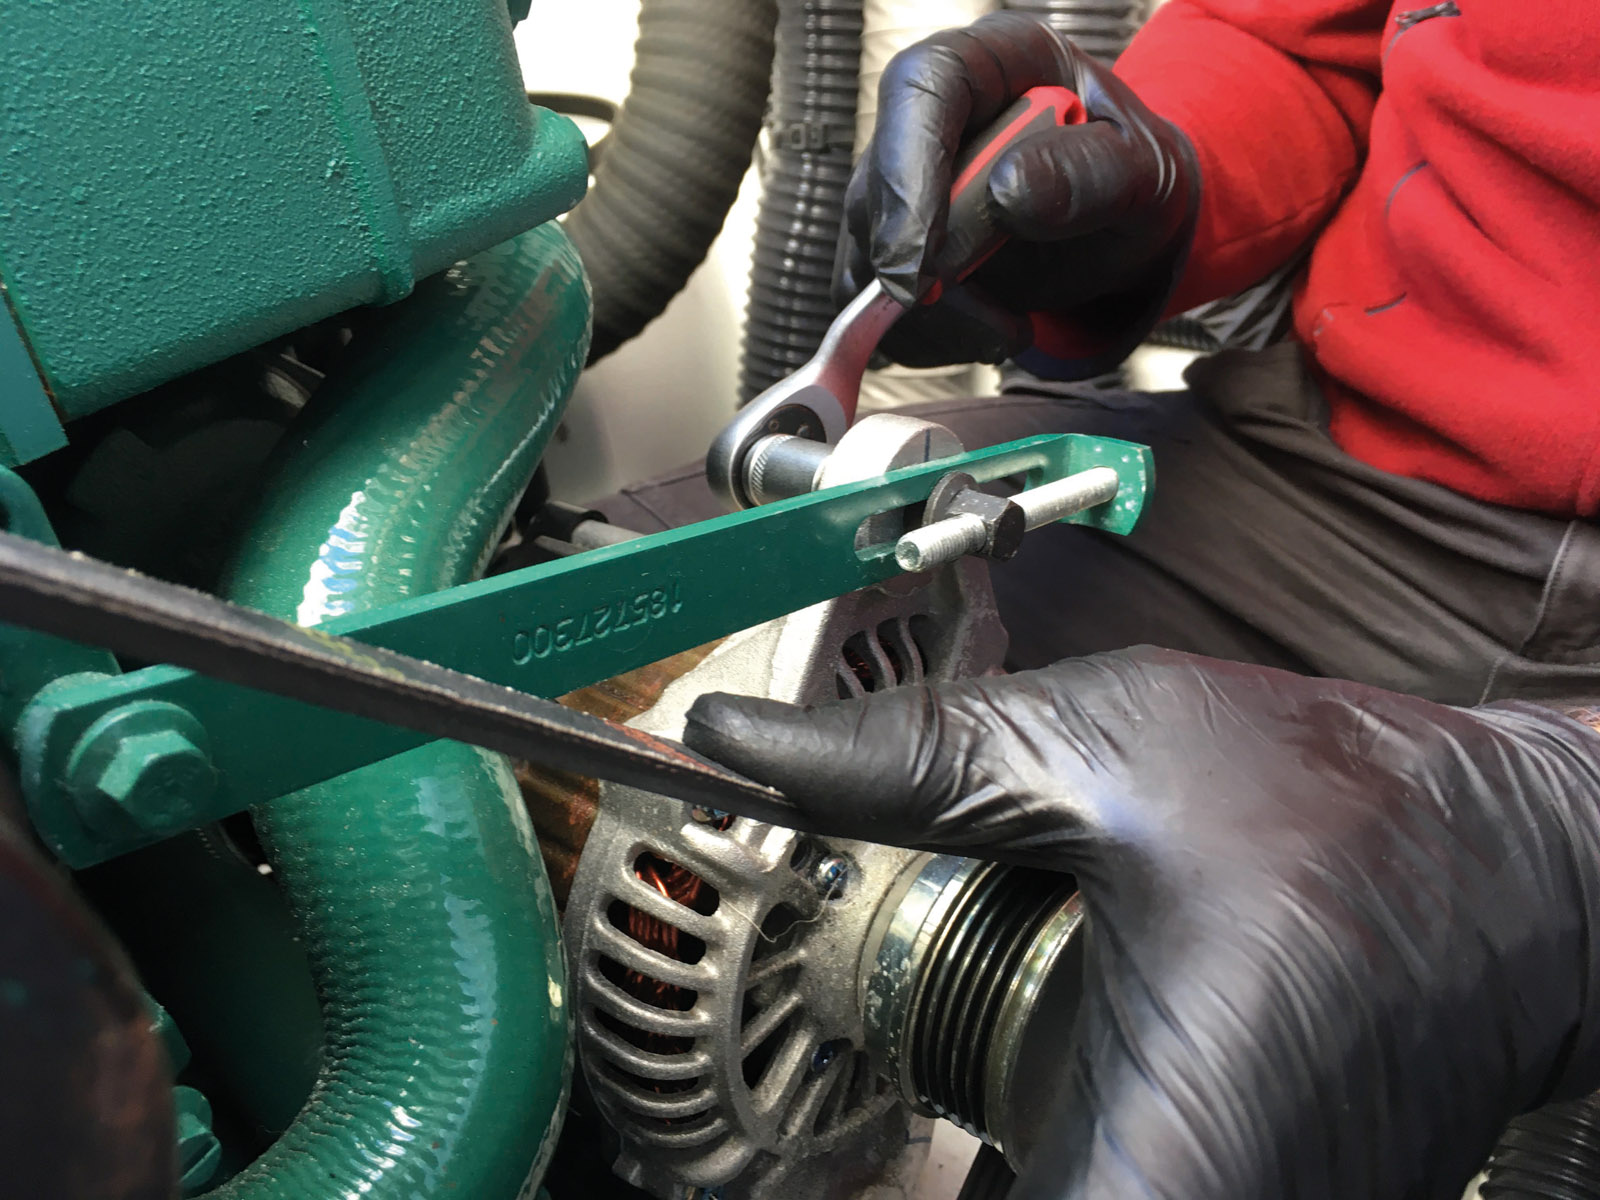 |
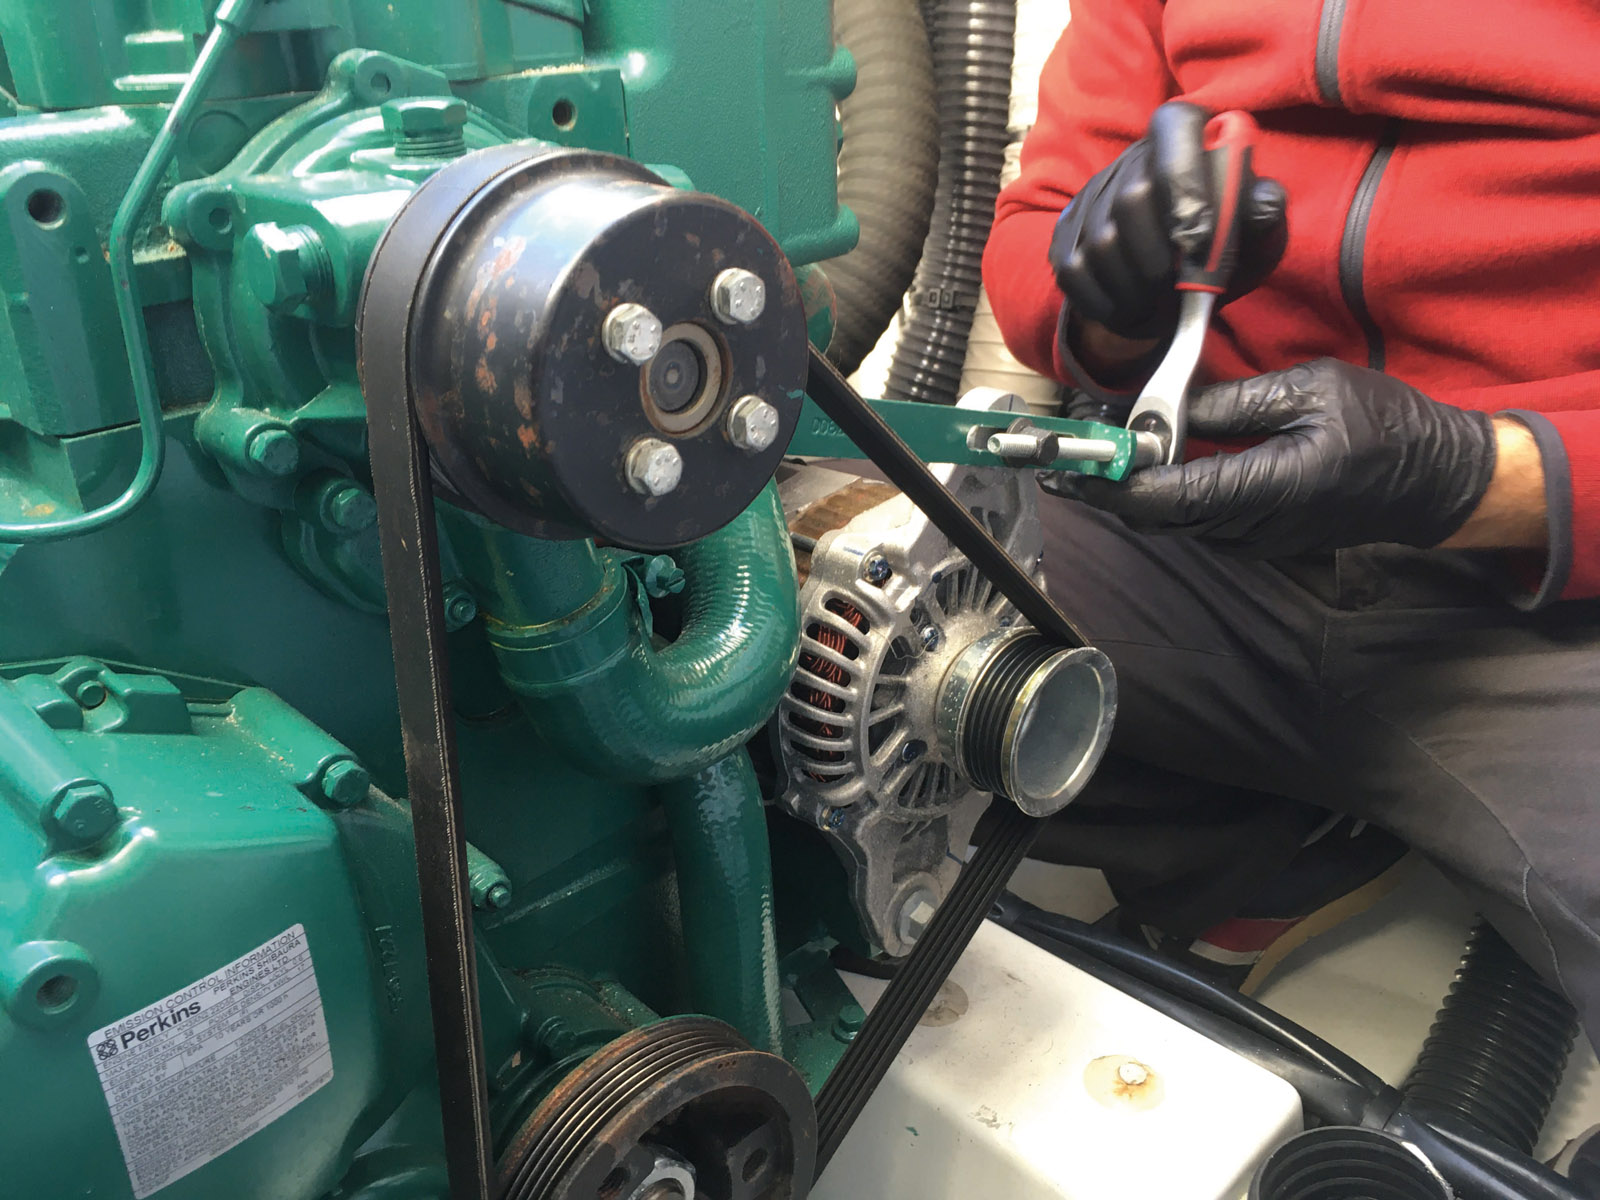
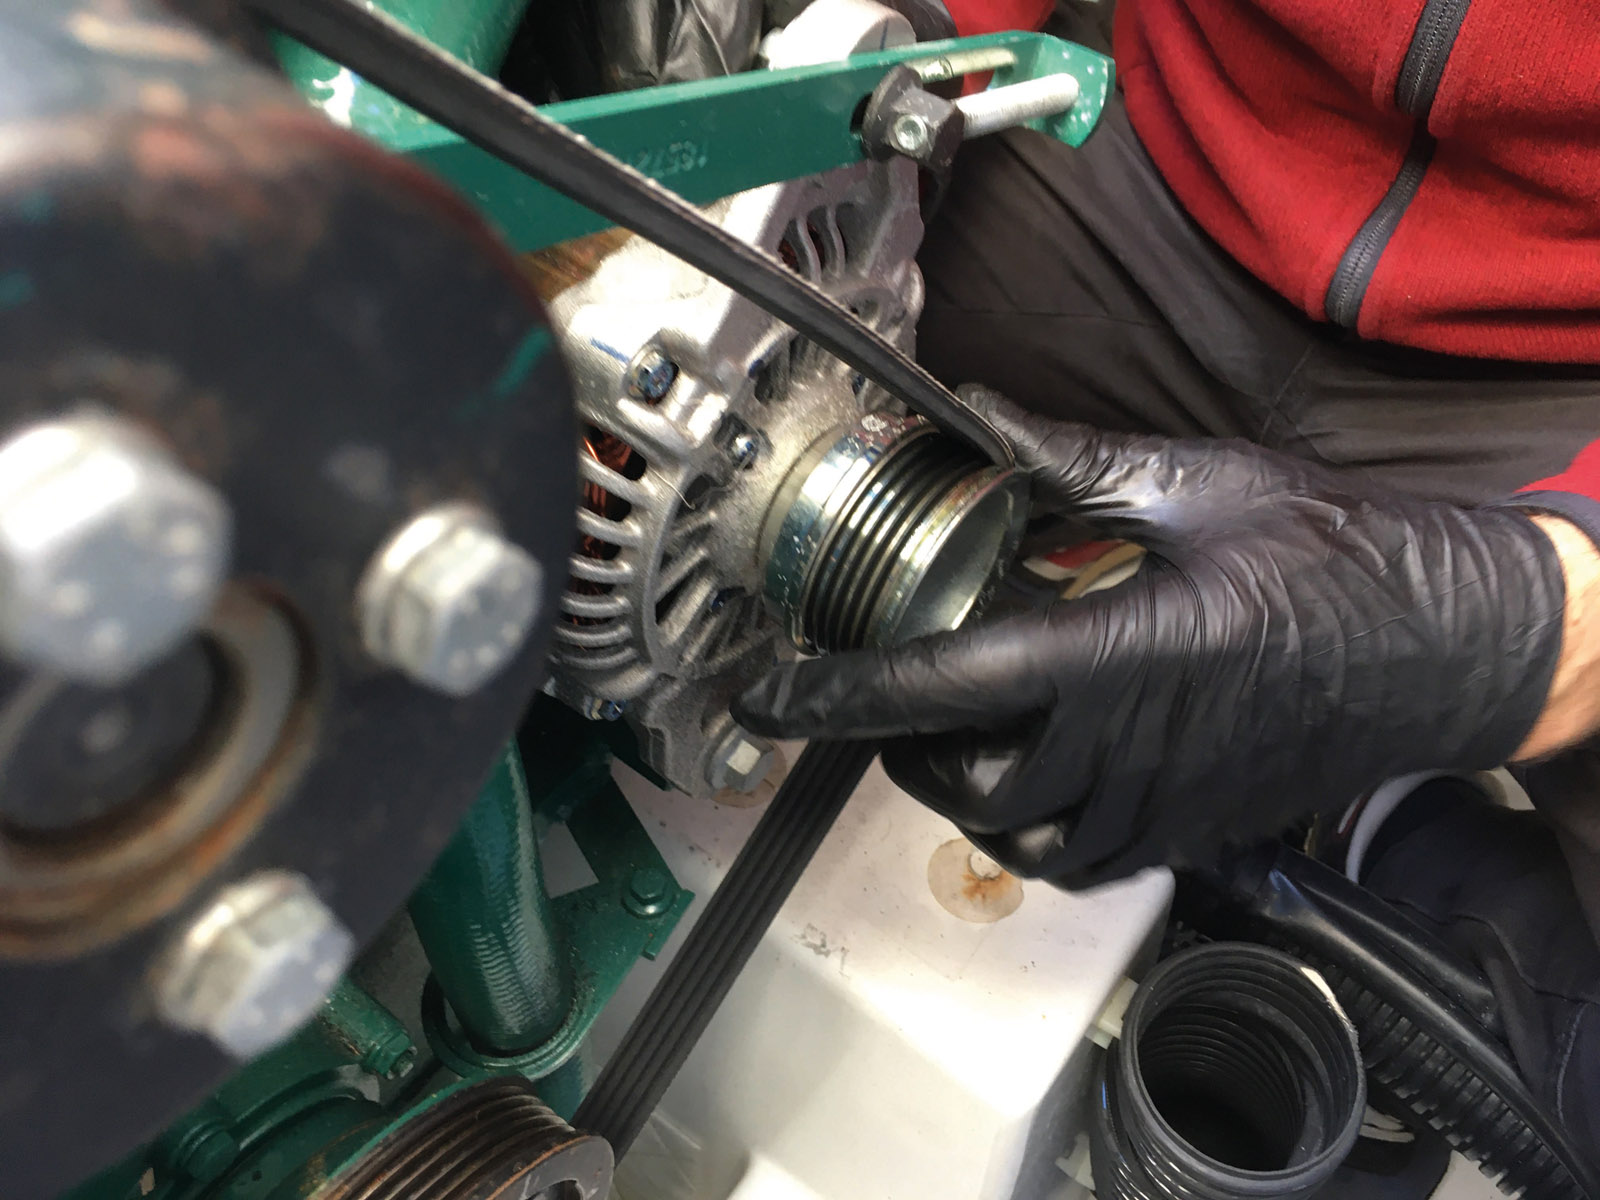
14) Replacing the belt. Loosening the alternator bracket releases the tension. Be careful to install the new belt in the notches of the pulleys. Tightening can be done with a finger on the belt to check the tension.
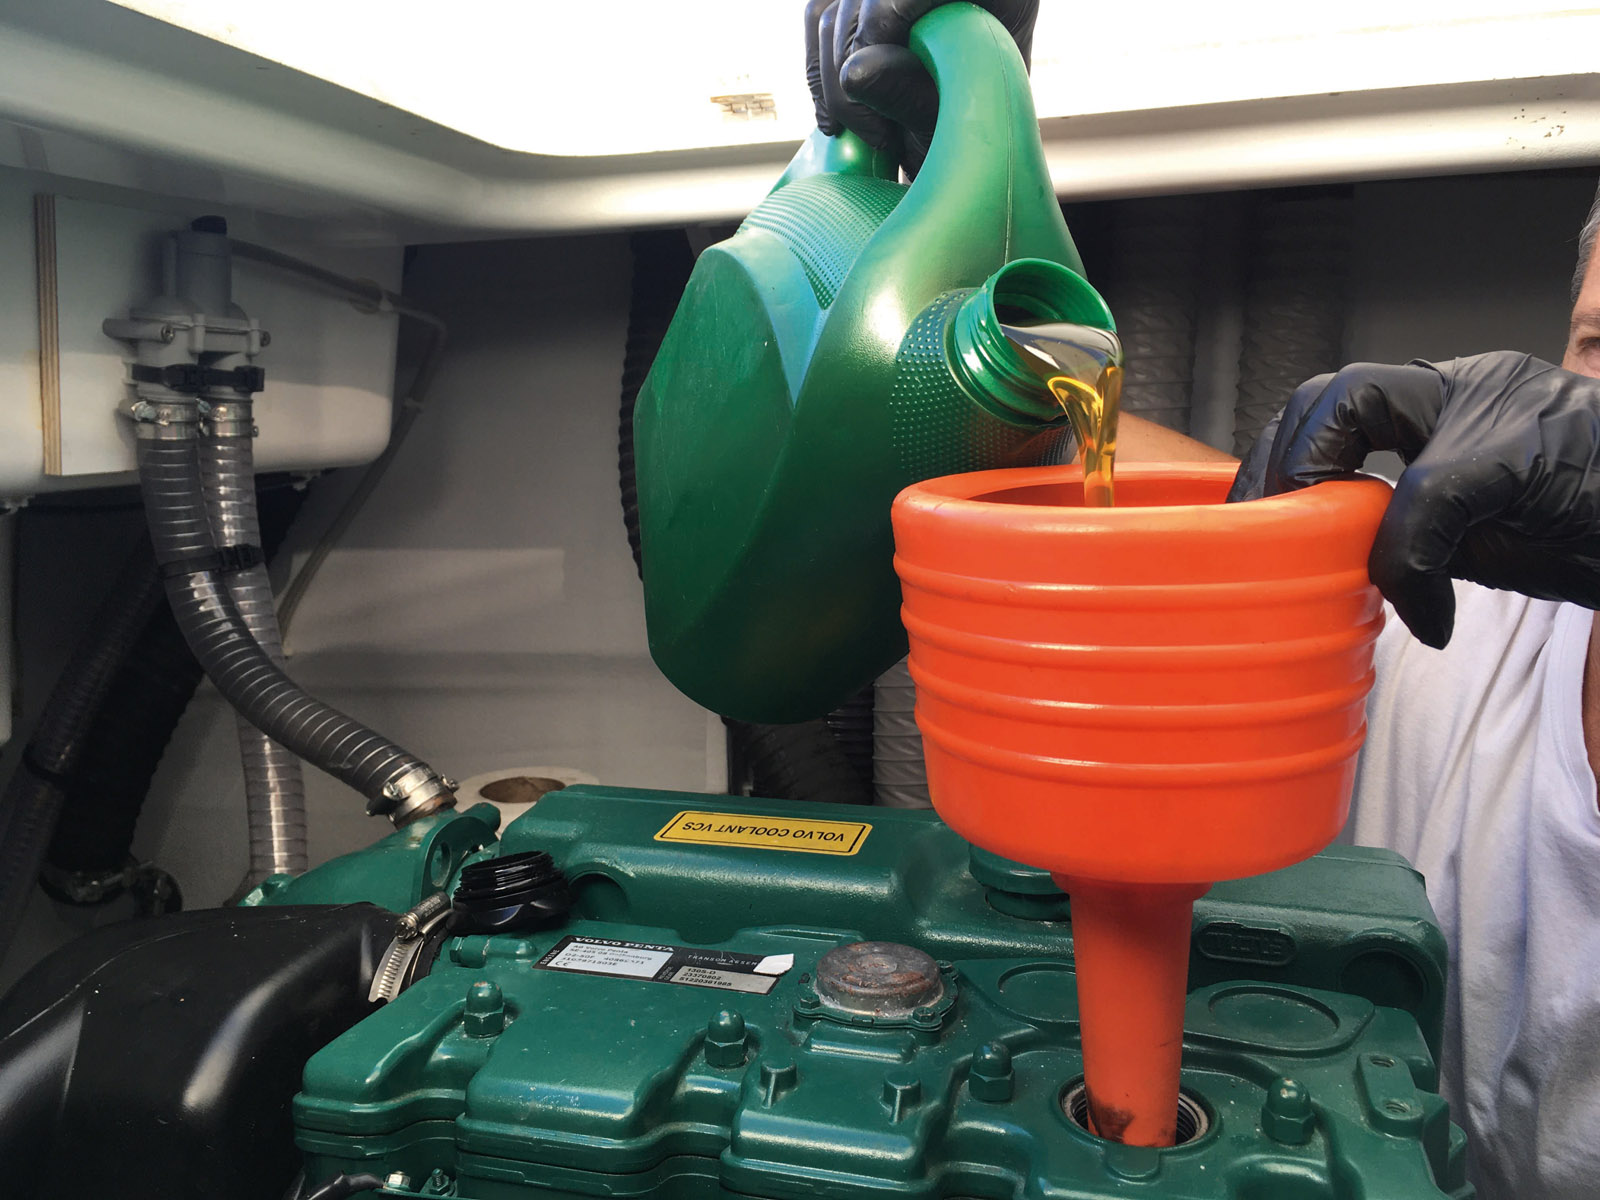
15) The new oil should be added using a funnel for greater safety. Be careful not to let it rest on the rocker cover, otherwise it may cause an overflow. Fill up to 90% capacity.
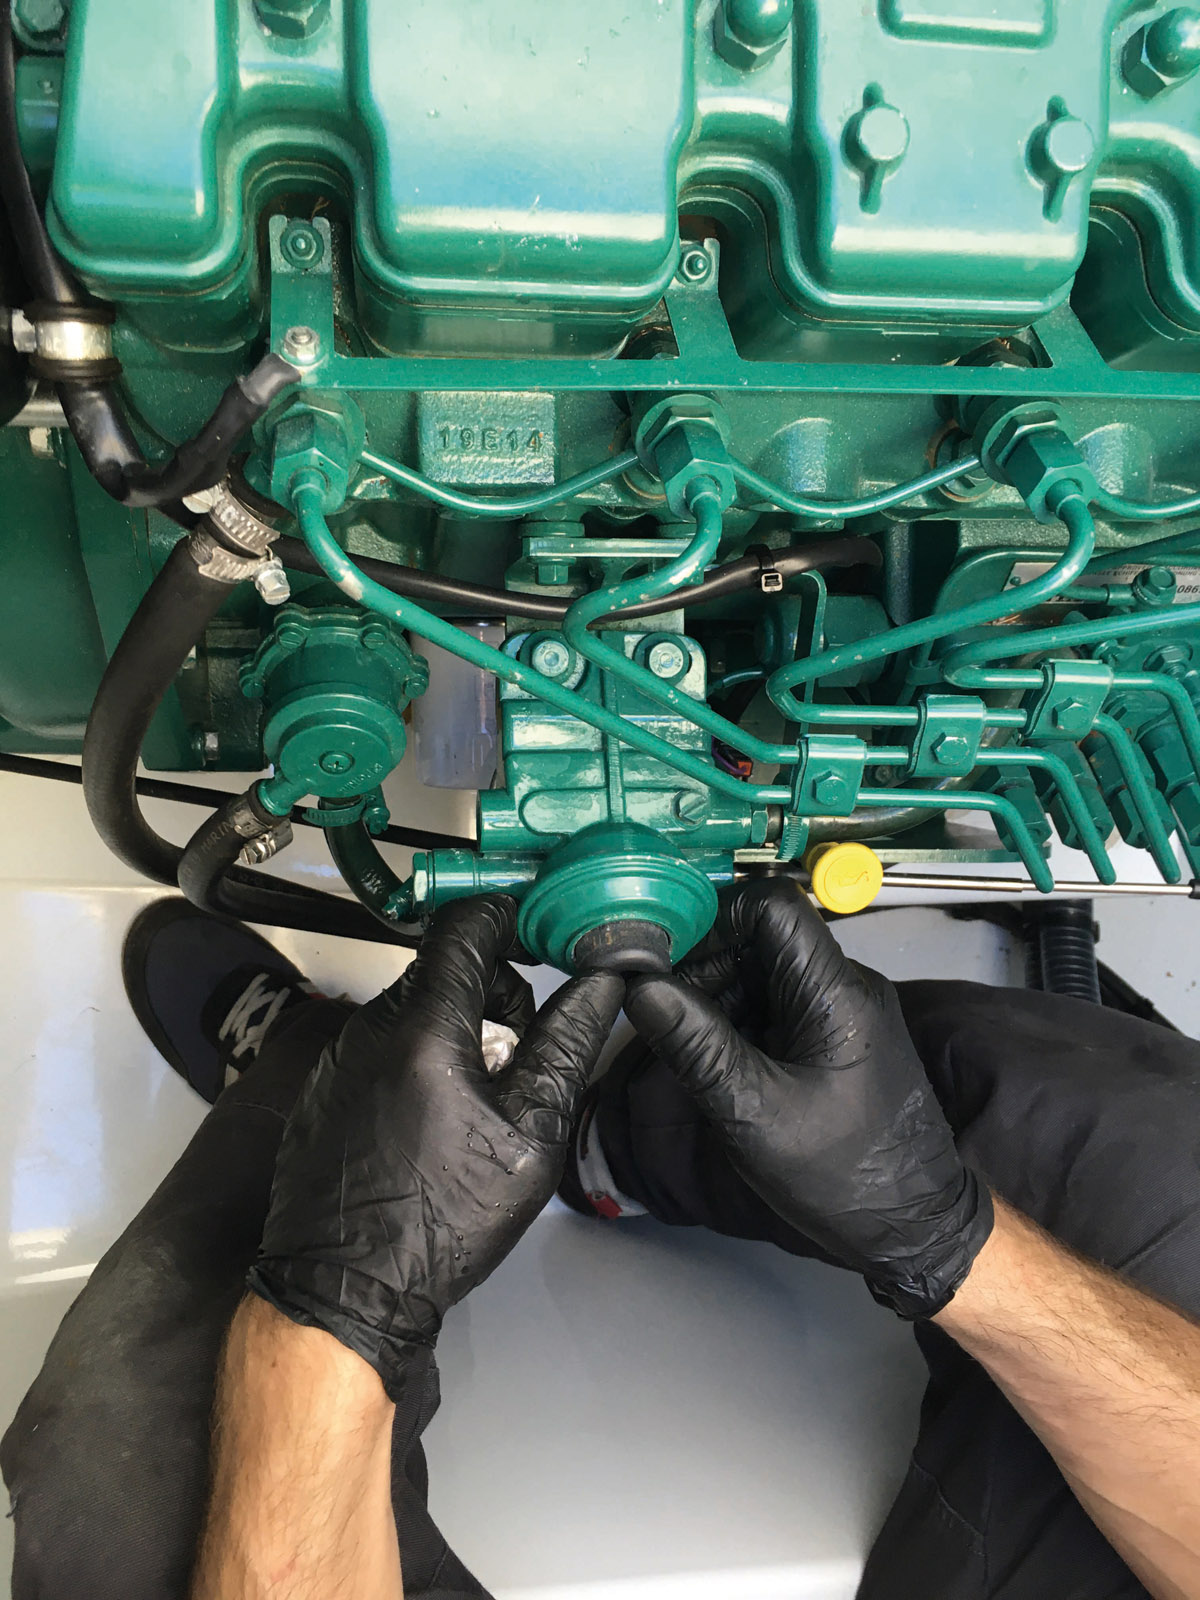
16) After reopening the fuel tap and the seacock, the system is re-primed using the pump located on the engine block.
17) (Re)starting the engine. A visual check ensures that the raw water intakes are not blocked and that there are no leaks on the components that you have been working on. After ten minutes, check the level again using the dipstick and top up any shortfall.
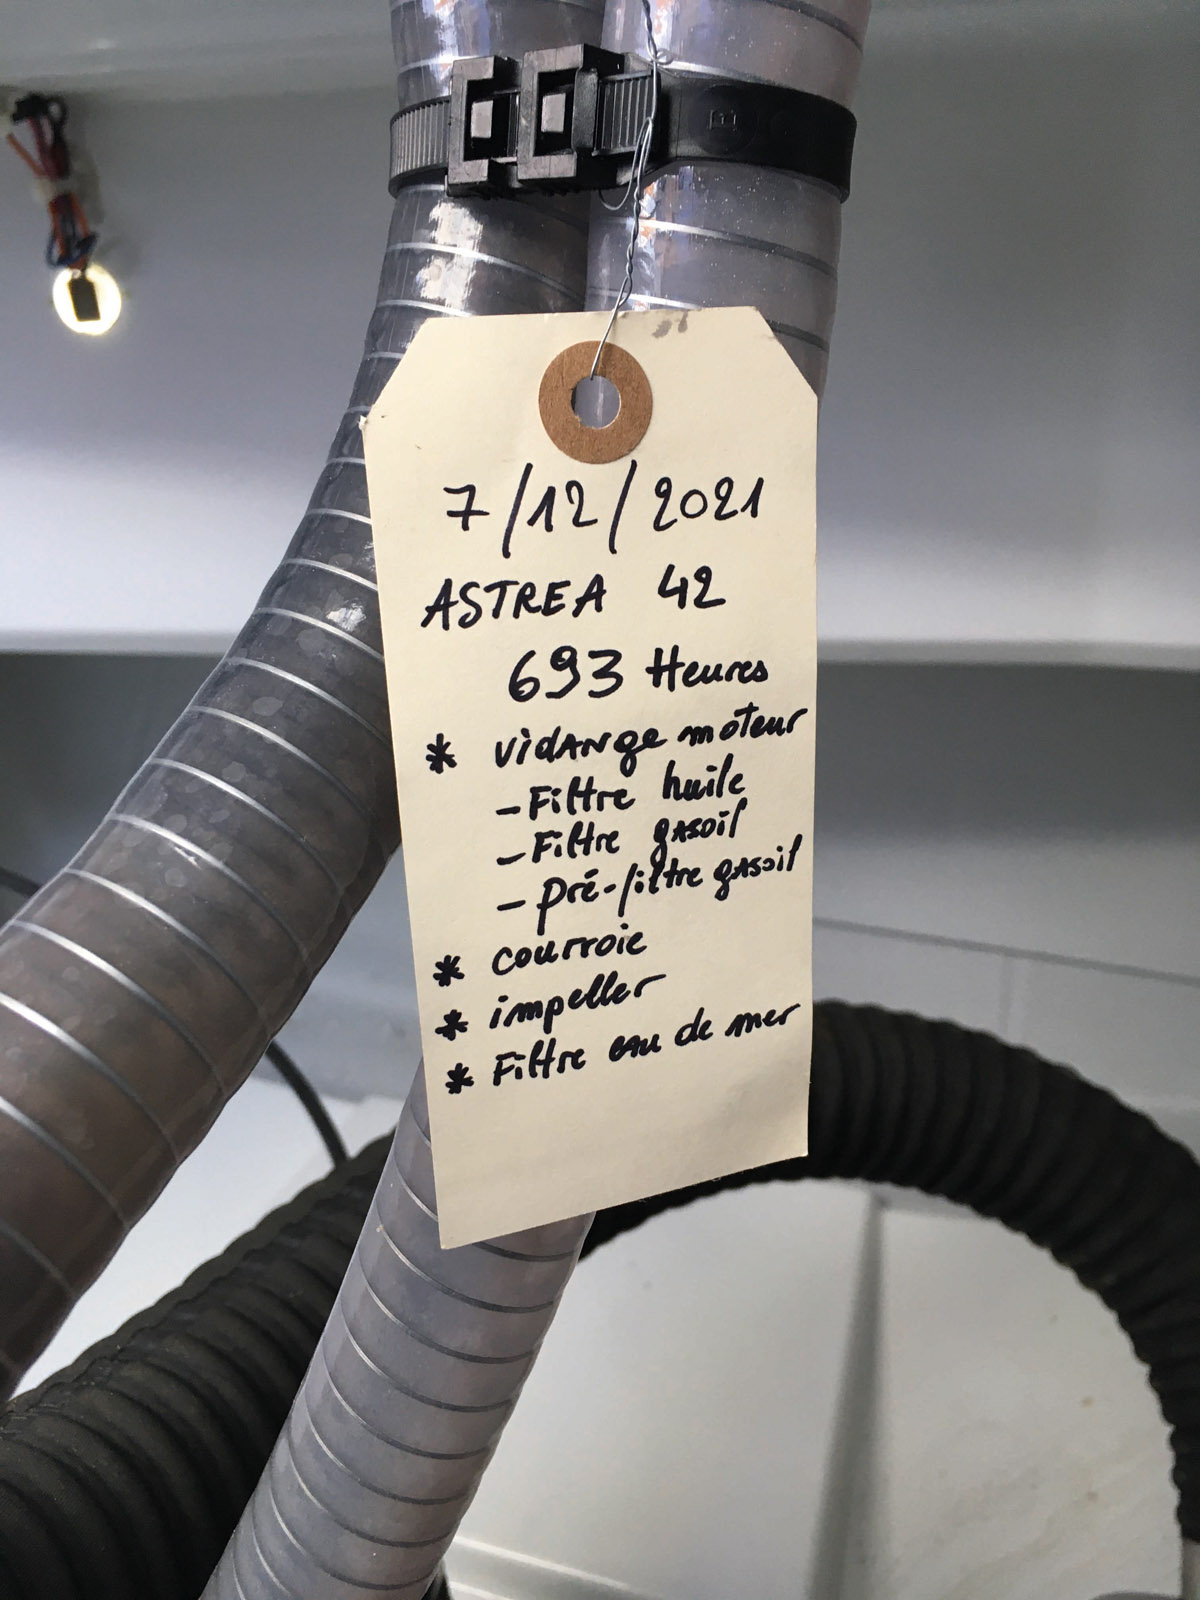
18) The service can be recorded in the boat’s logbook or maintenance log. In case different people are likely to carry out consecutive services, it is always useful to put a small label with the maintenance details on the engine.
