

Up until today, you’ve observed with respect and wonder this elegant assembly of rope strands that constitutes a splice... Well, that’s normal: it wasn’t you who made them. However, it is very useful to know how to make them. A splice has many advantages over a simple knot. First of all, we can't undo it anymore. This avoids any malicious acts. Secondly, the rope retains its full strength, while a knot can cause a loss of 30 to 50% of the breaking load; and there’s no chafing, thanks to the thimble. Another advantage: a neatly-tapered splice will easily slide through your bow-roller, where a knot might get stuck... and come loose again. We’re thinking here about the chain/rope join for the anchor rode. A specific splice exists for this, and we’ll be covering that in a future article, which is even better adapted to passing through the bow roller, but the rope and chain become an integral unit, without the possibility of quick disassembly. There are a few points to note before buying rope: For a small multihull of 5 to 6.50 m (15 - 20’) or for a tender, use 10 mm (⅜” diameter) rope and 6 mm (¼”) chain. From 6.50 to 9 m (20 – 30’), switch to 14 mm (”) line with 8 mm (“) chain. From 9 meters (30’), we opt for 18 mm (¾”) and 10 mm (⅜”) chain. Your rope can be made of polyester or polyamide. The former is more flexible and a little more expensive, but less resistant than the latter. For a diameter of 14 mm (”), for example, polyester breaks at 3.12 t compared to 4 for polyamide. Splicing can also be done without a thimble. This then allows a "tailor-made" adjustment for your docklines. Your multihull is quicker to moor up, and the cleats are less loaded.
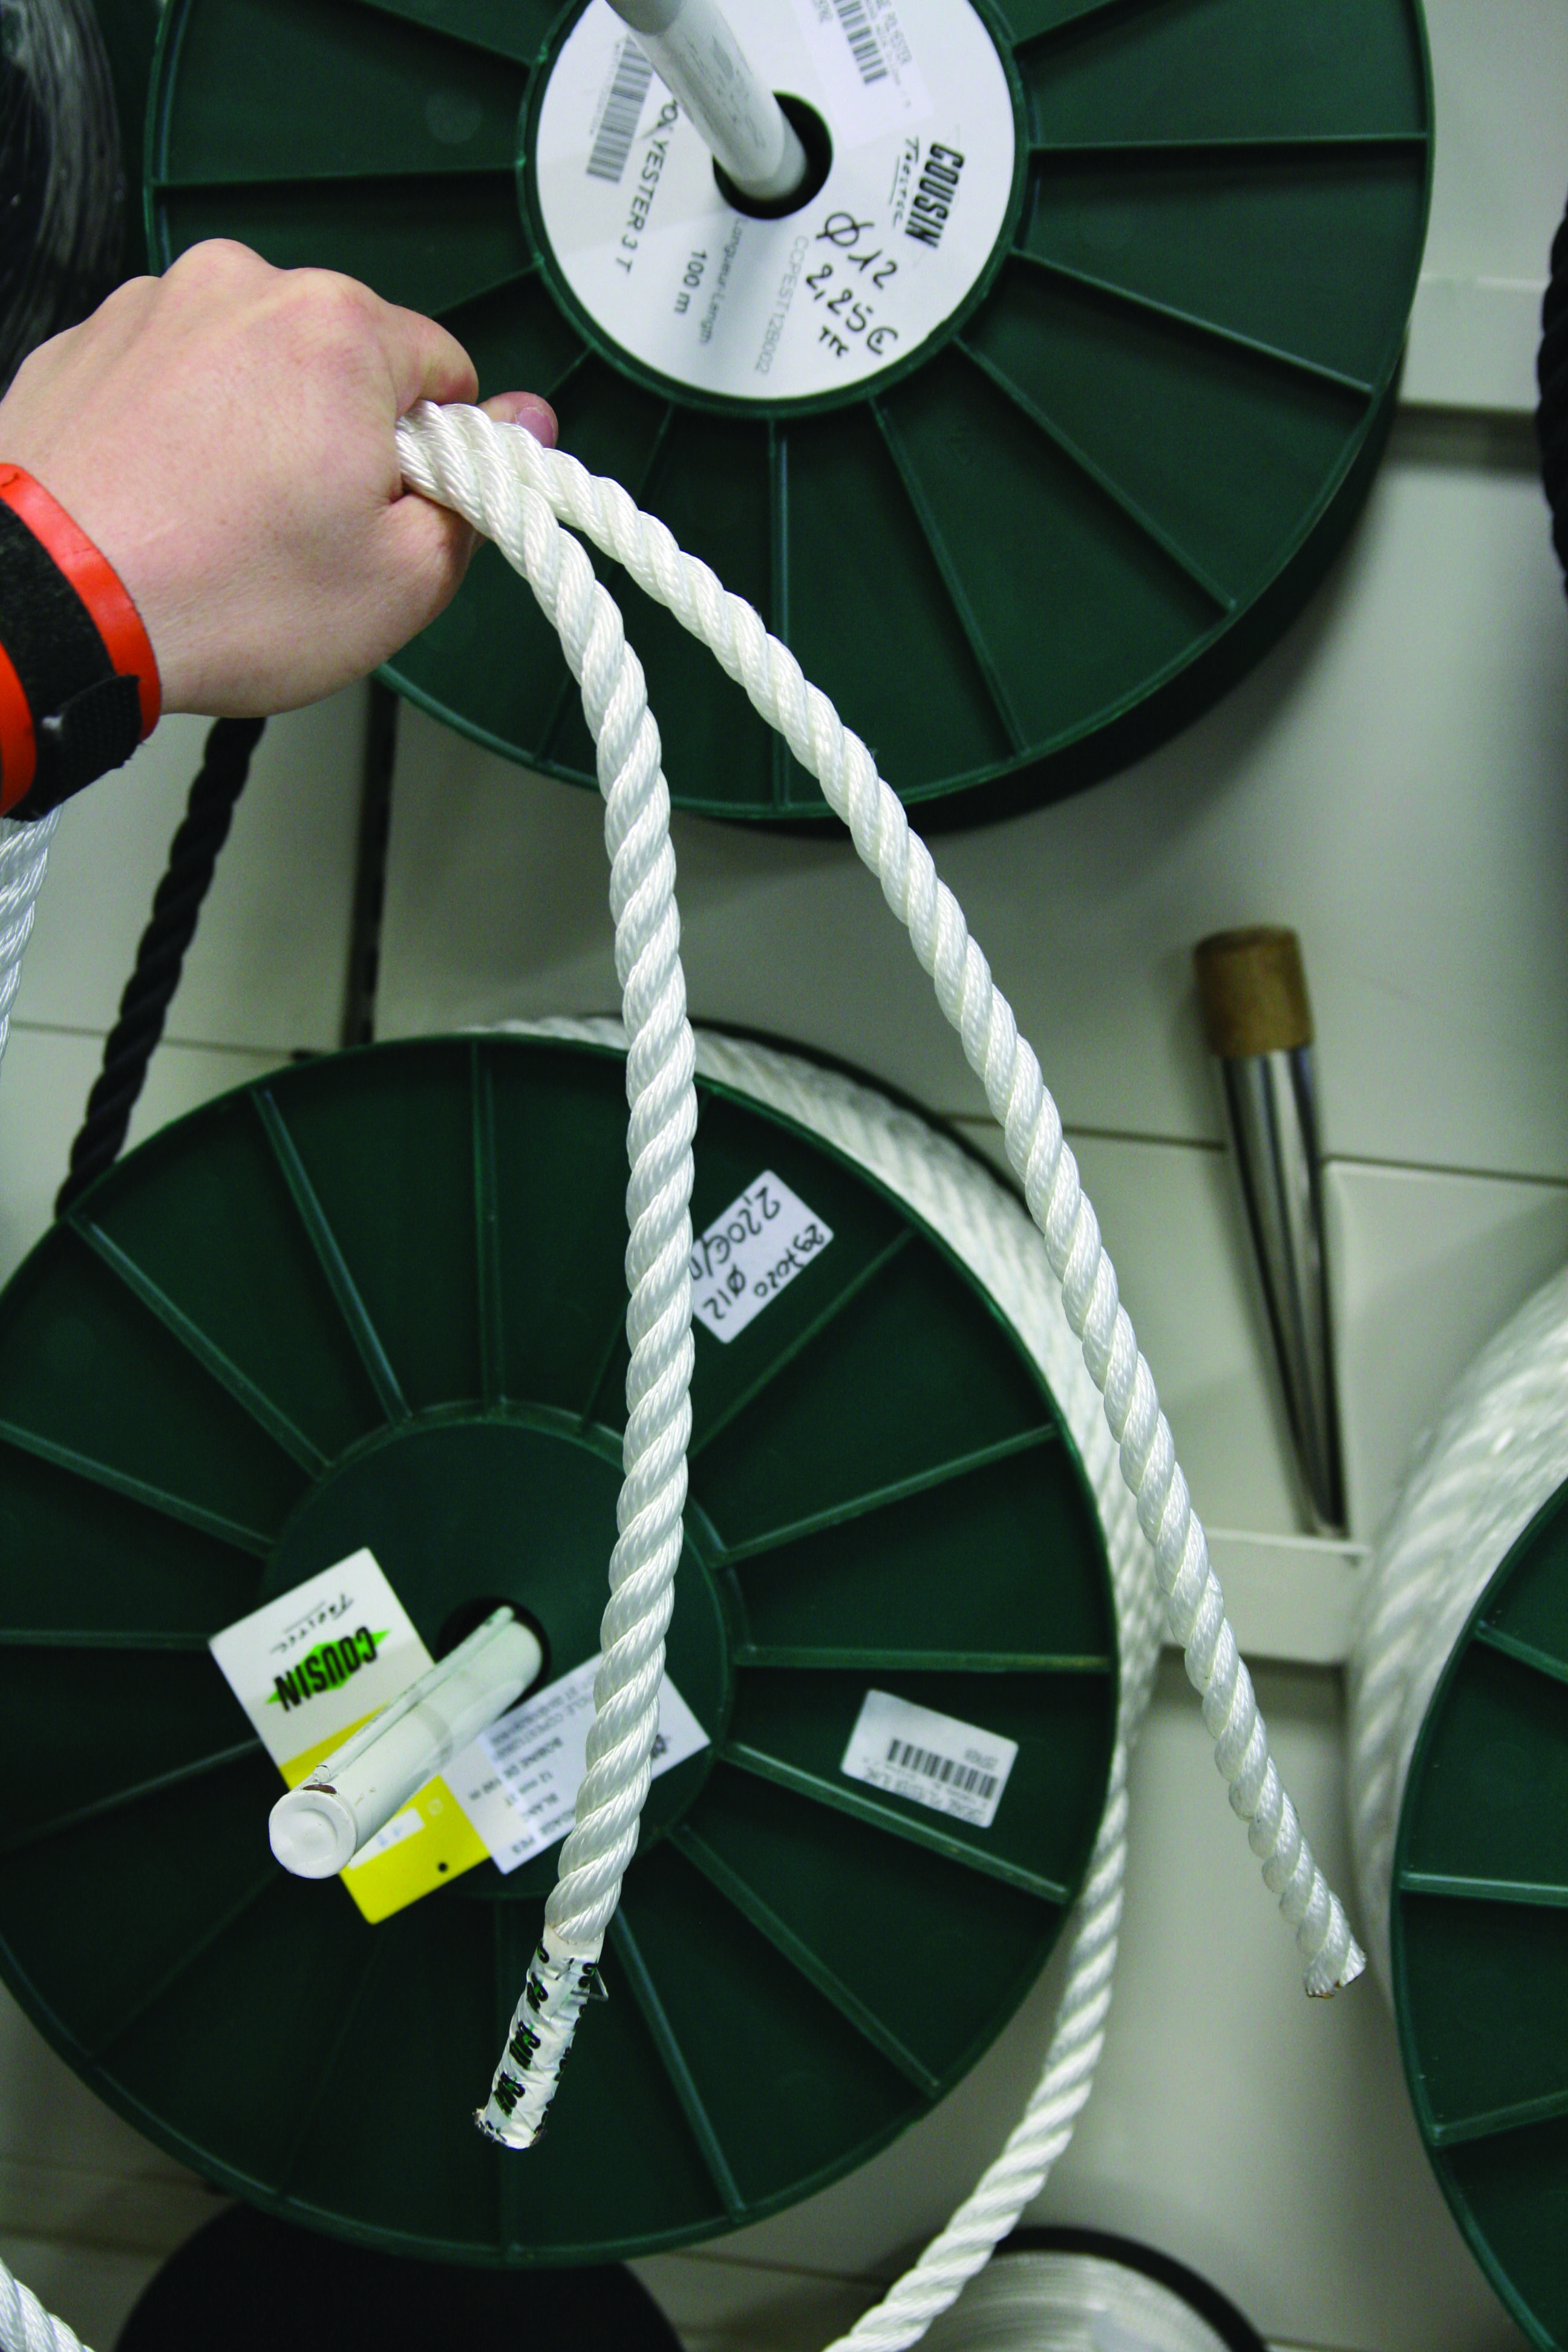
Polyester or polyamide? Even when new, you can recognize the second one, as it’s already stiffer. And it doesn't get any better with time. Splicing is easier to achieve with polyester. But polyamide retains two significant points in its favor: it is 30% stronger and much cheaper: € 2 to 3 per meter in 14 mm as opposed to € 3 to 4 for polyester.
Plastic or stainless?
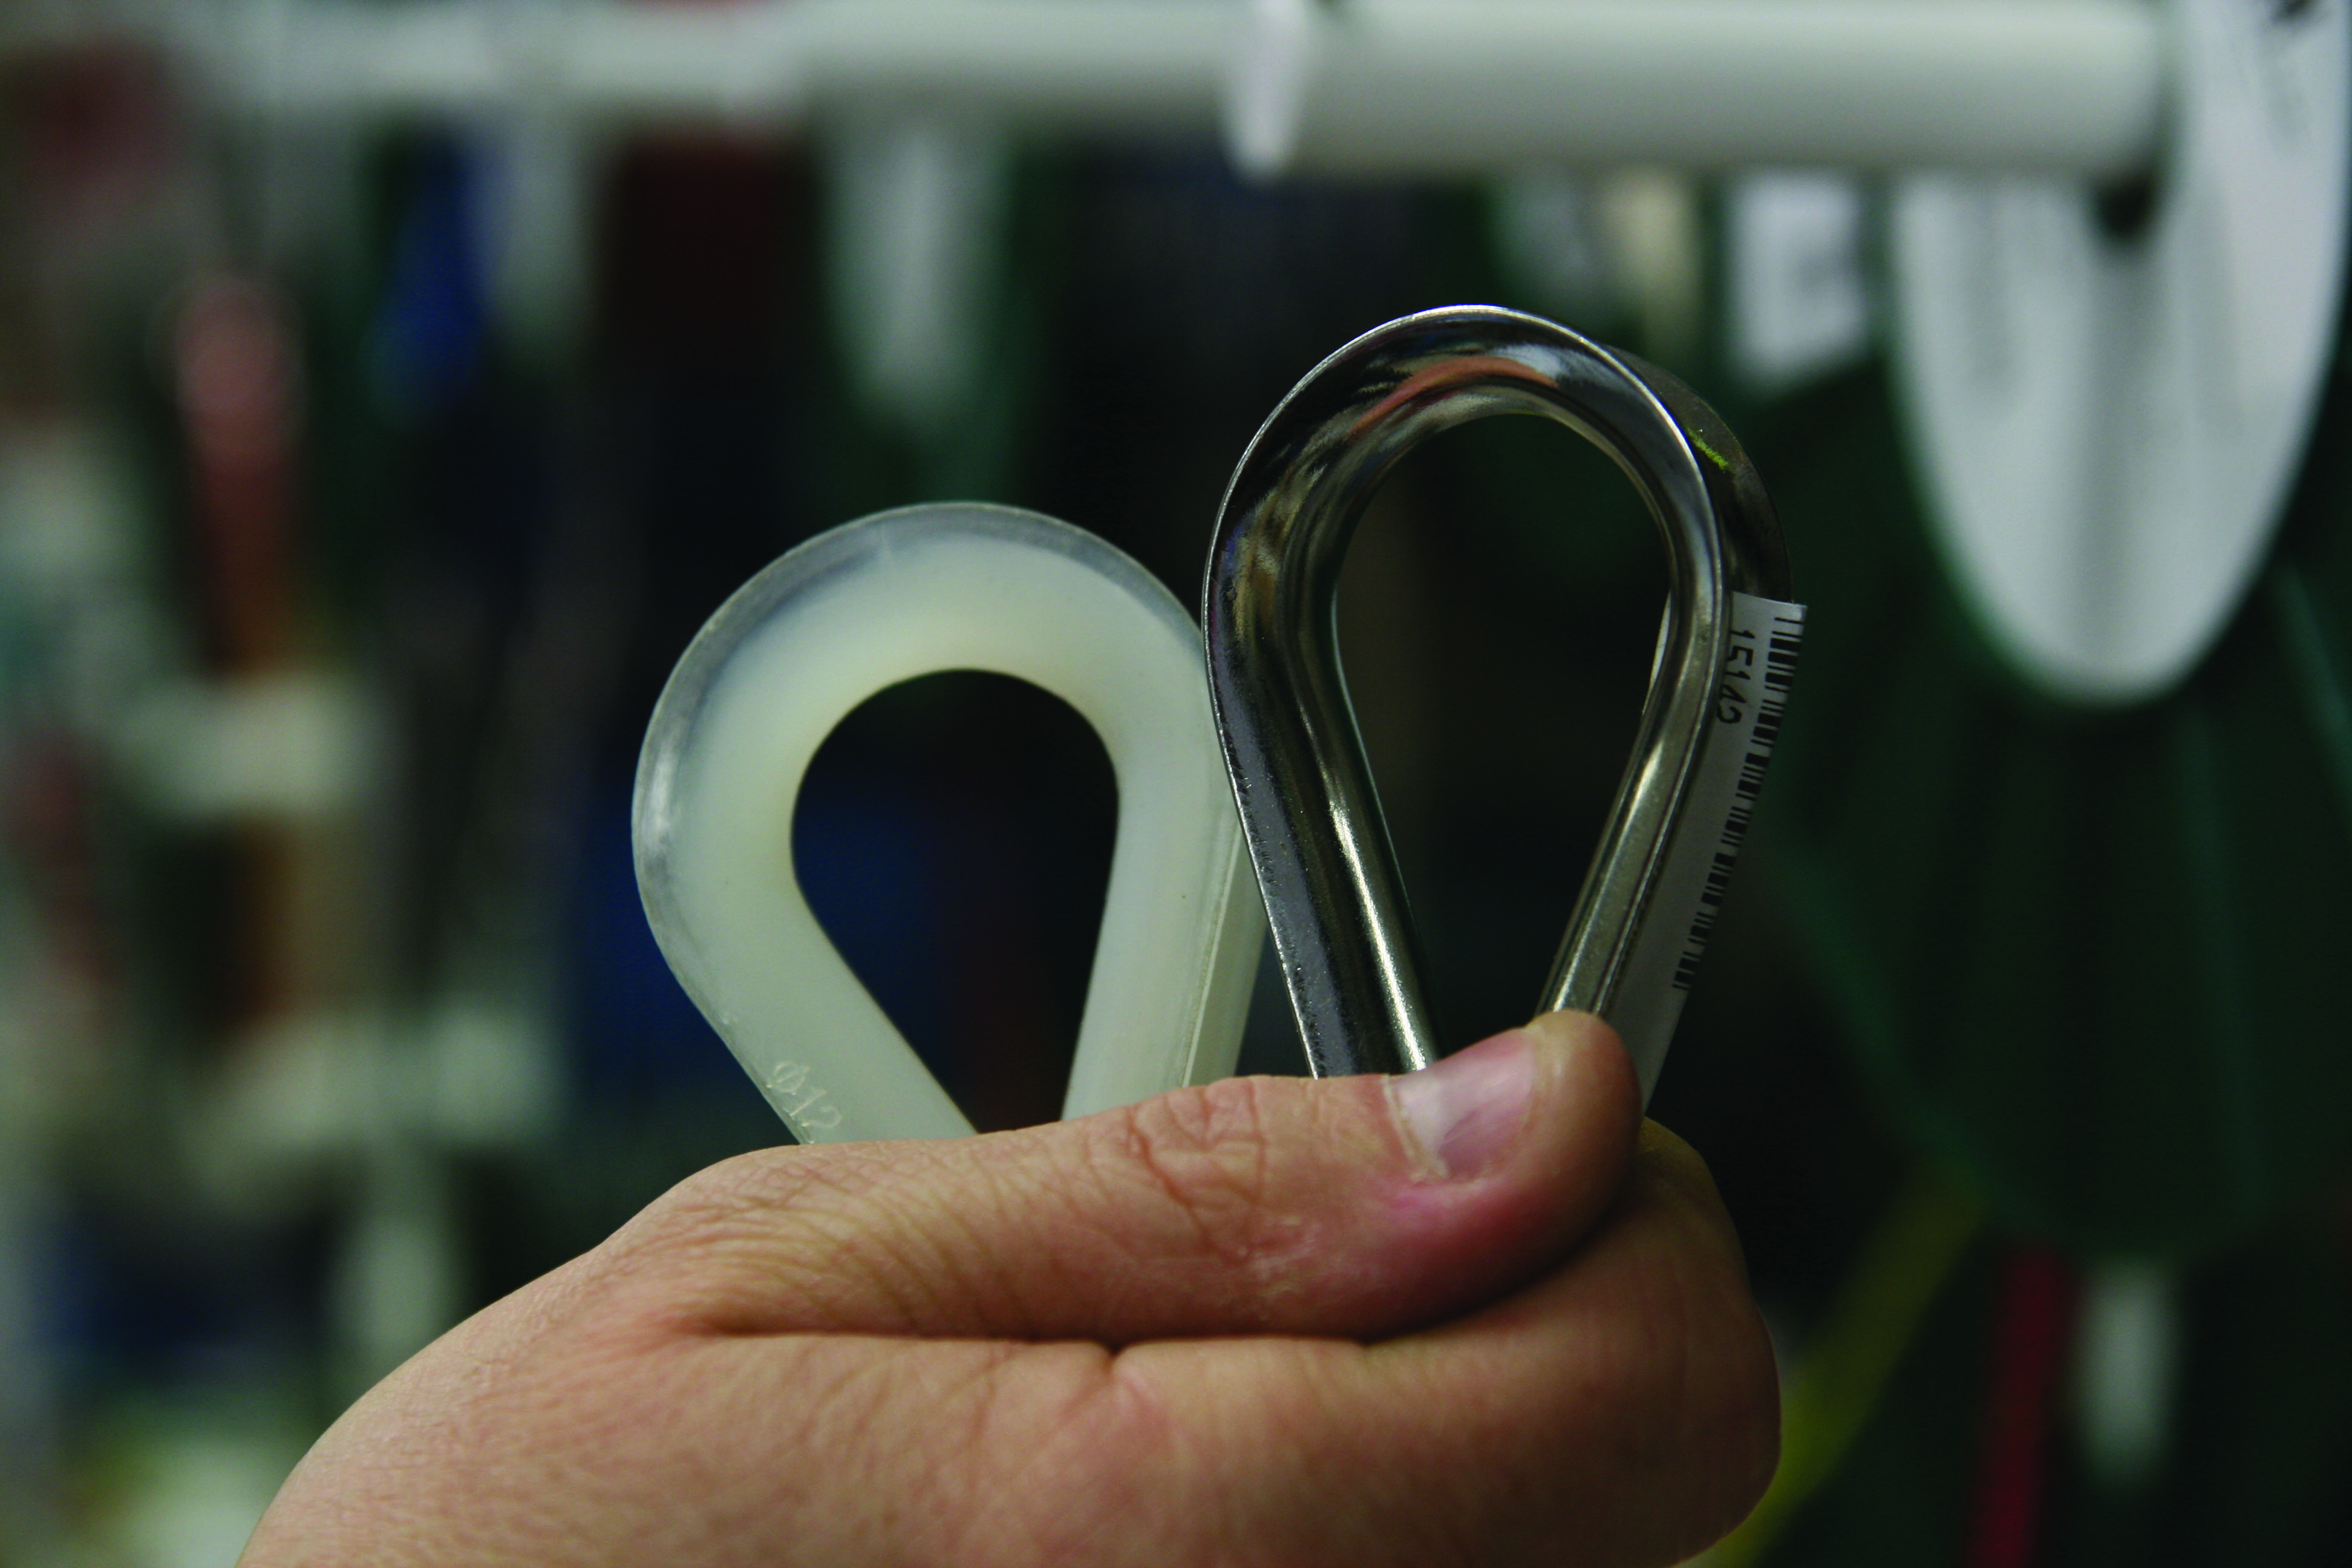
Plastic or stainless? The first is cheaper, but it is more sensitive to shocks. After a violent gust of wind, it is not uncommon to find a "marked" thimble. For exposed anchorages, opt for stainless steel, which is much more resistant.
Using a fid or a pair of scissors - if you have chosen polyamide, separate the three strands and make sure that their ends are clean and smooth. Fix the desired length with tape.
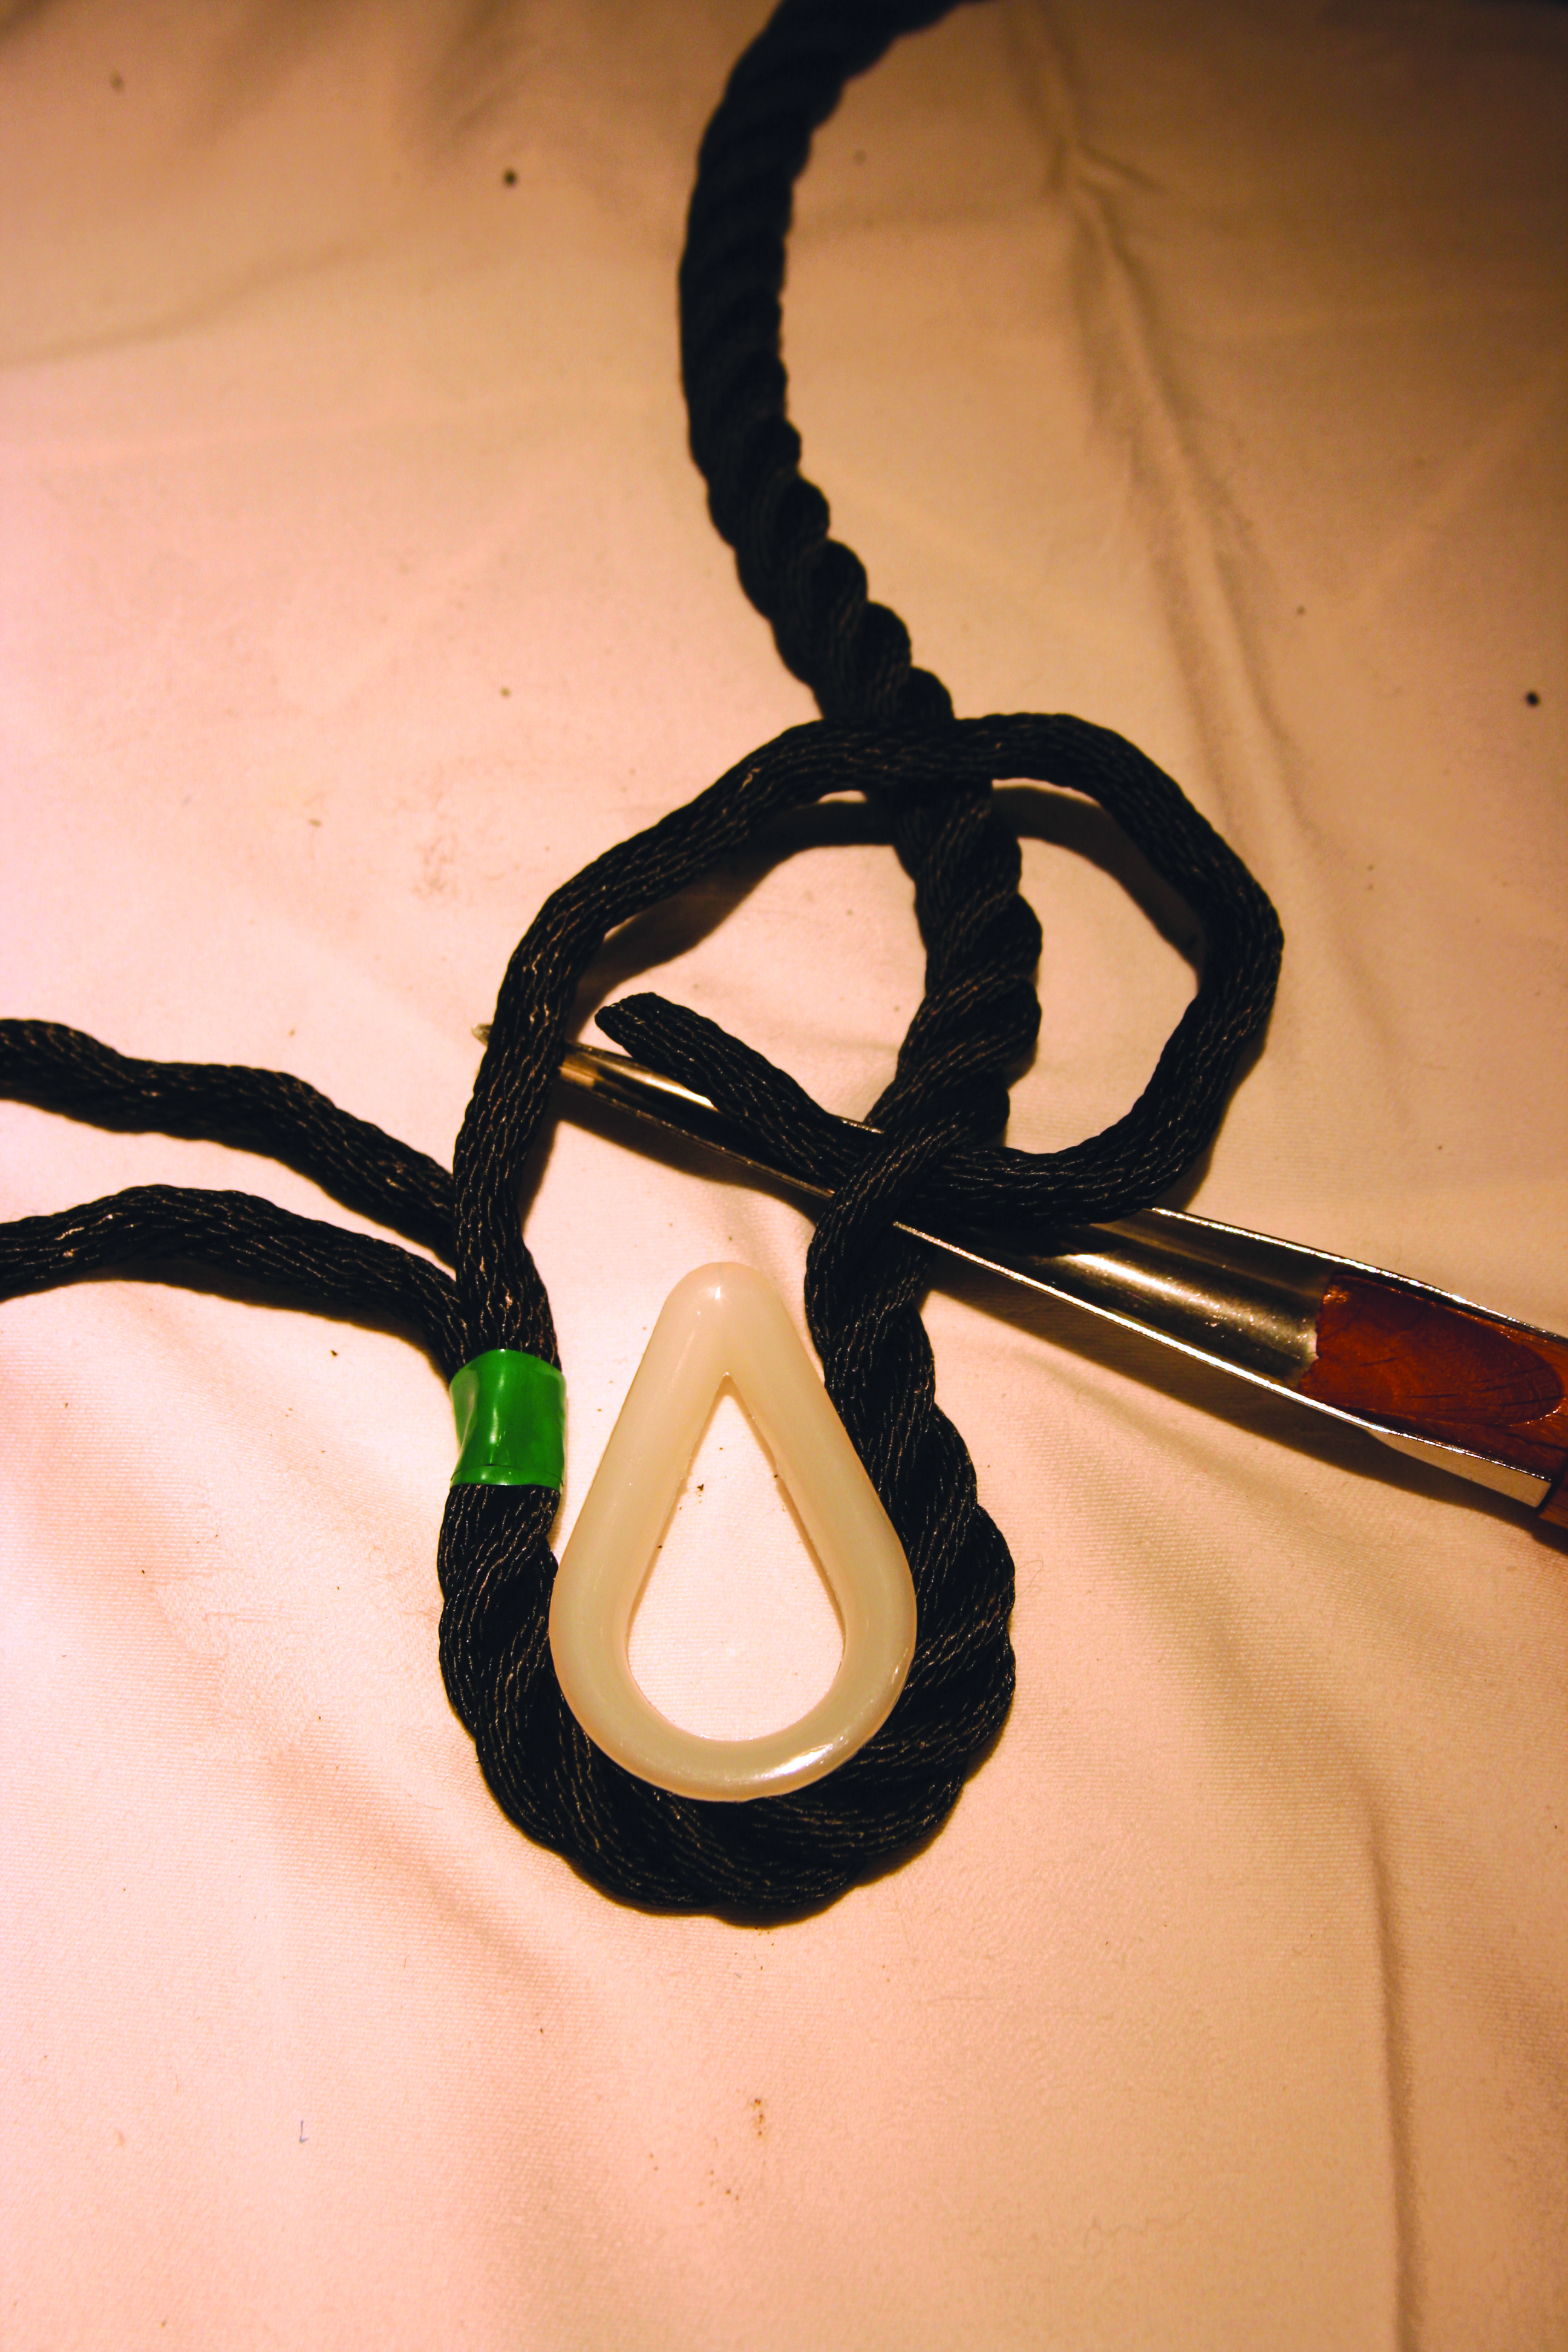
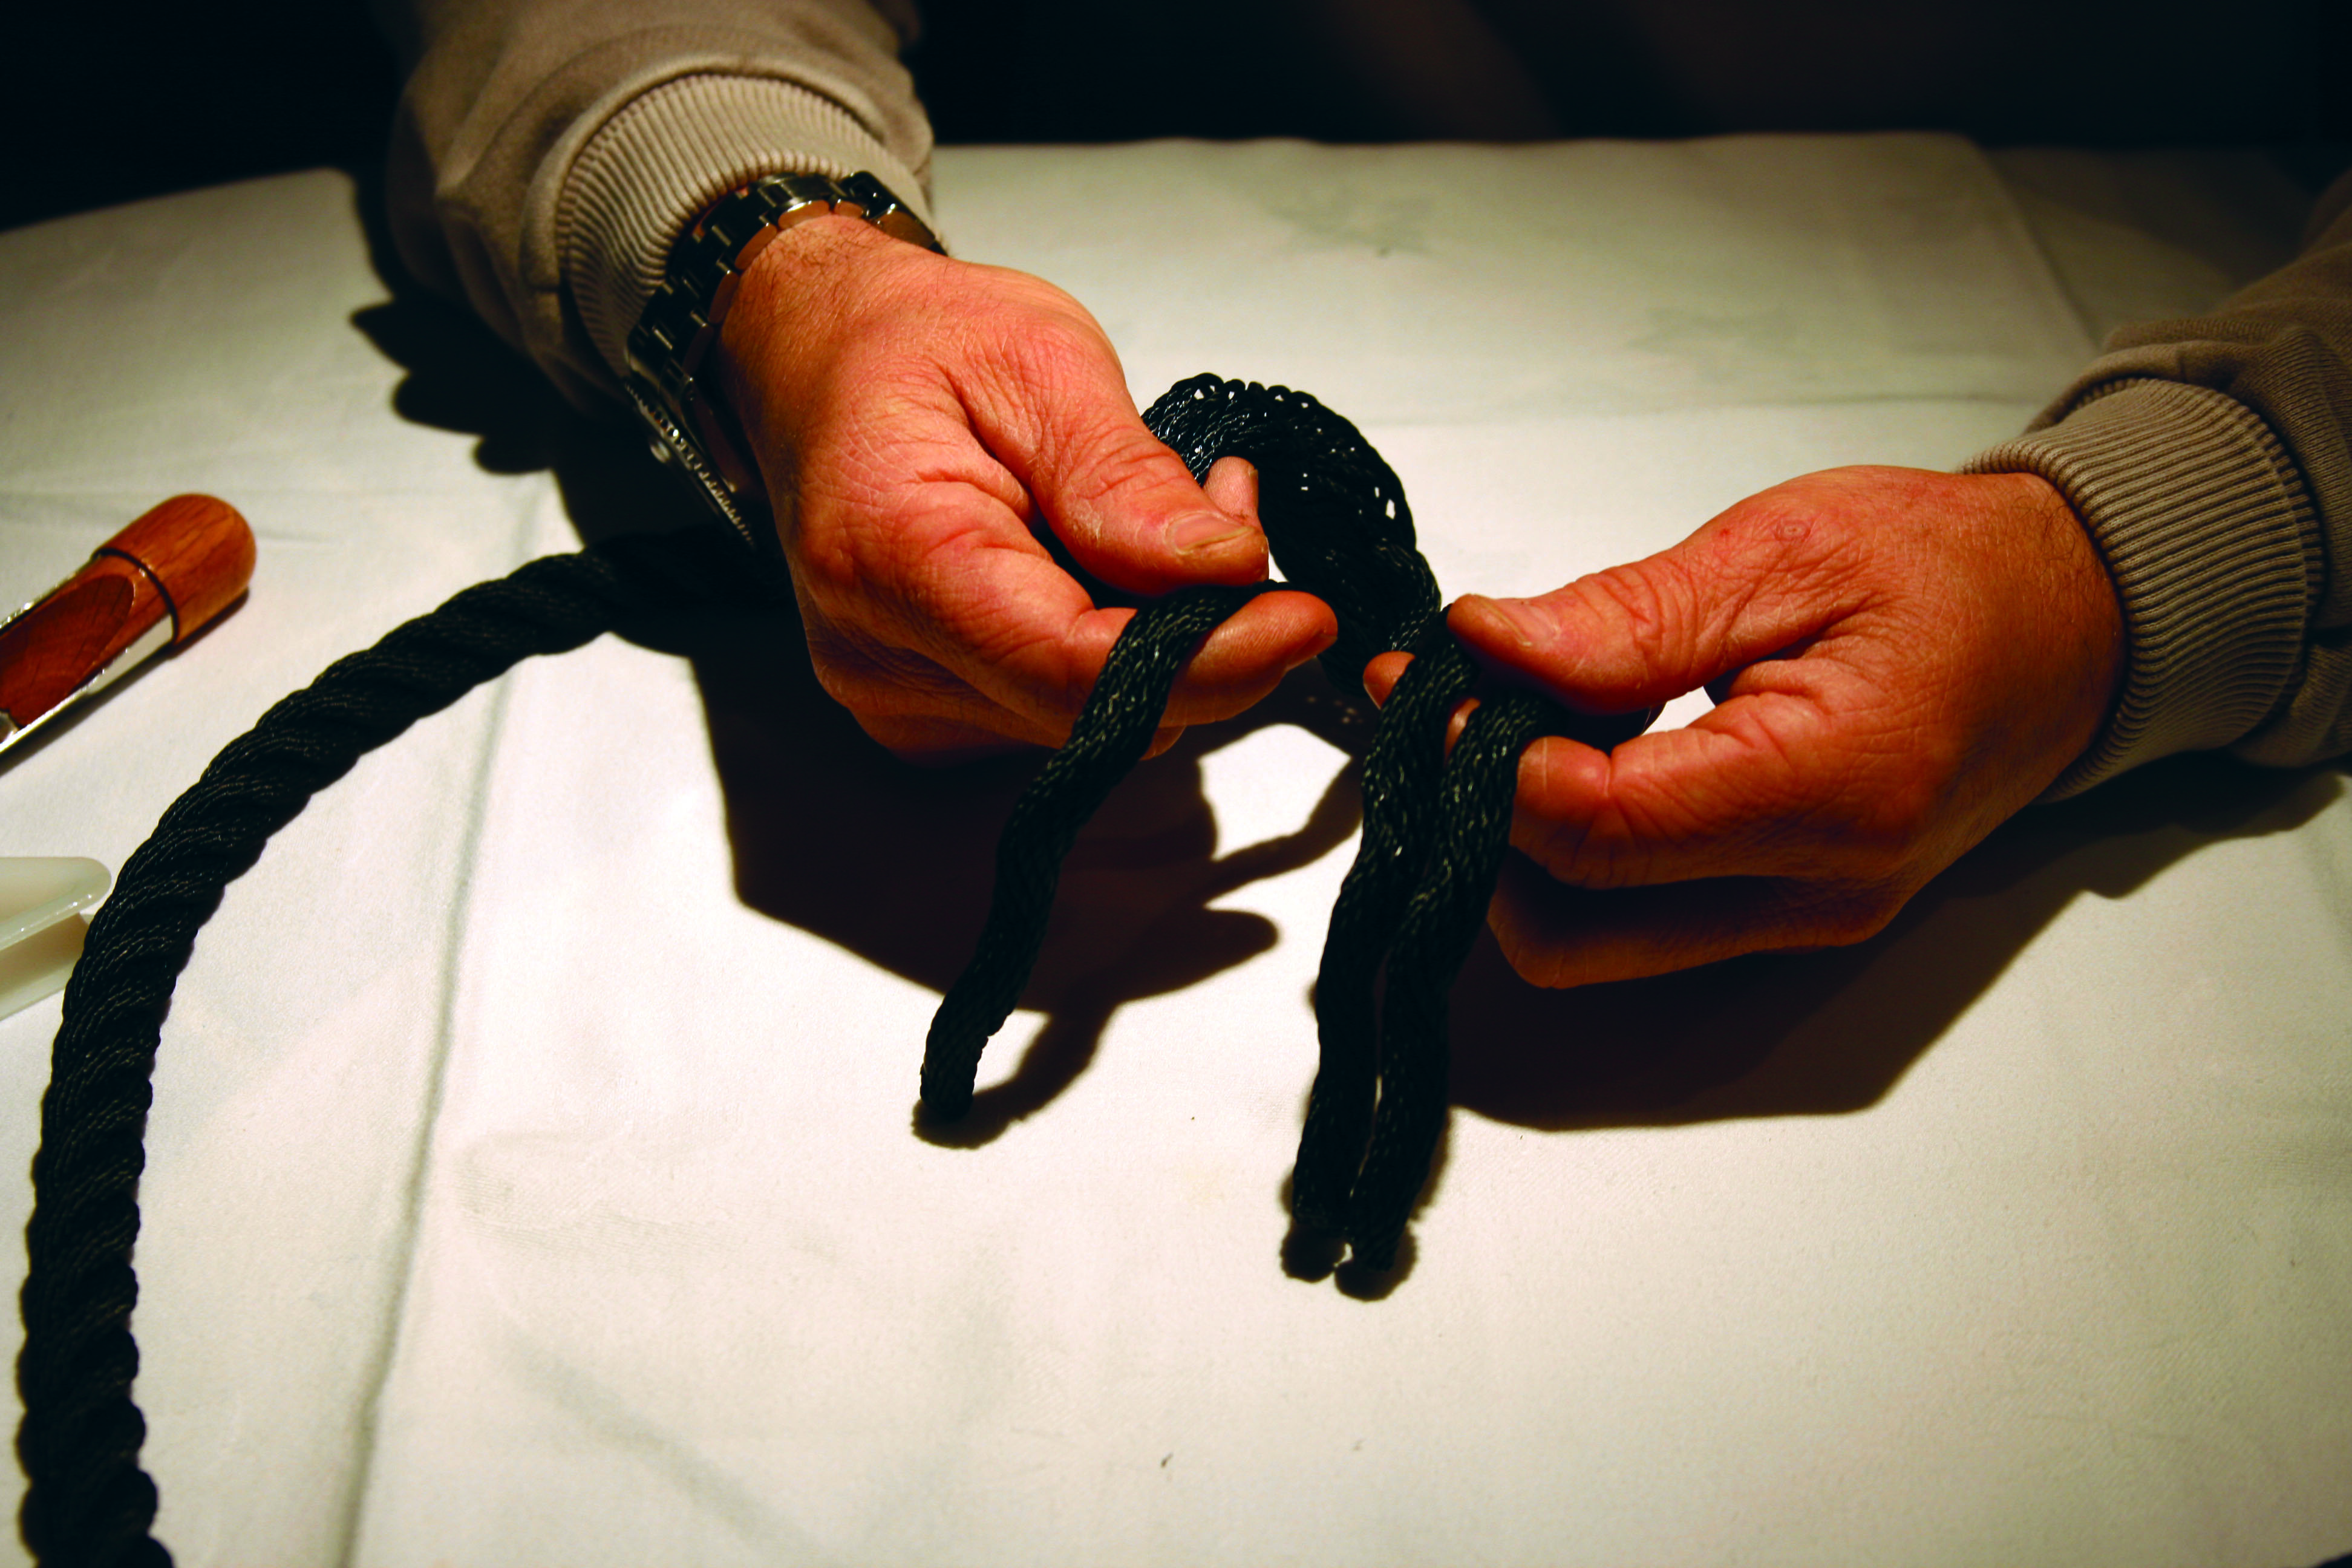
With the fid, pass under the strand with the line closest to you, level with the tip of the thimble, so as to prepare for passing the first strand, the one above will fit. Insert it into the splice, then pull the tool out and tension this first strand.
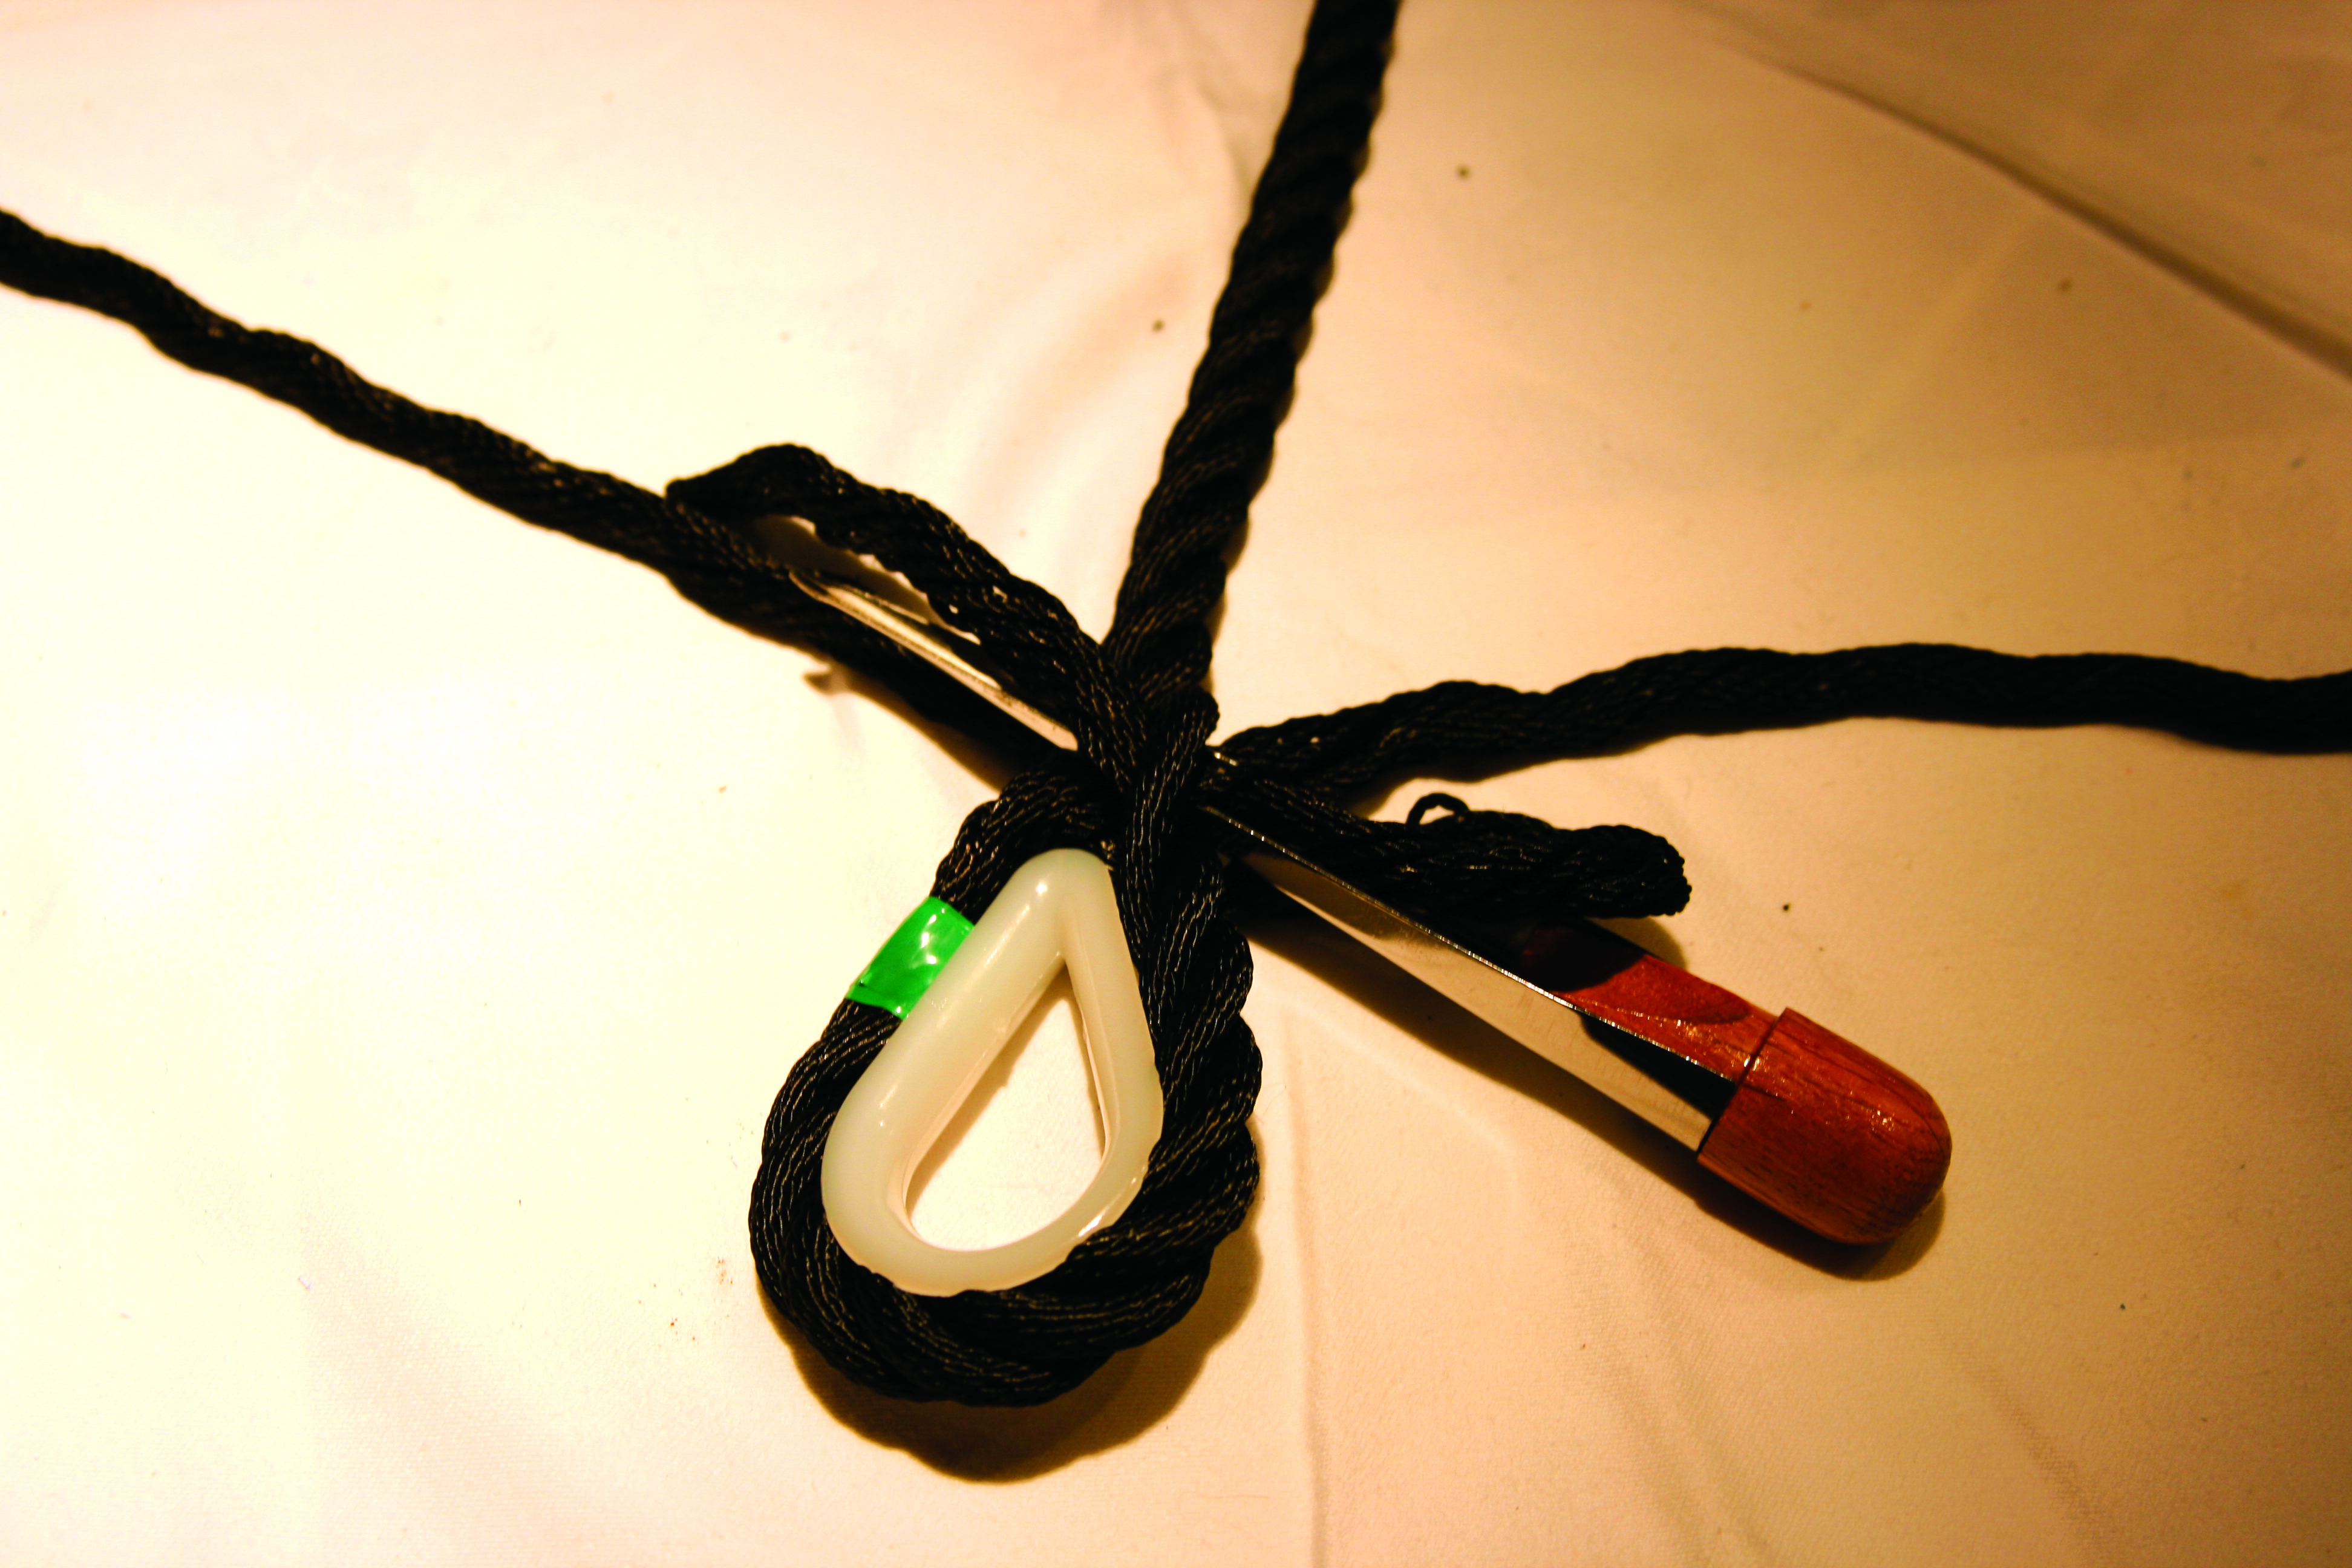
Do this again with the second strand, turning a quarter turn, in the same direction as the first. The fid is again used to open up the space for passing the strand. Be careful not to put it through under the same place, but under the second strand at the same height.
Don't lose the thread, take the last strand and run it under the third strand of the line, keeping it still at the same height as the other two. For a splice without a thimble, make sure to run this third strand through the loop first. Otherwise, pull to secure the thimble.
![]()
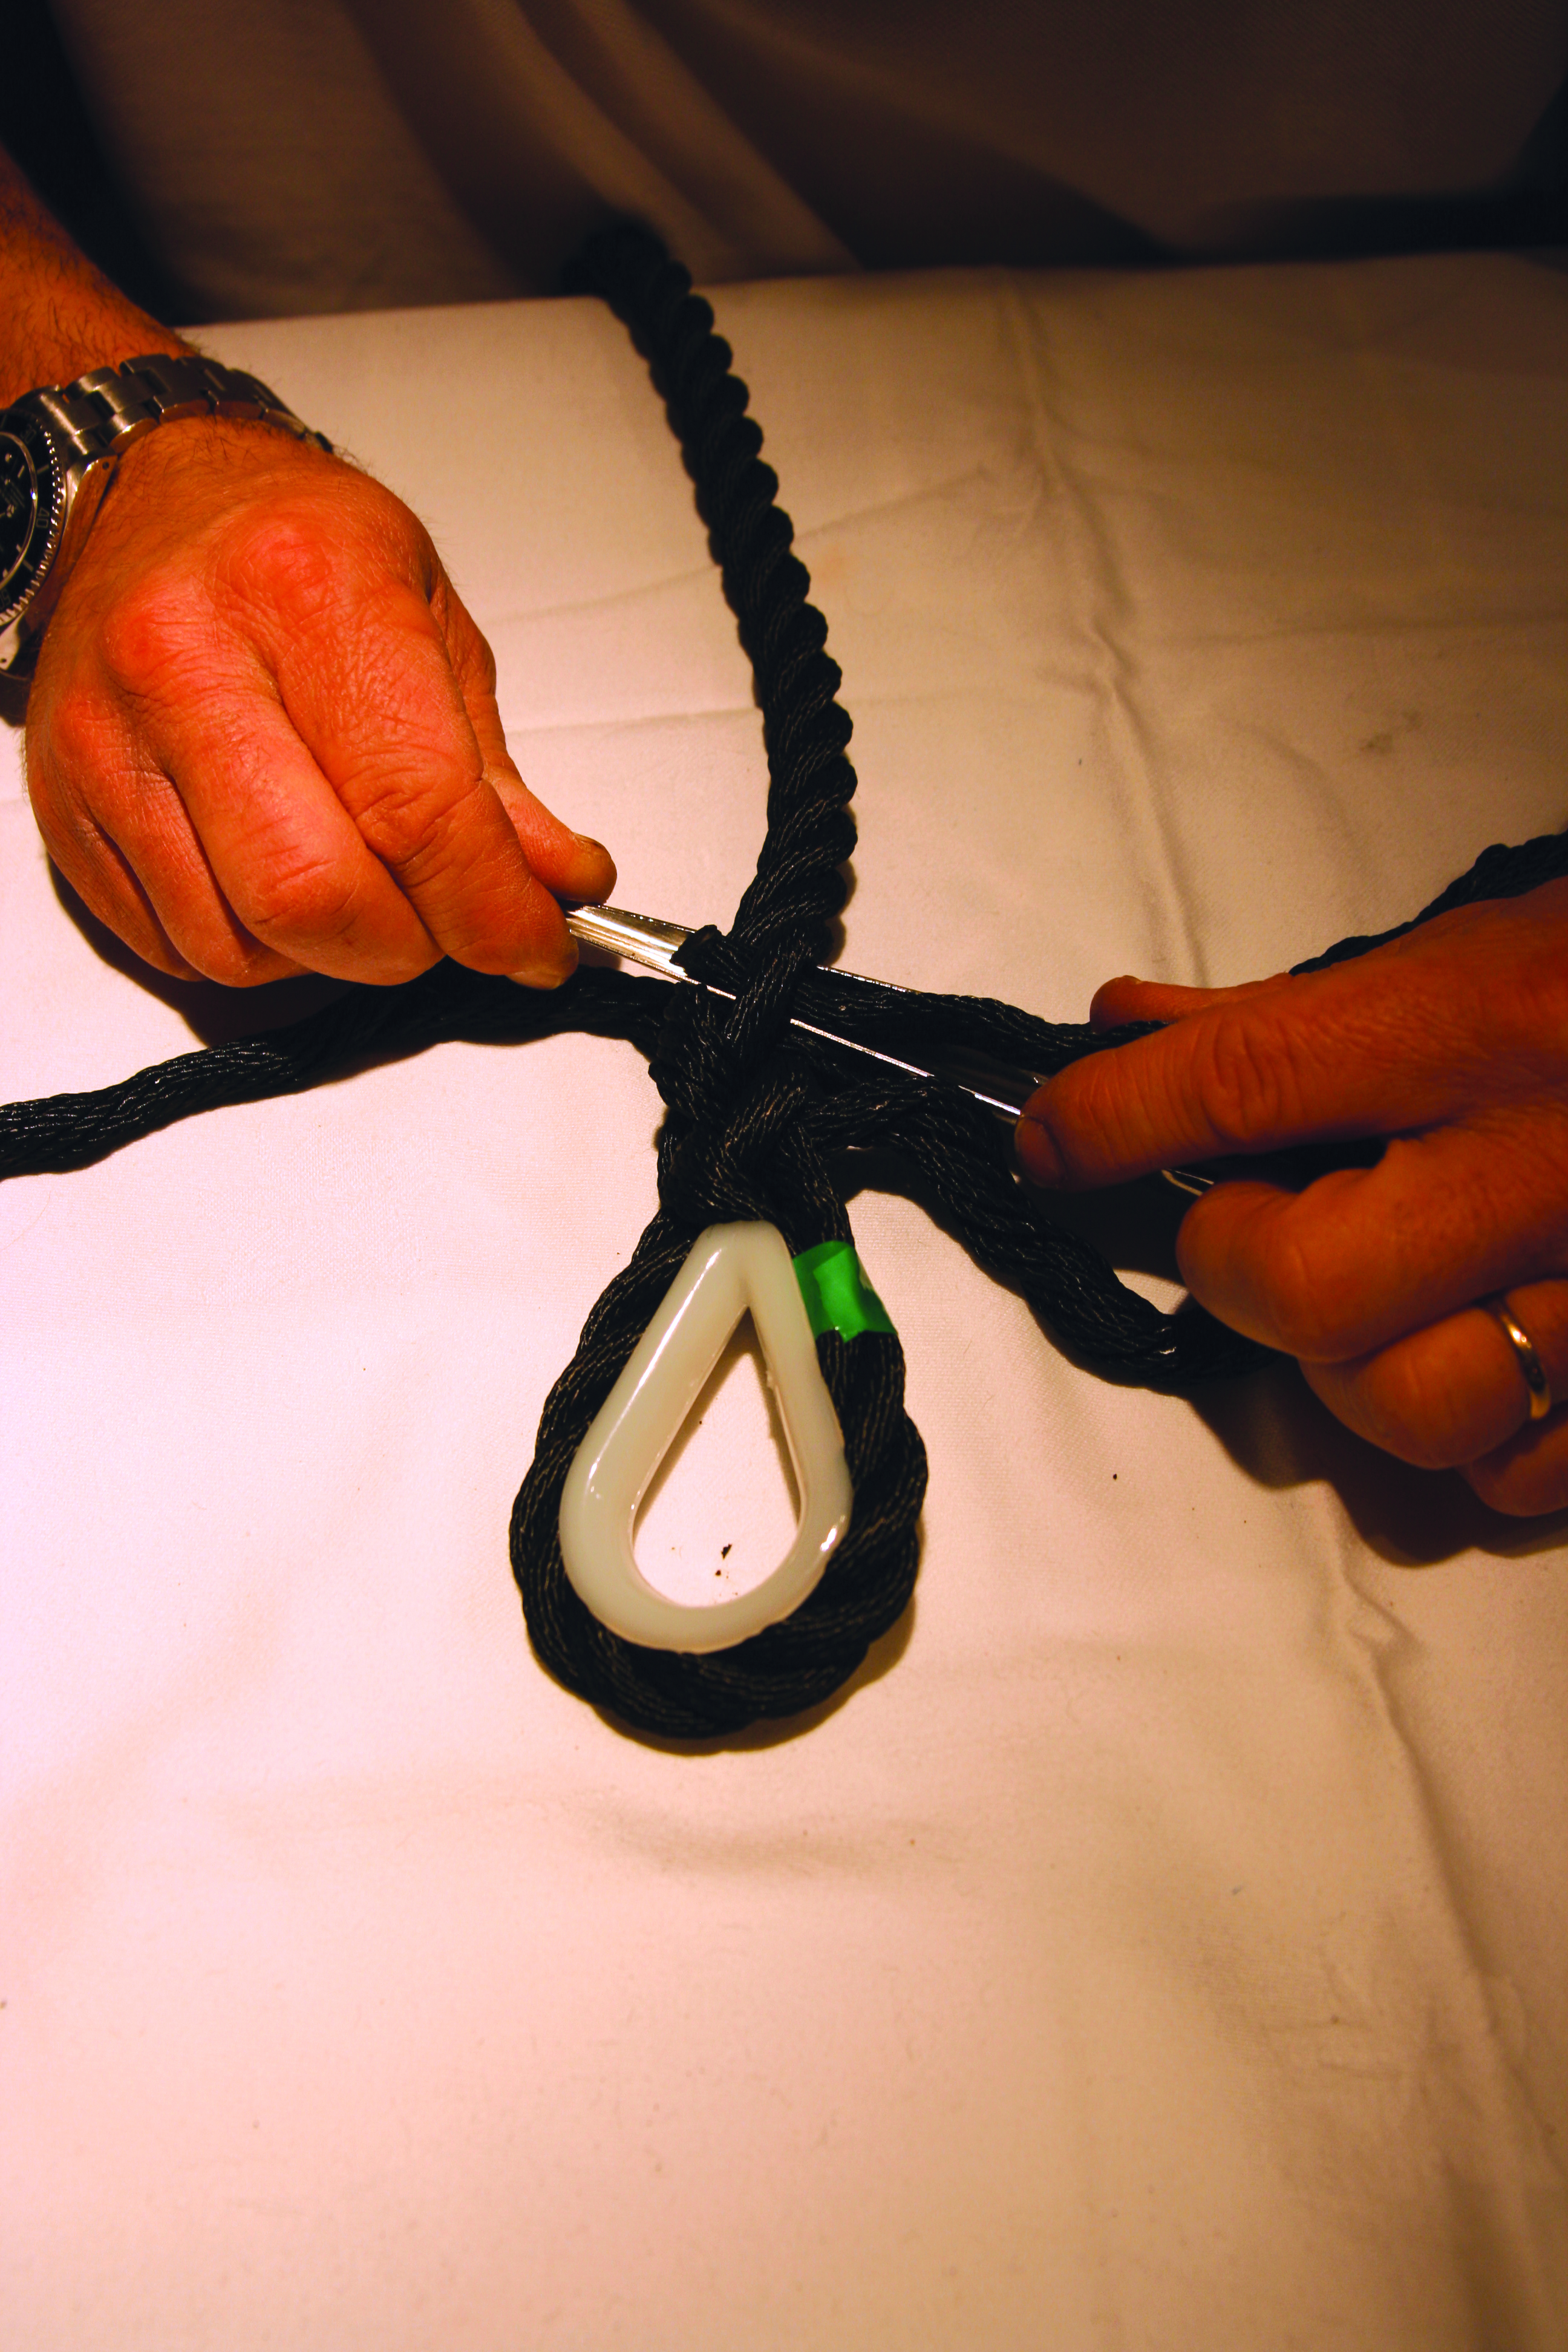
Stop and check! After your first pass, make sure that each strand fits into one of the three strands of the rope and that all three come out at the same height, 120° from each other. If not, re-do it. Make this same small check at each new pass.
With each pass, it’s a good idea to even up your splice in place by rolling it vigorously between your hands. For larger diameters, this can be done under your feet!
To achieve a nice, sharp rattail splice, refine each strand by cutting two or three strands from each of them and make one or two more passes. Be vigilant and focused: in case of error, repeating these last passages with these little threads can be quite a painful task.
![]()
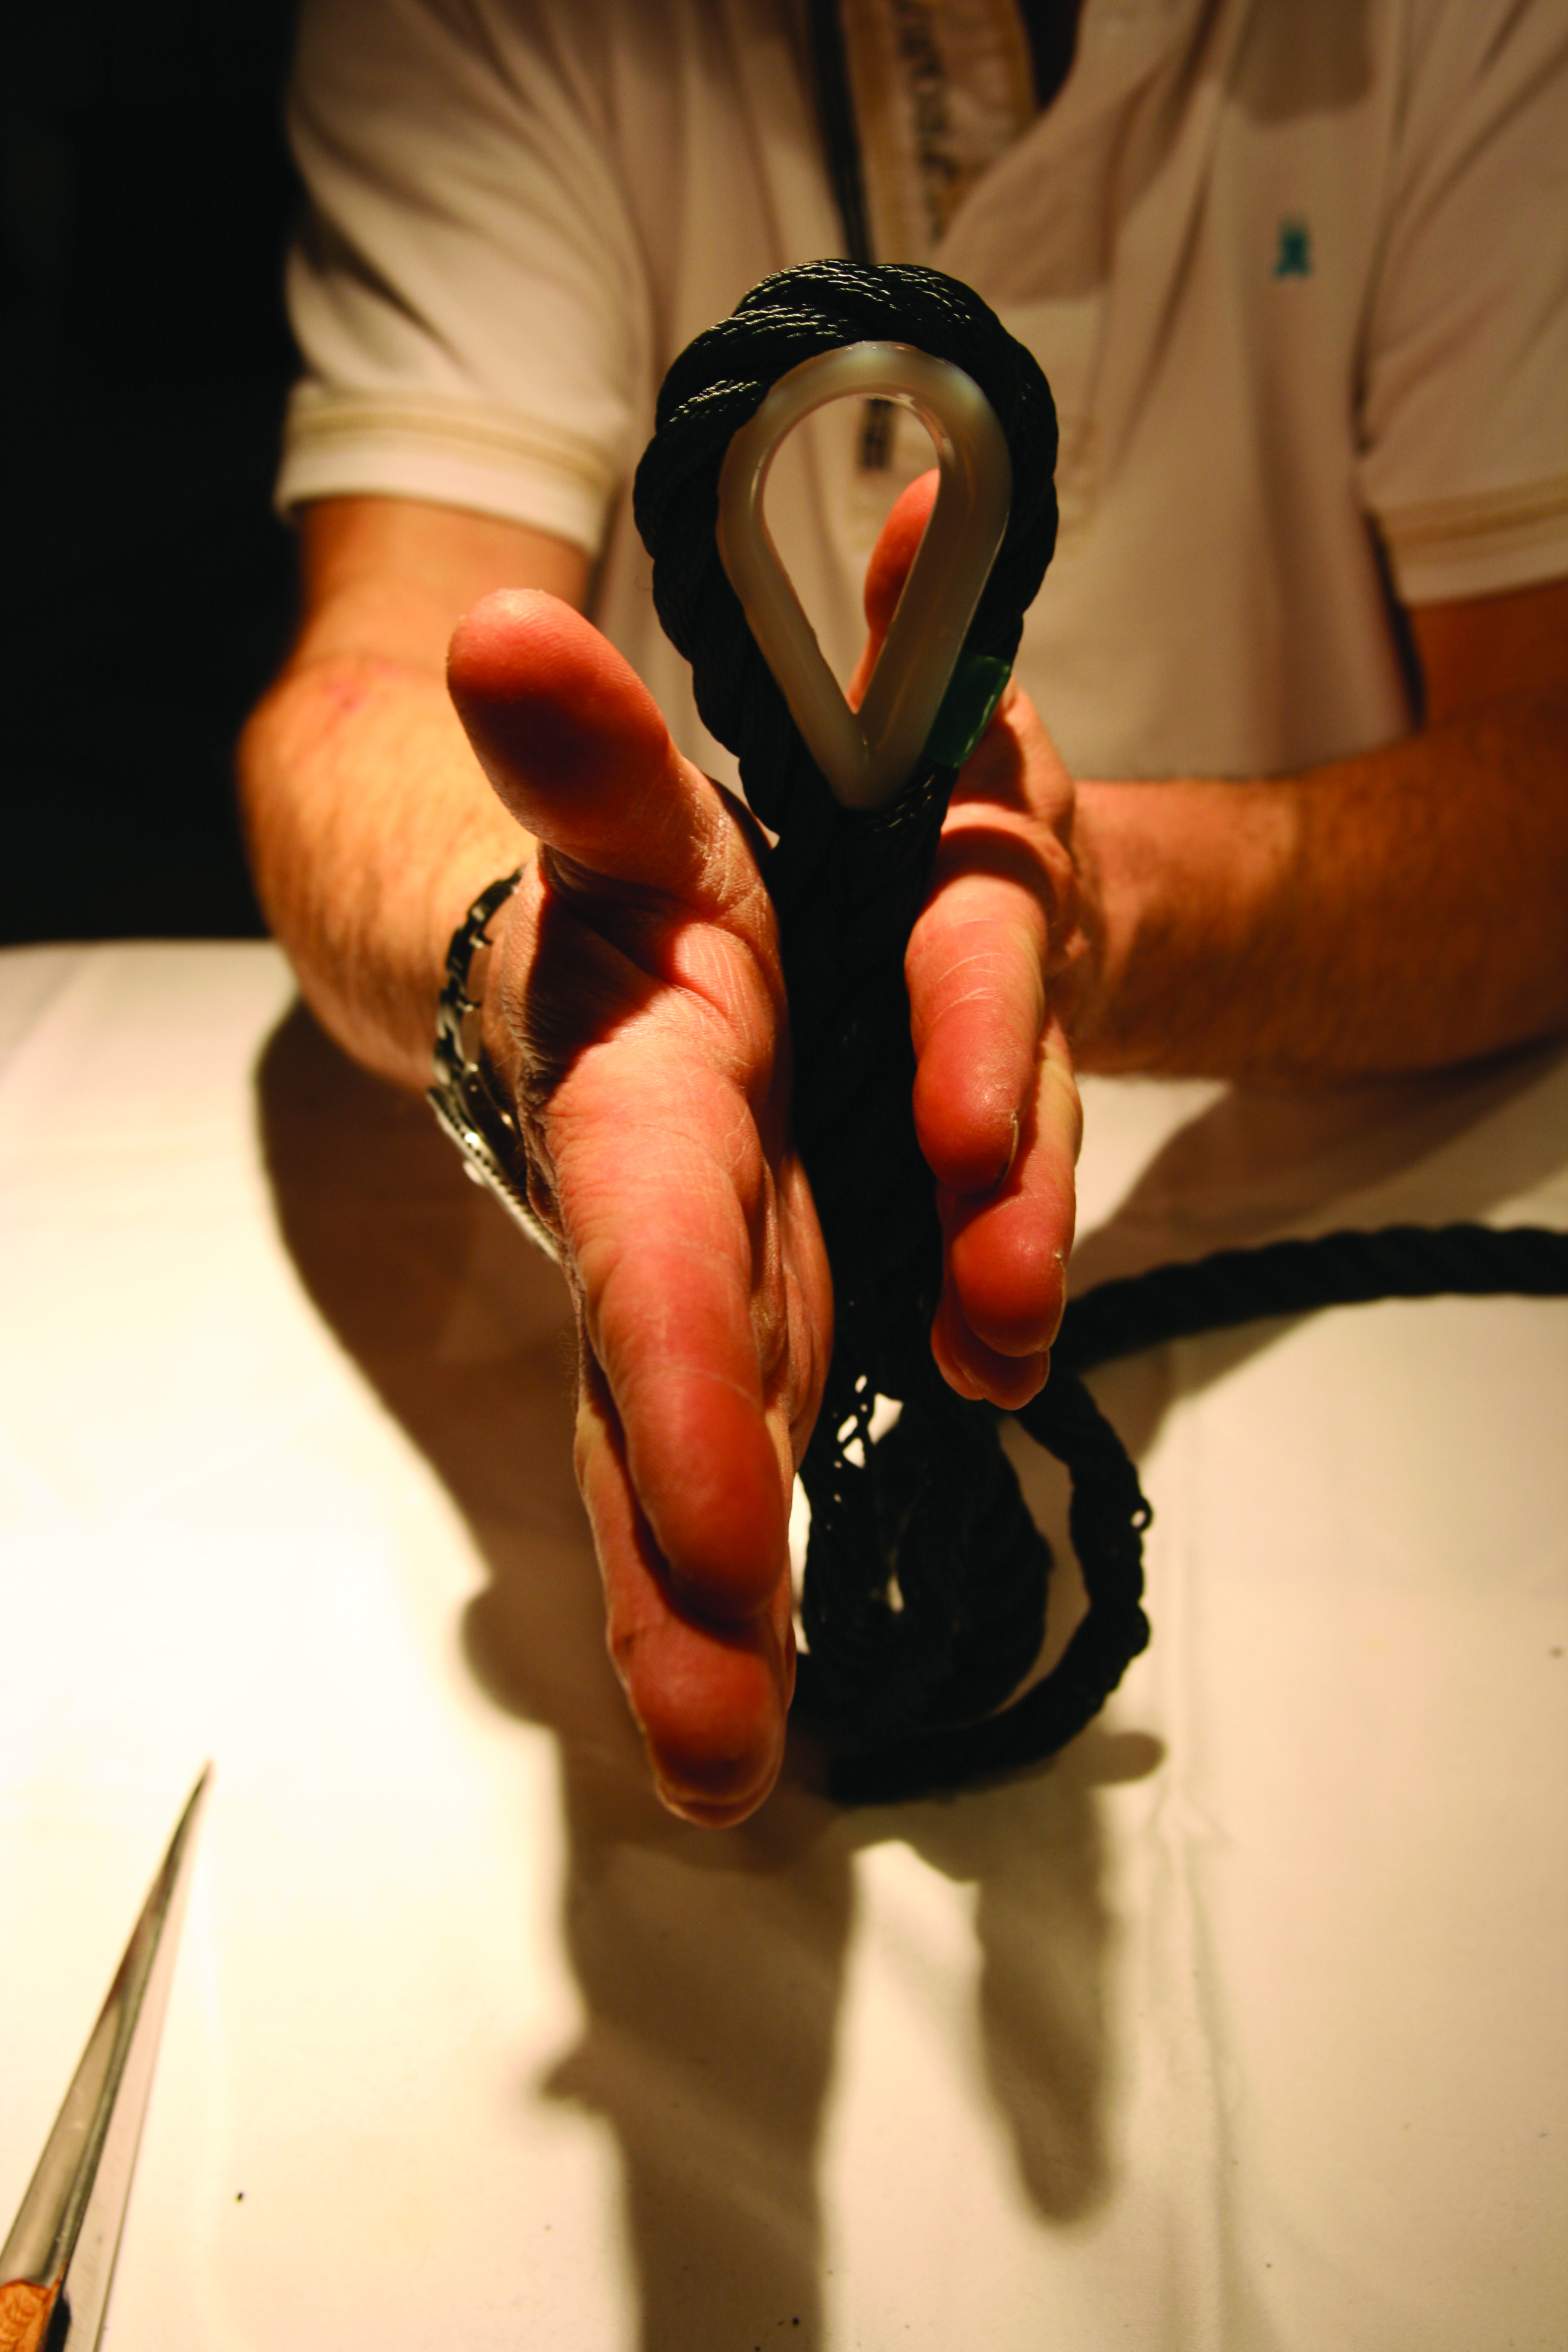
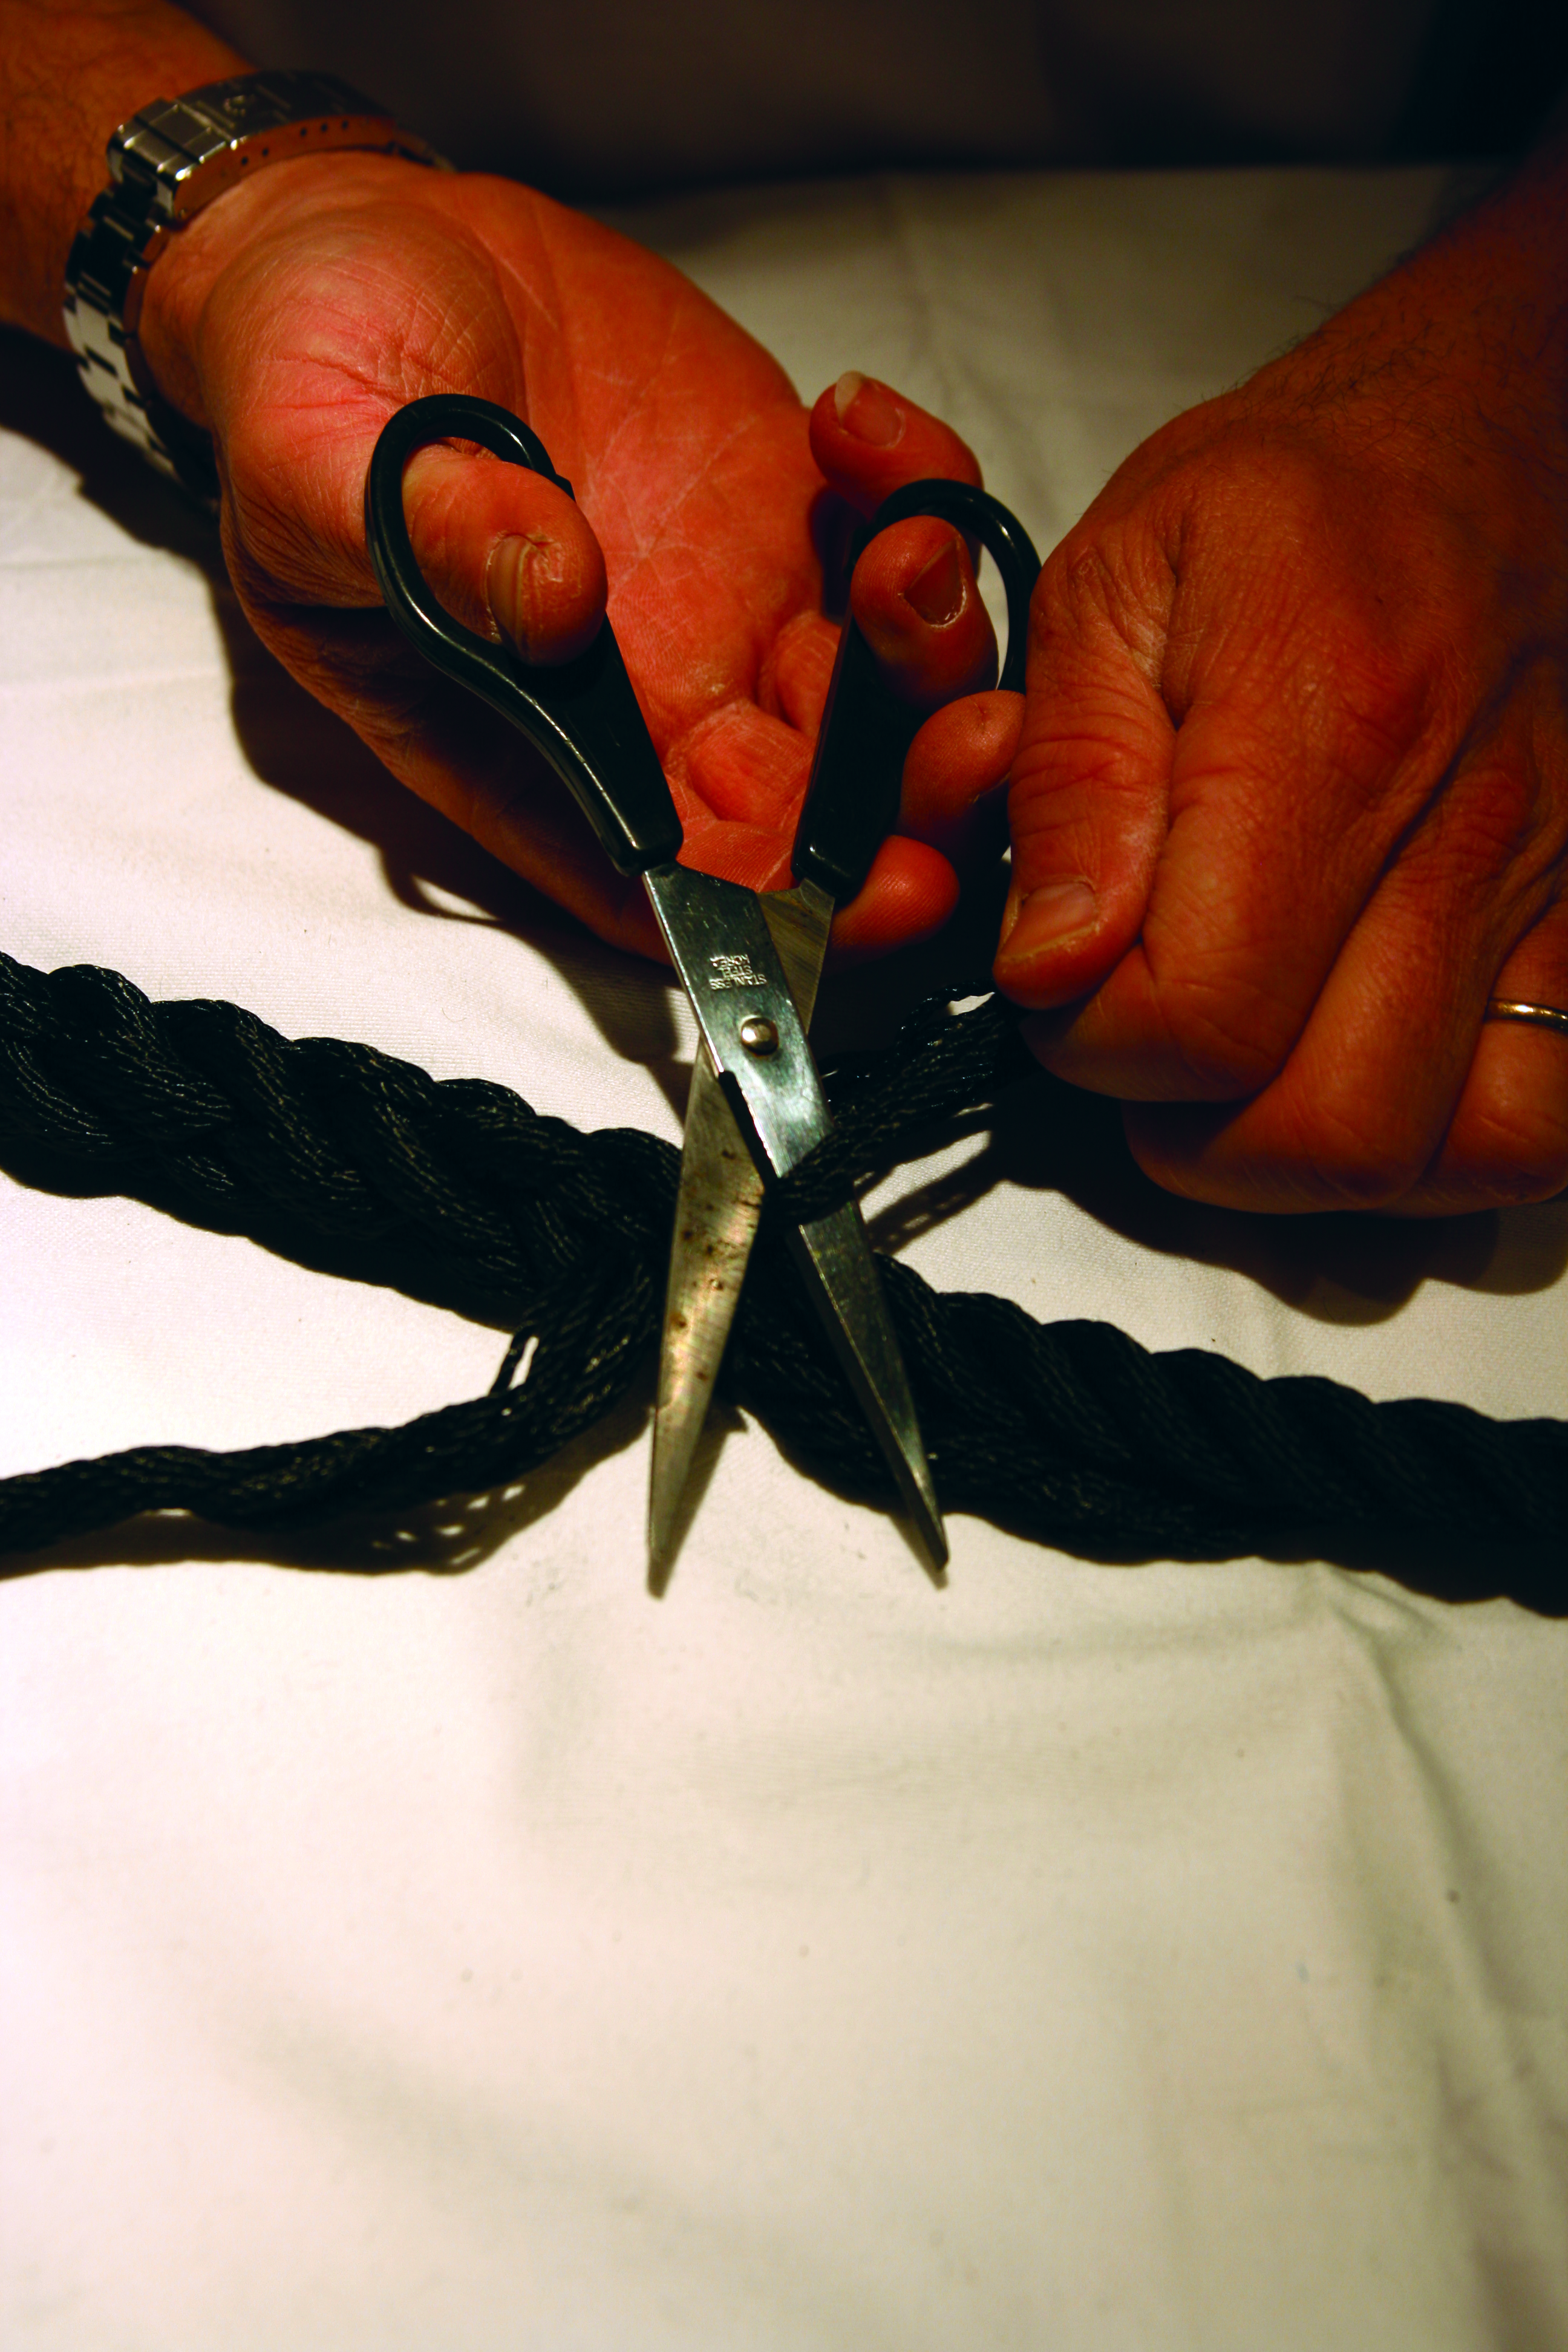
Count 10 times the diameter + 50 mm (2”), i.e. a splice of 170 mm (6¾”) for the 12 mm (approx. ½”) diameter line shown here. Using scissors, cut the downsized strands that escape from your splice and burn off any protrusions. The ideal tool is an electric rope cutter, but a cigarette lighter will do.
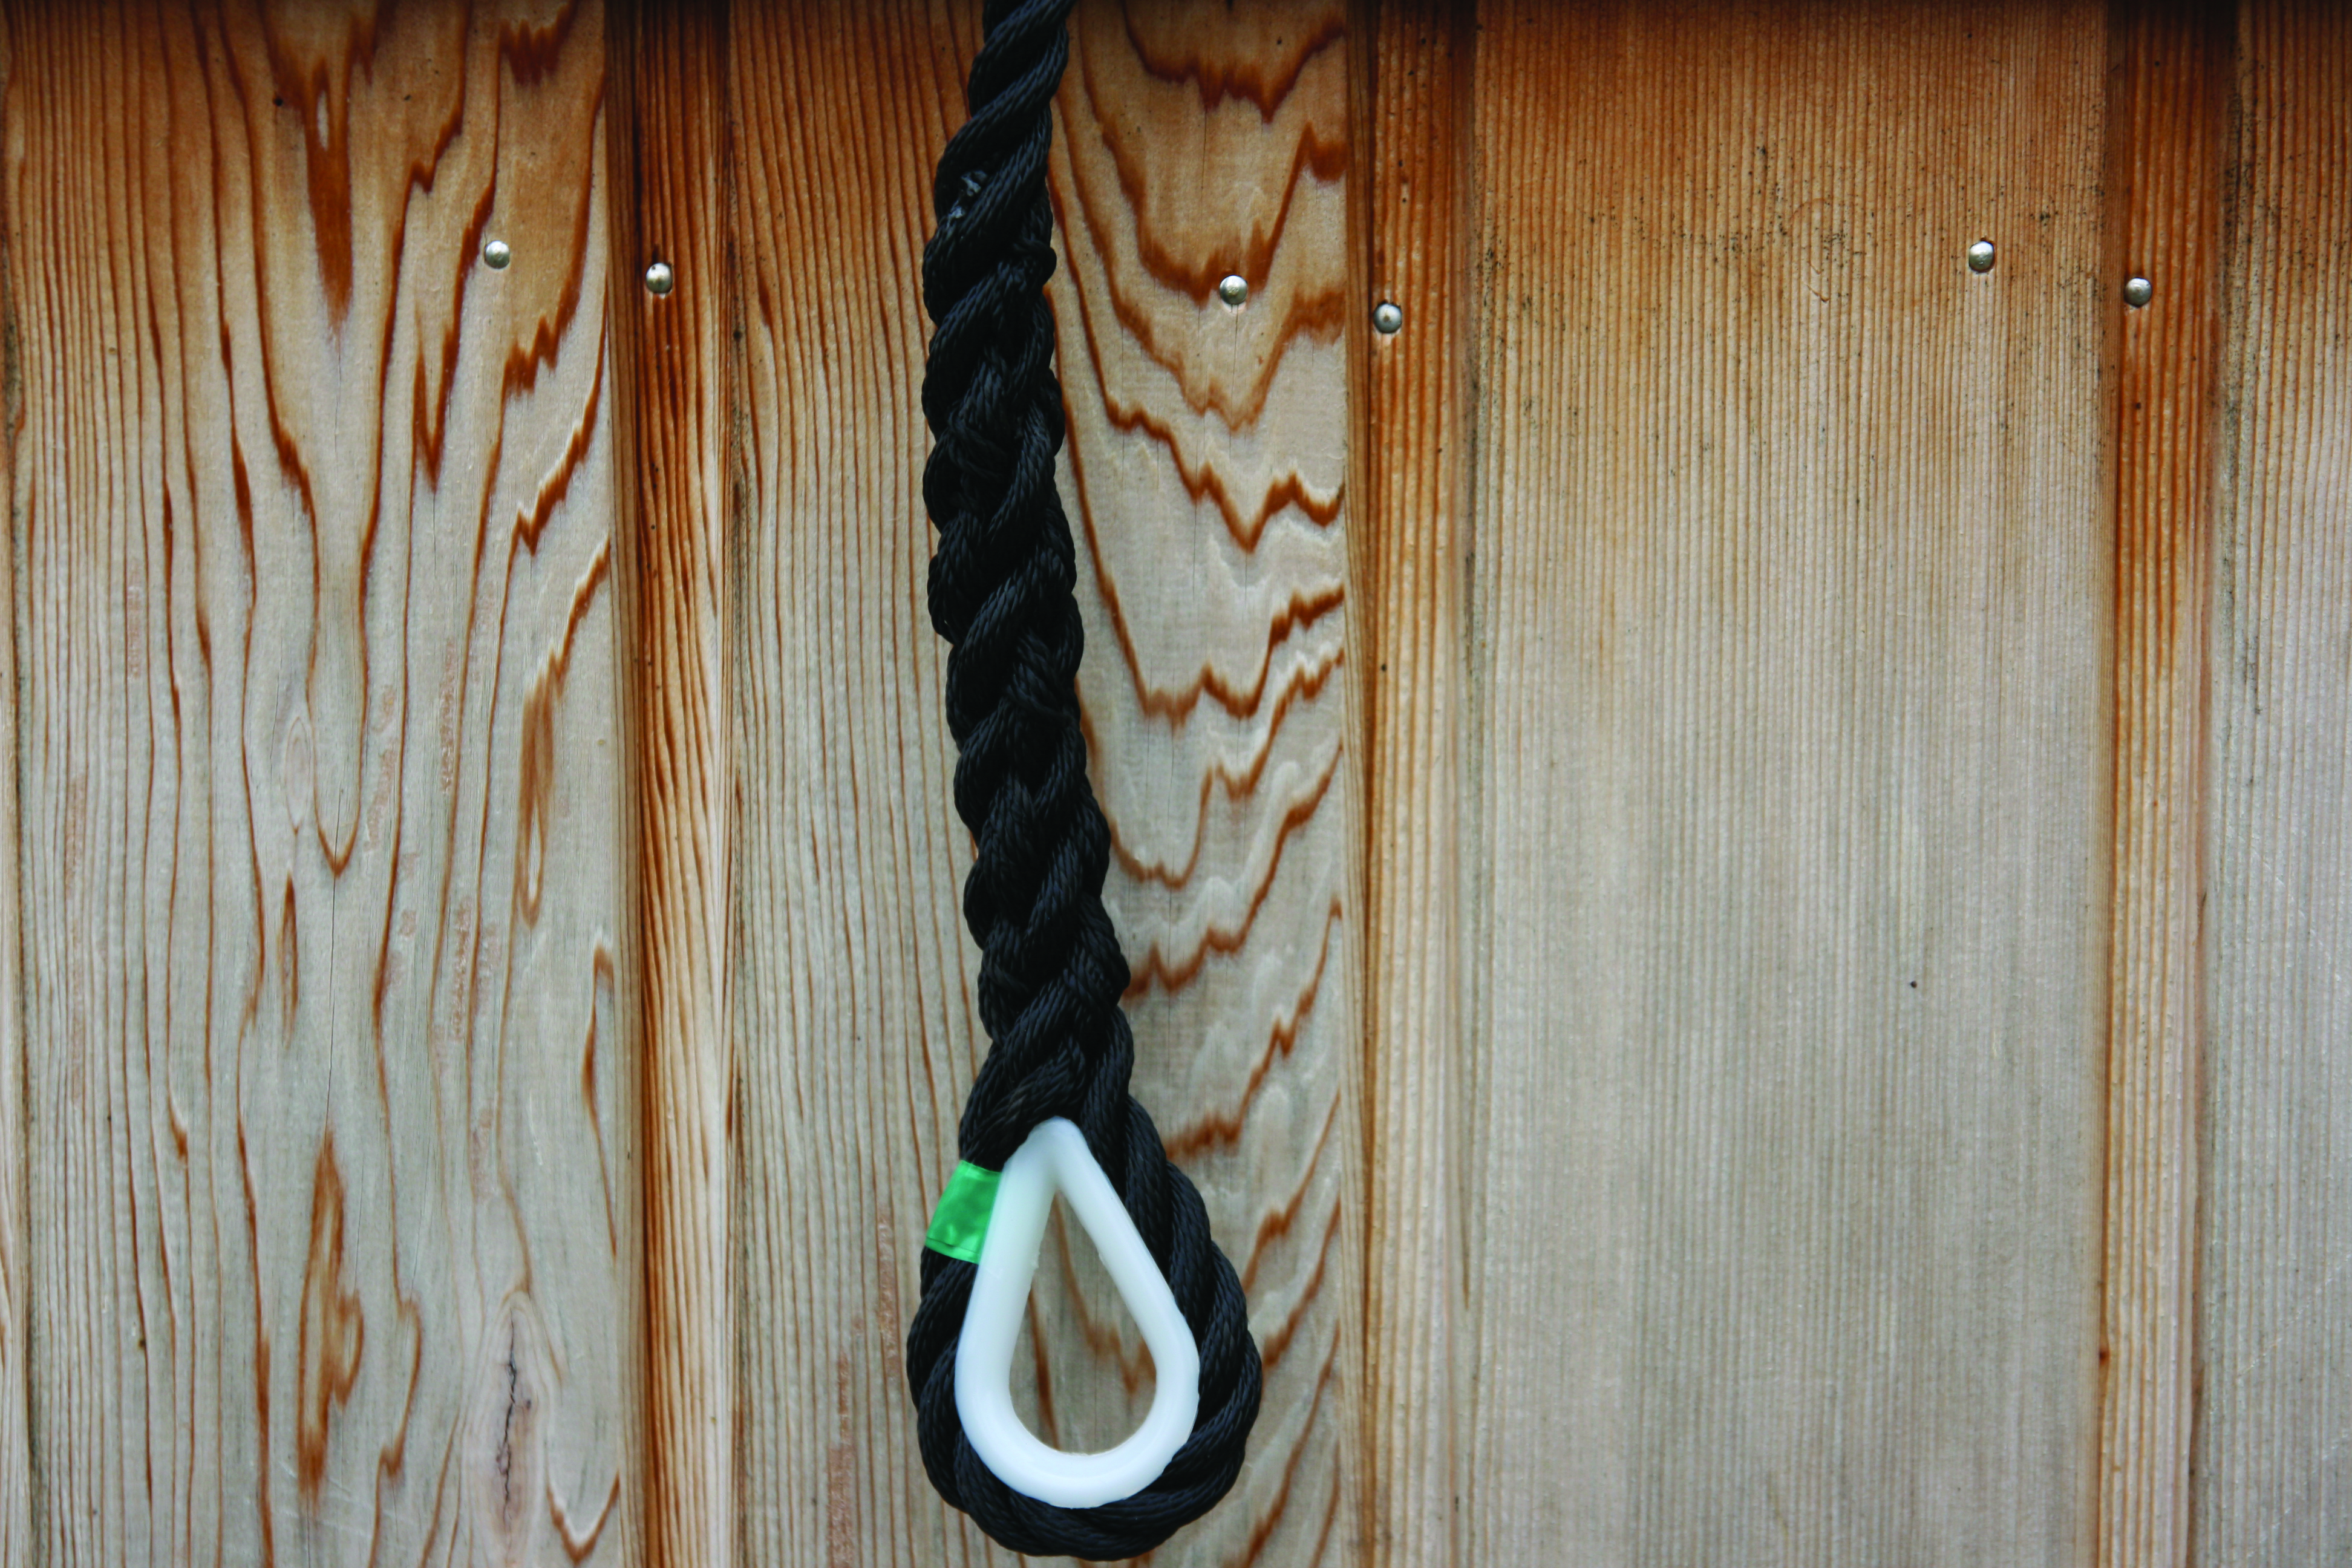
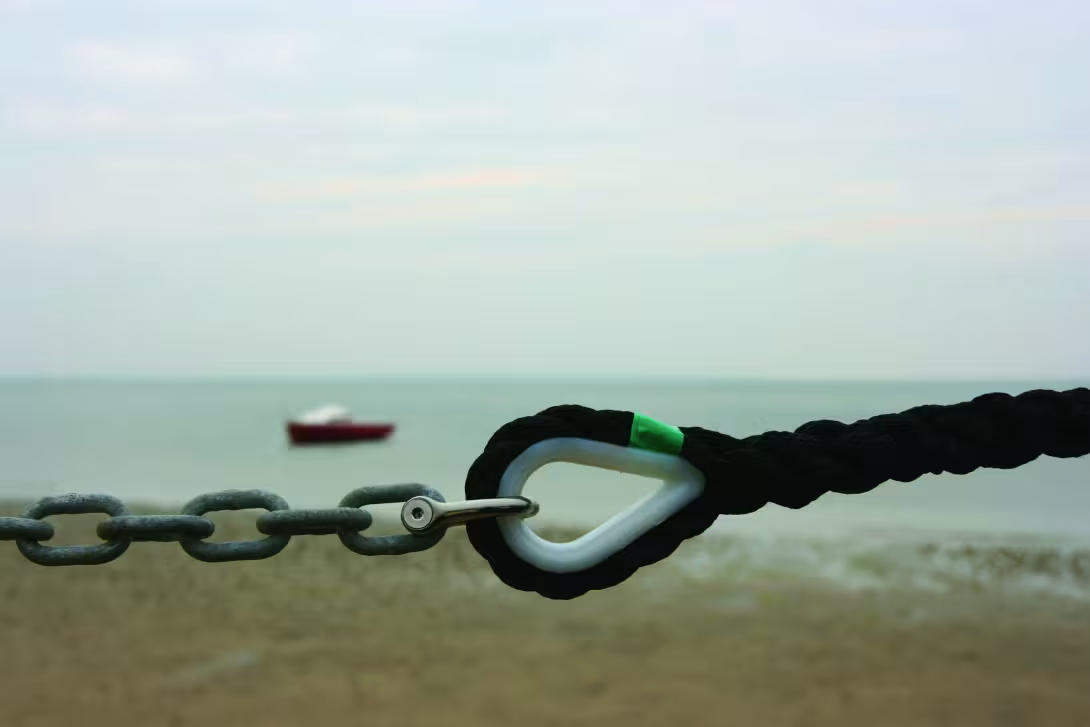
Your splice is ready to use! For intensive use, a whipping of a length of twice the diameter where the strands exit the rope is not a bad idea. For a connection to chain, go for the type shackle with a pin you do up with an Allen key, as this will always slip through the bow roller.
![]()
Without a thimble, a splice allows you to pre-make your dock lines to suit. The correct length is from the base of the cleat to the opposite upper extremity. But allow a little margin for error anyway!
Advice from a professional![]()
Fred François, Mr. Splicing at Comptoir de la Mer
"Three-strand splicing is easy. You just have to get off to a good start."
"Boaters often use under-sized anchor rodes, which are too short, and also tie knots that are simply asking to come undone or chafe through. Why, why, why? Probably as much out of ignorance as out of concern for economy. However, it’s their boat, at the end of the anchor line! The advantage of splicing is that the more it pulls, the tighter it gets. It doesn't move: I've never seen one fail. They can be made with polyester line - softer - or polyamide line from 8 to 22 mm (5/16 to 7/8”) in diameter. A three-strand splice is easy. You can also do it with four or five. The most complicated part is getting started. Once you’re off to a good start, it works on its own. At Comptoir de la Mer, we ask less than 10 euros per splice for our customers. Serious sailors don't take risks!”
My tools: Fid, a good pair of scissors, tape and a cutting iron or cigarette lighter.
