
A location for a black water tank is now compulsory aboard all new sailing boats built since 2007. For the smallest boats, the chemical WC dear to the fans of camper vans still has a bright future… But for the others – multihulls which are 10 years old and older – you will have to think about fitting this buffer tank, intended to protect the most sensitive anchorages! An operation which is not very complicated, and not very expensive if you only buy the actual tank: around 60 euros for a small 25 liter one, 130 for 60 liters and less than 200 for 88 liters. On the other hand, the full kit, with macerator pump, float, tubes, gauge and all the works will nevertheless take you to over 1,000 euros. This is the price you pay for being ‘in order’ and able to frequent the many anchorages forbidden to boats which are not ‘clean’. Just one regret: the ports don’t really play the game, and there are still very few operational pump-out stations. Note: many countries, such as Turkey, the United States and most of the Scandinavian countries already impose the use of WCs with holding tanks close to the coasts on all boats. The tanks are emptied out at sea, which is finally the simplest and above all the most effective solution, to avoid concentrating waste in the anchorages.
A black water tank will allow you to stay in an anchorage without polluting your environment. Essential, given the ever-increasing number of boats in anchorages nowadays!
My tools:
full tool box with extension for sockets, flexible screwdriver, hose clamp pliers and utility knife.
Before purchasing your black water tank, you must ask yourself two questions: how much space do you have for your installation? Do you more often than not have a lot of crew? Depending on your answers, you will opt for the most appropriate and compatible model.
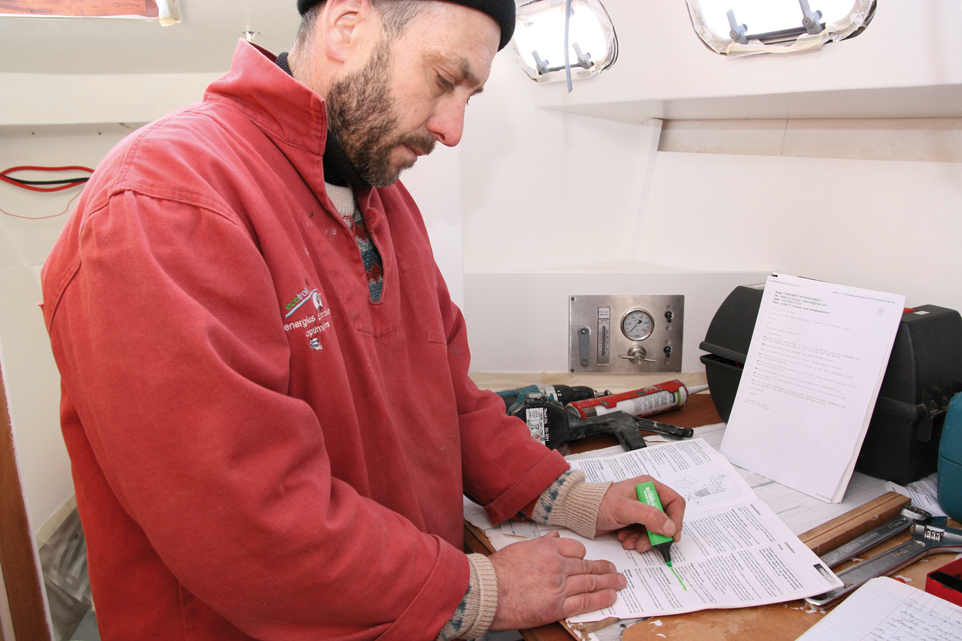
Before launching into the installation of the tank, take time to study the manual carefully, and highlight the most important information with a fluorescent marker. Stow this manual in a plastic wallet, close to the WC.
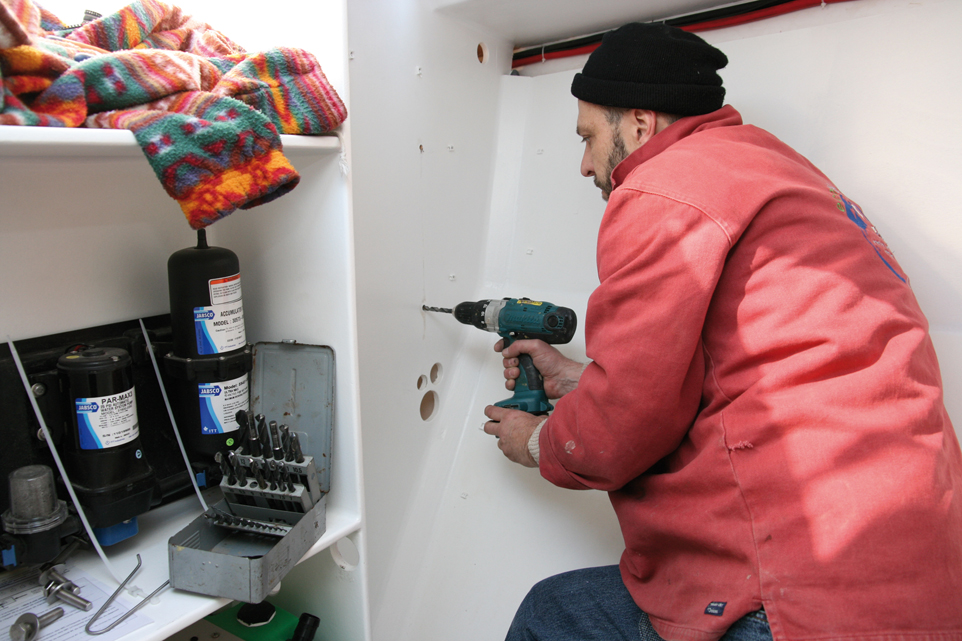
After having carried out a trial assembly, start drilling the first holes in the bulkhead with bits of the right diameter. When passing tubes, no square or rectangular cut-outs, favor round cut-outs using a hole saw.
Not all the outlets from your tank are necessarily used: they can be modified, drilled and more often than not, blocked. The manufacturer supplies special plugs suitable for this use. You can thus make a new connection later, if necessary.
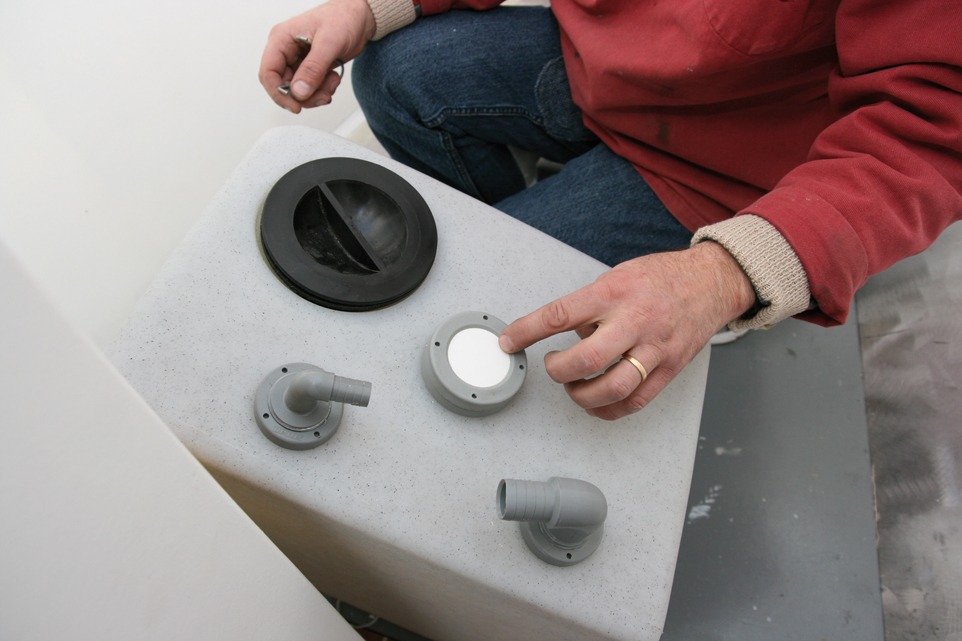
The outlets are tightened using a special tool which adjusts to the two holes in the upper flange. The part is held in place from below, by passing an arm through the inspection hatch. Don’t hesitate to add a bead of polyurethane mastic.
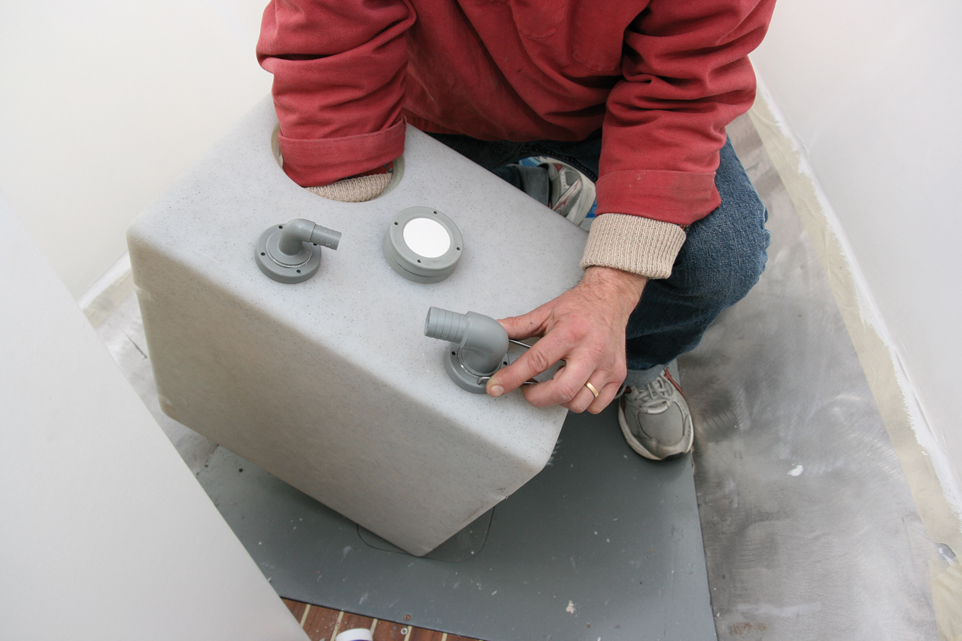
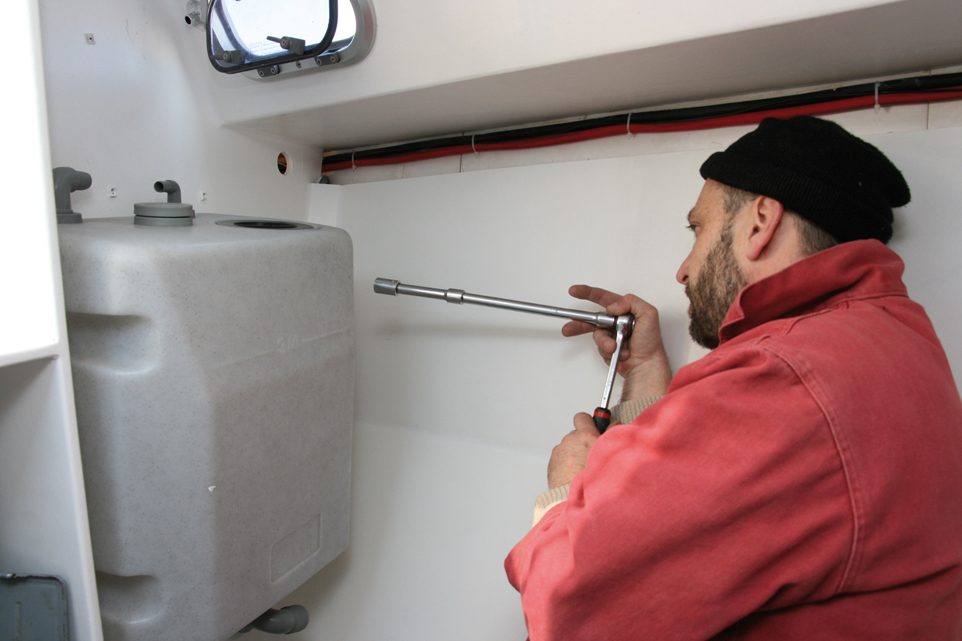
To fix the feet of the tank to the bulkhead, you will need a XXL socket extension bar… To be acquired before launching into the assembly.
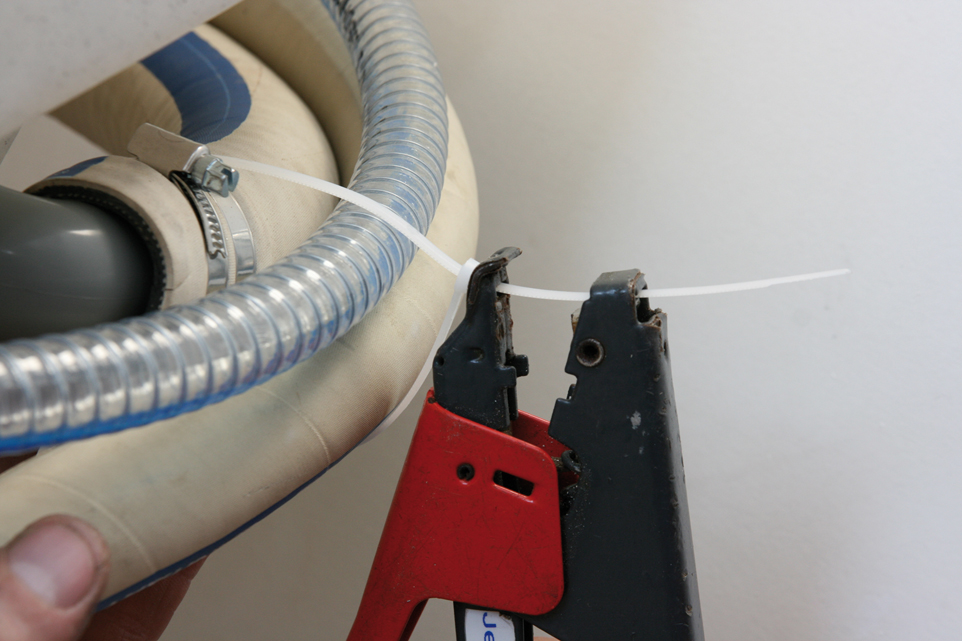
For a serious installation, you mustn’t have useless lengths and crossings of the tubes, but rather some nice curves: just because you’re in the heads doesn’t mean the work has to be ugly! The hose clamp tool will here save you a lot of precious time.
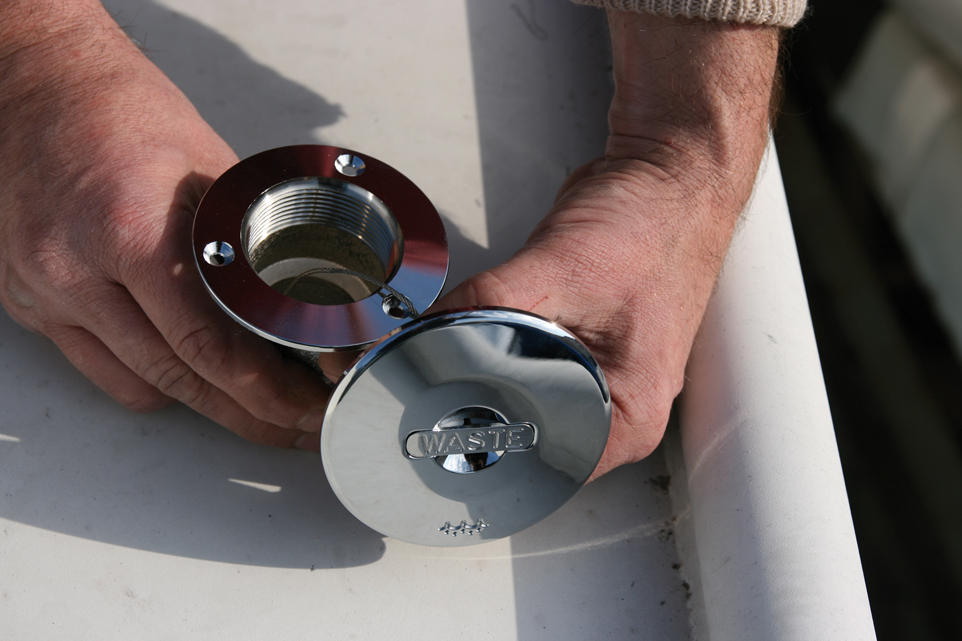
The deck outlet, used for pumping out into the port installations, will be positioned close to the toerail. Beware of the traps hidden by interior moldings – metal reinforcements, electric cables. The hole is cut to the right diameter with a hole saw. Don’t forget the polyurethane gasket when assembling.
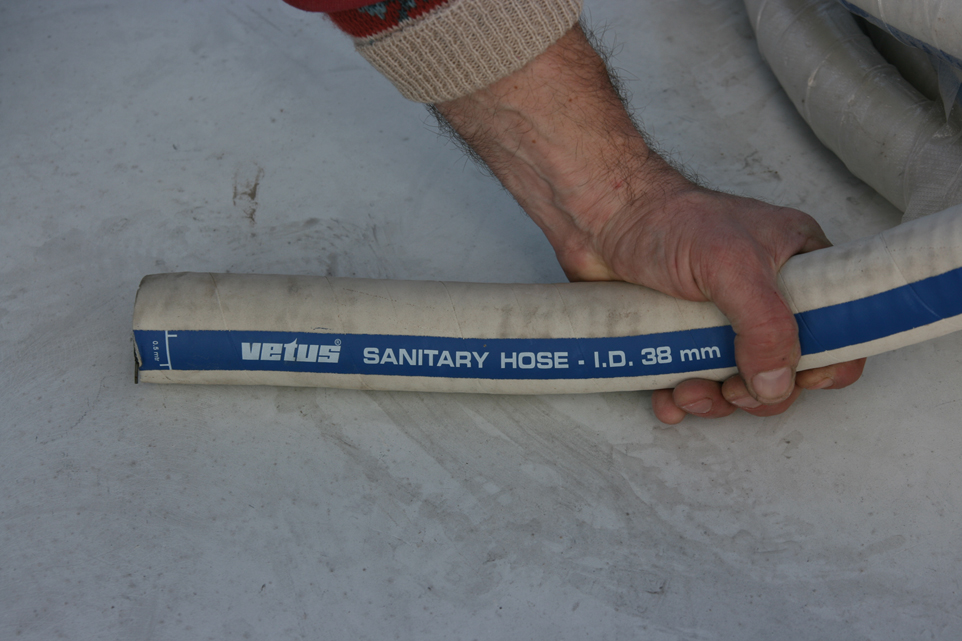
It is essential to use sanitary quality tube: this is made from rubber, reinforced with a synthetic cloth and metallic spirals. A guarantee of strength, resistance to ‘kinking’ and above all no ‘bad odors’ aboard.
To tighten the most inaccessible stainless steel collars, don’t hesitate to invest in a flexible blade screwdriver…a tool which will save you time and a few cramps!
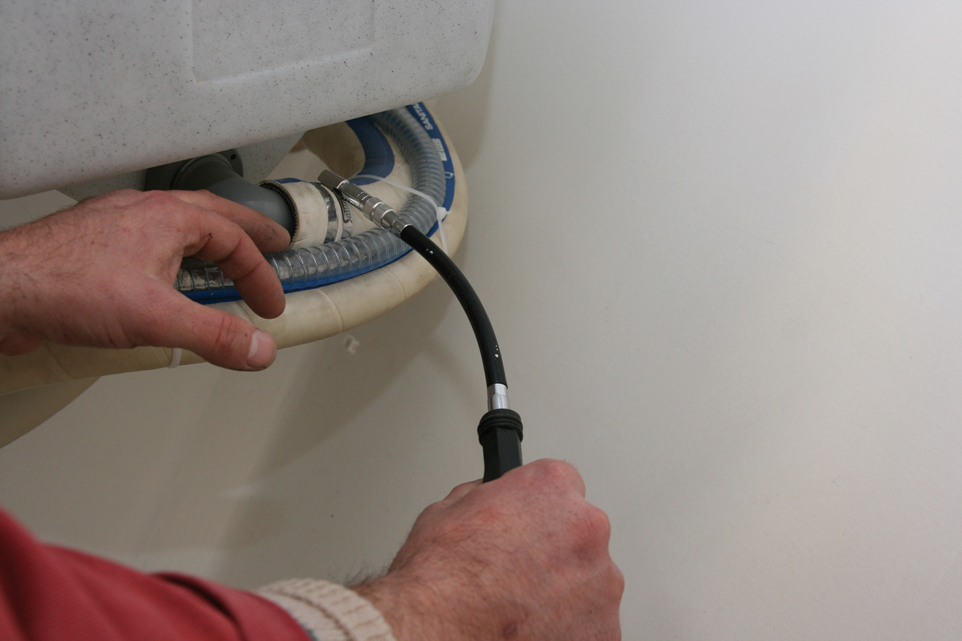
All the hose clamps positioned below the waterline are doubled –if possible, do the same above the waterline – and positioned in opposition, so as to optimize the tightening and avoid damaging or even piercing the tube.
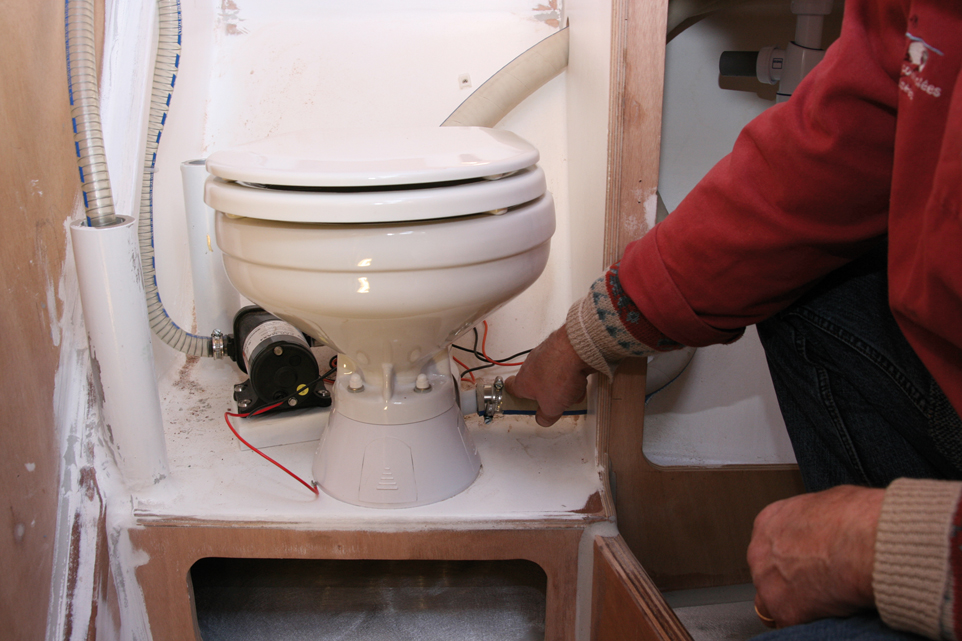
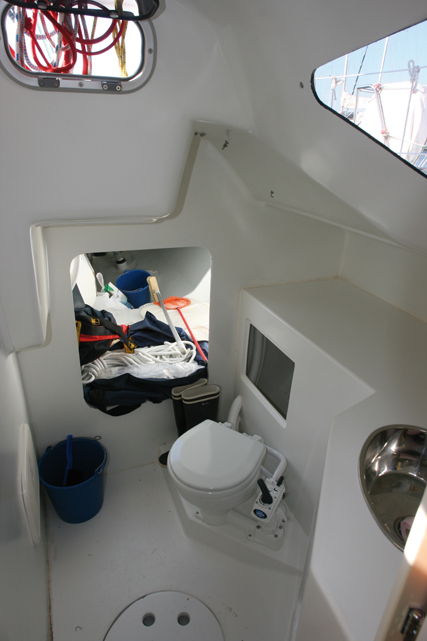
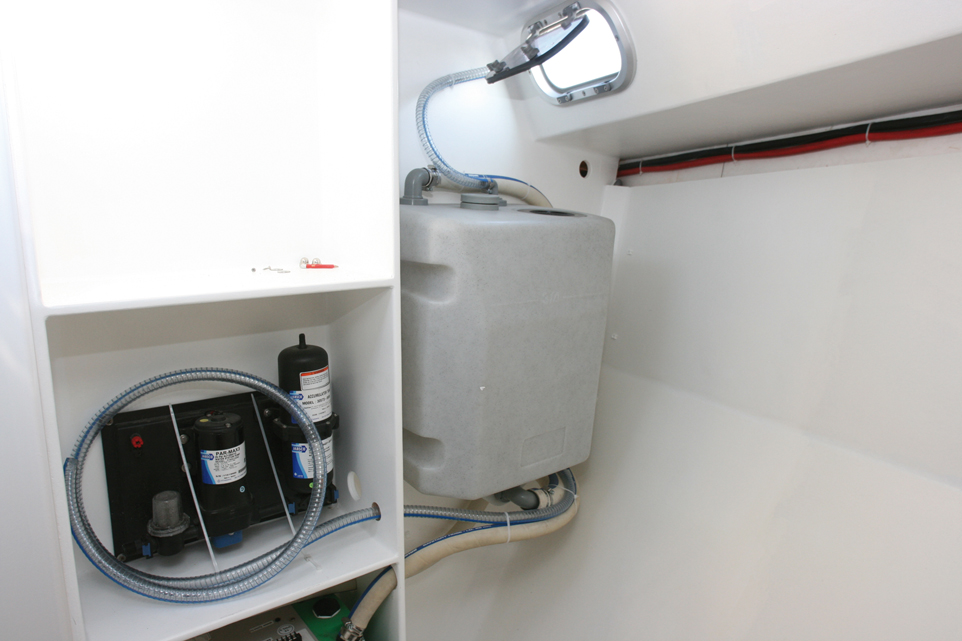
The black water tank is ready for use. Note the easy access to all the technical components, a guarantee of regular, easy maintenance, and the presence of an opening portlight, very useful for eliminating any odors.
The professional’s opinion
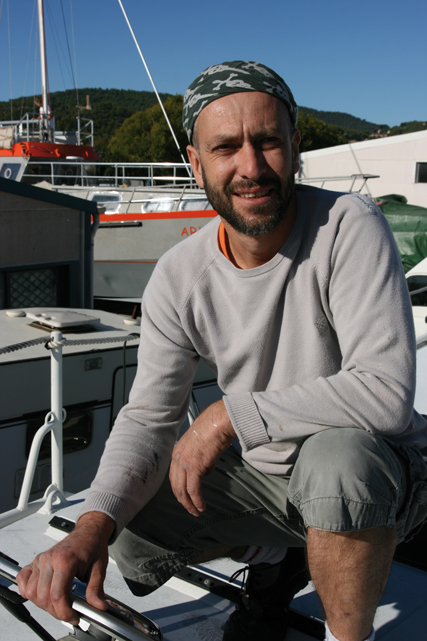
Jean-Marie Hauchemaille, project manager at Olbia, boat fitter:
Before choosing a black water tank, it is essential to take stock of the space available and the use aboard. Once you have bought your tank, study the instructions carefully, highlight them if necessary before carrying out a full pre-assembly. Full means with the tubes and the collars, to be certain that everything is functional and in position. When assembling, don’t hesitate to add polyurethane mastic to any joint which seems to be damaged or fragile. A good tip for fitting tubes whose diameter is a bit too small: heat them –carefully, of course – with a heat gun, to soften them. And whilst talking of good tips, I recommend the special screwdriver with a flexible blade for optimum tightening of the stainless steel jubilee clips. From a safety point of view, the regulations impose two clips for all the tubes below the waterline. If possible, use two everywhere, not forgetting to oppose them to optimize the tightening. Belt and braces!”