


I first became seriously interested in drones in 2014, when I was competing in ocean racing. To make videos for our sponsors, the best solution we could find was to attach GoPros under the wings of a small light aircraft and fly at very low altitude above the fleet. From the cockpit, a photographer, transfixed by the sight of the mastheads grazing the undercarriage of the aircraft, tried to capture a few more shots with his camera. But between the stress of flying low and the reflections from the canopy, the images were rarely usable...
It was certainly cheaper than an hour in a helicopter, but the process remained dangerous for the aircraft, anxiety-inducing for the airplane’s crew, and frankly worrying for the sailors being overflown.
The arrival of the DJI Phantom 4 was a real game changer for me. Recreational drones, which a few years earlier had been considered mere gadgets, finally became reliable, stable, accessible, and capable of producing cinematic images. In contrast, professional drones cost a fortune and often required two operators to fly a heavy, sophisticated camera suspended from a complex machine.
Regulations and the Legal Framework on 1st January 2026
In Europe
Since 2021, the EASA (European Aviation Safety Agency) has harmonized the rules governing civil drones for all European Union countries. Sailors who wish to film their multihulls must therefore comply with this common framework, especially as specific regulations for France will be completely abolished on 1st January 2026.
• This European framework classifies drones into three categories according to the level of risk associated with their flights:
• The Open category is for low-risk drones.
• The Specific category is for drones whose use involves moderate risks.
• The Certified category is for drone operations involving high risks.
There is no distinction between recreational and professional use in this classification. A professional may operate in the Open category, just as an amateur may need authorization in the Specific category.
Most recreational uses fall under the Open category, which covers drones weighing up to 25 kg. It is divided into sub-categories (A1, A2, A3) according to the weight of the aircraft and its proximity to people. Specifically, for a drone weighing more than 250 g but less than 900 g, the remote pilot must:
• Register online with their national authority (in France: AlphaTango);
• Complete a training course and pass a short online exam;
• Comply with height restrictions (120 m / 400’ max) and area restrictions (no flying over people or sensitive areas).
For sailors, the issue of zones is crucial. Until recently, recreational flights were virtually impossible along the Atlantic coastline, which is classified as a restricted zone. But there is good news: in Brittany, the DGAC (French Civil Aviation Authority) has recently relaxed the rules, now allowing flights within a 1 nautical mile strip along the coastline. To ensure that you are flying in an area that does not require authorization, consult the French government’s website (www.geoportail.gouv.fr), which allows you to view ICAO (Civil Aviation) maps showing the different zones.
![]()
In the United States
The FAA (Federal Aviation Administration) regulates the use of drones. The rules distinguish between two cases:
• Purely recreational (Recreational Flyers).
• Professional activity (Part 107).
In both cases, drones weighing 250 g or more must be registered. Remote pilots must also pass an online knowledge test (The Recreational UAS Safety Test – TRUST).
The main restrictions are:
• No flying above 400 ft (120 m).
• Compliance with controlled airspace (a ban on flying near airports, military bases and sensitive areas).
• A ban on flying over people or boats without their consent. This is a key point for sailors who may encounter other vessels.
The FAA also emphasizes respect for privacy, which is particularly sensitive in certain coastal areas where drones are sometimes viewed negatively.
Choosing the Right Equipment for Sailing Use
Flying a UAV from a boat is probably the most complex use of a drone, and they were not originally designed to be used in this way!
The choice of equipment will of course depend on what you want to do (photo/video) and the conditions in which you want to fly.
Personally, I have only ever flown with DJI devices and have never tested competing products, so I won’t attempt to compare the various brands on the market. My experience is therefore limited to the different ranges offered by the Chinese brand, which largely dominates the sector. It should be noted that in the United States, DJI is considered a security threat and may eventually face a total ban on the sale of its products.
The Entry-level Range: DJI Mini SE to Mini 5 Pro
For filming at anchor, in winds of less than 15 knots, or even when sailing in calm seas and winds of less than 10 knots, a DJI Mini 3 is perfect. Lightweight (less than 250 g), compact and capable of filming in 4K with over 30 minutes of battery life, it is easy to handle and remains in the most flexible category of regulations. Its limitations become apparent as soon as the wind picks up: it can only withstand winds of up to 20 knots. Note: the 3, 4 and 5 versions allow you to film vertically, which many much more expensive drones do not offer.
Price: € 299 to € 999 for a ready-to-fly kit.
The Intermediate Level: DJI Air 3S
To move upmarket and capture more dynamic images, even in true winds of 15 knots, turbulent air and slightly rough seas, the DJI Air 3S is an excellent compromise.
More stable and better equipped optically, it offers 45 minutes of battery life and remains below the regulatory threshold of 900 g. Expect to pay around € 850 to € 950 for this type of machine.
The Top of the Range: DJI Mavic
Finally, for those who want to push the limits and fly in much more challenging conditions, the DJI Mavic family (2, 3 and 4) remains the benchmark. Heavier and more powerful, these drones require a CATS certificate of proficiency in Europe (from 2026) or a Part 107 license in the United States, as well as registration. In return, their flight range is significantly wider, their image quality is impeccable, and their wind resistance is superior. The investment is substantial: over € 2,000 for a complete kit. And you should keep this amount in mind every time you fly them over water...
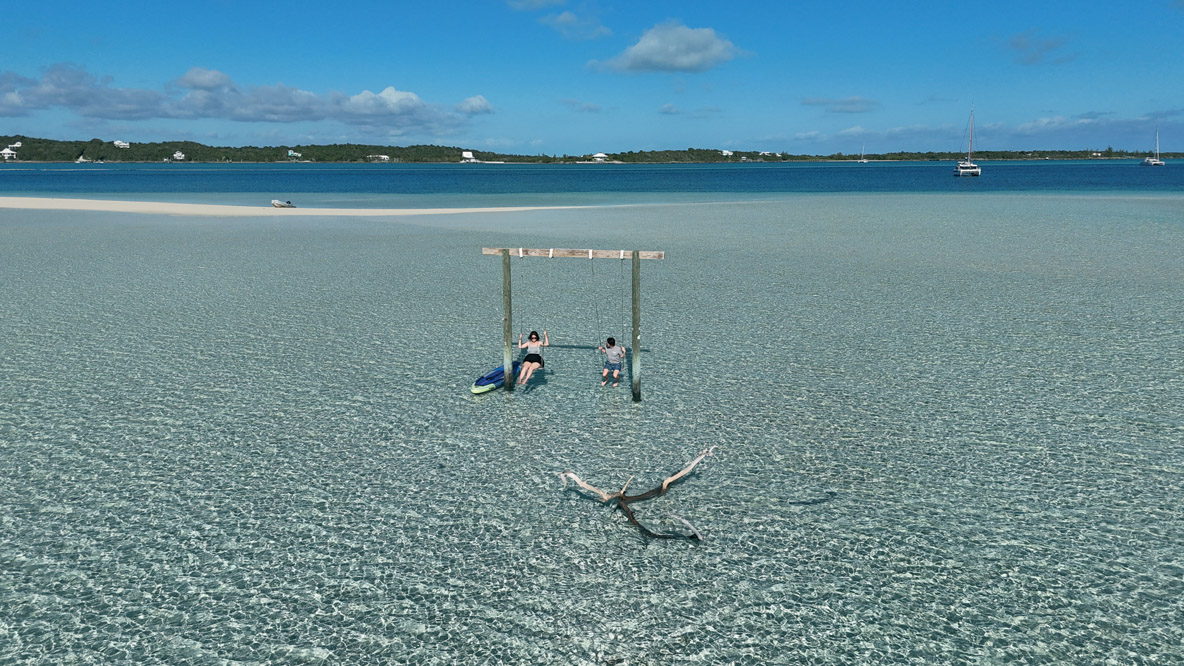
Take-off and Landing Techniques from a Multihull
Flying a drone from a multihull is much easier than from a monohull: your boat does not heel, or only slightly (and in that case it is high time to ease the traveler and mainsheet, and certainly not the time to launch a drone...). You have plenty of space at the stern to get away from the standing rigging and, in most cases, there are no backstays to interfere with your approach: there’s no excuse (or almost no excuse) for ending up in the water!
There are probably as many techniques as there are pilots. I have personally tried a number of them over the last ten years, with varying degrees of success and sustaining a few nasty cuts in the process (and an operation to reattach some tendons...). It should be noted that drones weighing less than 250 g are significantly less dangerous than their larger, heavier and more powerful counterparts, which are equipped with more powerful propellers.
For several years now, I have adopted a routine that works, and I try never to stray from it...
• Whether taking off or landing, I always start from the aftermost point of the multihull (staying safe, no danger of going overboard). It might be tempting to take off or land on the trampoline because there’s plenty of room, but it rarely works: even at anchor, your boat is never really stationary, and you risk ending up in a genoa sheet or a shroud. On the other hand, and this is especially true when you’re moving forward, starting from the back of the boat means you’re immediately clear of any obstacles. It may seem paradoxical, but when I have lost or damaged drones, it has always happened on a stationary boat!
• I never take off until my device has detected 12 satellites and the GPS position is stable. I once foolishly lost a magnificent Phantom 4 Pro that I was very fond of by taking off without GPS positioning... After having time to take a few shots of the setting sun in Chatham Bay, the drone finally acquired its position and went into automatic landing mode because it was right on the runway of the small Union Island aerodrome... The Piña Colada tasted a little bitter that evening...
• I always disable all flight ‘aids’ such as alarms and obstacle detection because they hinder me more than they help me, especially when retrieving the drone. I also check in the DJI app that there is no maximum distance from the take-off point entered, otherwise you risk getting stuck and having to turn back to retrieve it. The drone uses the position of the remote control at the time of take-off as its reference point, so if the signal is lost, it will not automatically return to the boat. To counter this, I set the automatic return altitude to 100 meters (330 feet), which will allow me to recover the signal. It is possible to update the position of the remote control, but this requires exploring the app’s sub-menus, which is not always easy when you are piloting.
• The rear tracking shot allows you to take beautiful frontal shots of your multihull... but be careful. If you disable obstacle detection, you could collide with the rigging of another boat on the water. In these conditions – and this is also true in general for flights that are seemingly risk-free – monitoring the environment with a ‘co-pilot’ is obviously invaluable.
• As with an airplane, carry out ‘pre-flight’ checks: for my part, I check that the propellers are intact and correctly attached, that the drone’s battery is 100% charged and the remote control at least 30%, that my SD card is properly inserted and formatted, and that the optical filter is suitable for the current light conditions. After starting up, I make sure that the motors are delivering power. I once literally threw a drone into the water at Fastnet because it had started up but its motors were stuck at minimum power…
• I add a small grip handle to my drone, which allows me to handle it more easily during take-off and landing. This small component, which costs barely € 15 on Amazon, is unfortunately very fragile. You mustn’t turn the drone over by the end of the handle alone, and you must change it regularly or you’ll end up with your fingers in a real mess (“I’ve been there”).
• I never ‘outsource’ the launch and recovery of the drone: it’s easier to anticipate the boat’s movements to catch the drone, and an inexperienced person may have a bad reflex that could lead to a crash at best, or bodily injury at worst.
• For landing, I always use the same procedure: I position myself at the rear of the multihull and upwind to be in the most laminar flow possible. If the apparent wind is greater than about fifteen knots or if the sea conditions are too rough, I bear away dead downwind, otherwise I maintain my course. I make my approach slightly off the wind with the drone in ‘reverse’, which means you don’t have to reverse the controls when you’re concentrating on recovering the machine. I start my return with enough battery power to take my time with the maneuver, because it’s important not to rush during this phase, which is the most critical part of the flight. I don’t hesitate to repeat my approach several times to better understand the swell, or even to move away from the boat to take a breather if necessary. When the drone is close by, I grab it with one hand and turn it over to instantly cut the engines. If conditions are really difficult, I may ask someone to secure me, so I don’t end up in the water.
• The float kit allows you to ‘save’ the drone – provided the sea is calm and you ideally have a dinghy – but it does catch the wind quite a bit and there is a risk of interference with the vertical sensor.
How to Set Up your Drone to Take High-quality Images?
I am far from being a professional photographer or videographer; I learned on the job. Obviously, each drone has its own settings, but there are a few common denominators that can save you time if you are new to the discipline. There are also many tutorials on YouTube where experts share their experiences, and I have learned a lot from them.
The most important setting for me is to avoid switching the white balance to automatic mode. When filming your multihull, the brightness will vary depending on your exposure. In auto mode, you risk significant color changes, and the result will not be aesthetically pleasing. Personally, I set it manually to around 5,500K.
However, it should be noted that the latest small drones, such as the Mini Pro, work very well in auto mode; they just tend to overexpose a little. Lowering the exposure compensation (EV) by one notch (-0.3) is enough to fix this problem.
On my larger drones, I use ND filters between 8 and 32 to avoid overexposed videos. On the Mavic 3 Pro, I film in 5K at 30 frames per second with a shutter speed set to 60 and ISO at a minimum (400).
If you film occasionally and don’t want to invest too much time in color matching your edits, the basic color mode already gives a very good result. However, if you want to create cinematic images, you’ll get better results using the D-LOG format, which allows you to completely rework your images. This requires applying a LUT during editing to correct the colors in your software.
All this may seem a bit daunting, but with a little practice, you’ll be able to quickly edit videos with very satisfactory quality.
Conclusion
Filming your multihull while sailing is an exhilarating and rewarding experience. Thanks to modern drones, this practice is now within everyone’s reach, but it cannot be improvised. Respecting the technical limitations of your device and complying with the rules in force is essential to enjoying it with peace of mind.
Training, even beyond regulatory requirements, remains the best investment: understanding your equipment, anticipating risks, mastering delicate maneuvers. These are all key factors that can transform a potentially stressful flight into a real source of pleasure and creativity.
When used properly, a drone becomes the ideal tool for capturing images of your multihull in action and bringing back unique photos and/or videos of your adventures at sea as personal memories. Drones also allow you to create content to share with your loved ones or on social media. For many, this is well worth the effort of learning to fly responsibly.
A Three Step Recovery
FPV drones They Are Becoming Increasingly Popular, But...
These small, extremely light, highly maneuverable and fast drones are controlled via a headset that transmits live images from the on-board camera. Spectacular to use, they offer stunning results once you’ve mastered the machine. But this discipline requires a lot of practice: flying in manual mode, which allows for aerobatics, lasts no more than ten minutes, and landing on a moving boat remains particularly tricky. FPV drones can therefore be an excellent complement to a conventional drone, but they cannot replace its main use. Before considering an onboard flight, long hours of training on a simulator and then on the ground are essential.
Taking Wonderful Images from the Air... Without Causing a Scene on the Ground!
Before flying at low altitude, make sure that the people in the area agree to be photographed and/or filmed.
Even if your drone complies with administrative regulations, you must still take into account local customs and perceptions. In some archipelagos, the presence of an aircraft above a motu or beach may be perceived as an intrusion. I myself experienced this sensitivity during a cruise in Polynesia: while trying to film manta rays in the lagoon of Bora Bora, I flew over an inhabited islet... The result: a muscular boarding, a complaint filed, and above all, a big scare for my passengers. The lesson is simple: before flying your drone, don’t hesitate to ask the locals for permission. It’s a small gesture of politeness that can save you a lot of trouble.
Tips From a Professional Piloting with Jean-Marie Liot
Jean-Marie Liot has been working as a marine photographer for over 20 years, covering numerous offshore racing projects and working for shipyards. I had the opportunity to sail with him aboard the ORC50 Addictive Sailing following a race and was impressed by his professionalism, both in terms of photography and the use of a drone.
«I started using drones professionally in 2018 with a Phantom 4 Advanced.
Today, I mainly use “old” Mavic 2 Pros because they are no longer very expensive and the optics are still very good, so I have fewer qualms about flying in rough conditions with them. Before flying, I always check that I am in an authorized area and that my declarations to the local maritime authorities are up to date. When handling a drone, I always try to wear glasses and gloves to avoid injury in case of a problem. For landing, I use the “reverse” technique, which makes the task much easier!
However, when it comes to filming multihull racing boats in difficult conditions, nothing can replace a helicopter. Even though flight time is expensive, in hindsight, it’s much more flexible because I can switch from wide shots to very tight shots and work with multiple lenses.”
